Three big lies about color grading. You have heard them all. You need an expensive camera. You need a massive node tree. And digital footage will never look like film. All wrong.
In the next six minutes, I debunk each myth on three different camera sources and reveal the one final touch that makes digital video feel alive. If your grades still look digital no matter how many nodes you stack, this is for you.
Lie Number One: You Need an Expensive Camera for Good Color Grading
Here is the first color grading lie that keeps holding creators back. You do not need the most expensive camera on the market to get a cinematic result. The camera sensor matters far less than the tools you apply after the shot.
I prove this with three completely different camera sources. The workflow is identical for each one. Start with primary correction. Fix exposure. Nail white balance. One click with Grade with AI in PFA Color Suite handles the entire foundation.
Once the base is locked, click Film Look Intensity in CinePulse AI. The engine filters through 135 parameters across the entire toolkit to generate a unique look. It is not applying a static LUT. Every look is built from all 135 parameters moving together in real time. If you like the direction, stay with it. If not, drop into the respective tonal curves and film mixers to calibrate exactly how much separation you want in the scene.
Look at the before and after. It does not matter how expensive your camera is or how many tools you own. What matters is using a tool engineered with the right floating-point math. A LUT cannot be customized. A LUT cannot be refined. You only get the final baked outcome. With CinePulse AI, each generated look is as fast as applying a LUT, but every parameter remains fully adjustable.
The more you use the engine, the more it understands your preferences. CinePulse AI replaces the traditional LUT workflow entirely and gives you ultimate flexibility once you understand how each tool works.
Lie Number Two: You Need Massive Node Trees for Great Results
The second color grading lie. You have been told that you need twenty, thirty, maybe fifty nodes to create an exceptional grade. That is simply not true in 2026.
With PFA Color Suite, everything lives in a single node. I do not even need a color space transform because the color space transport is replaced by correction log correction. Grade with AI handles exposure, white balance, and the foundational look in one pass.
If the AI exposure is not exactly what I want, I fine-tune it. Tell the AI to make it less contrasty. Make it brighter. Every parameter remains refinable and calibratable. Every single control sits inside that one node, arranged in the correct processing order.
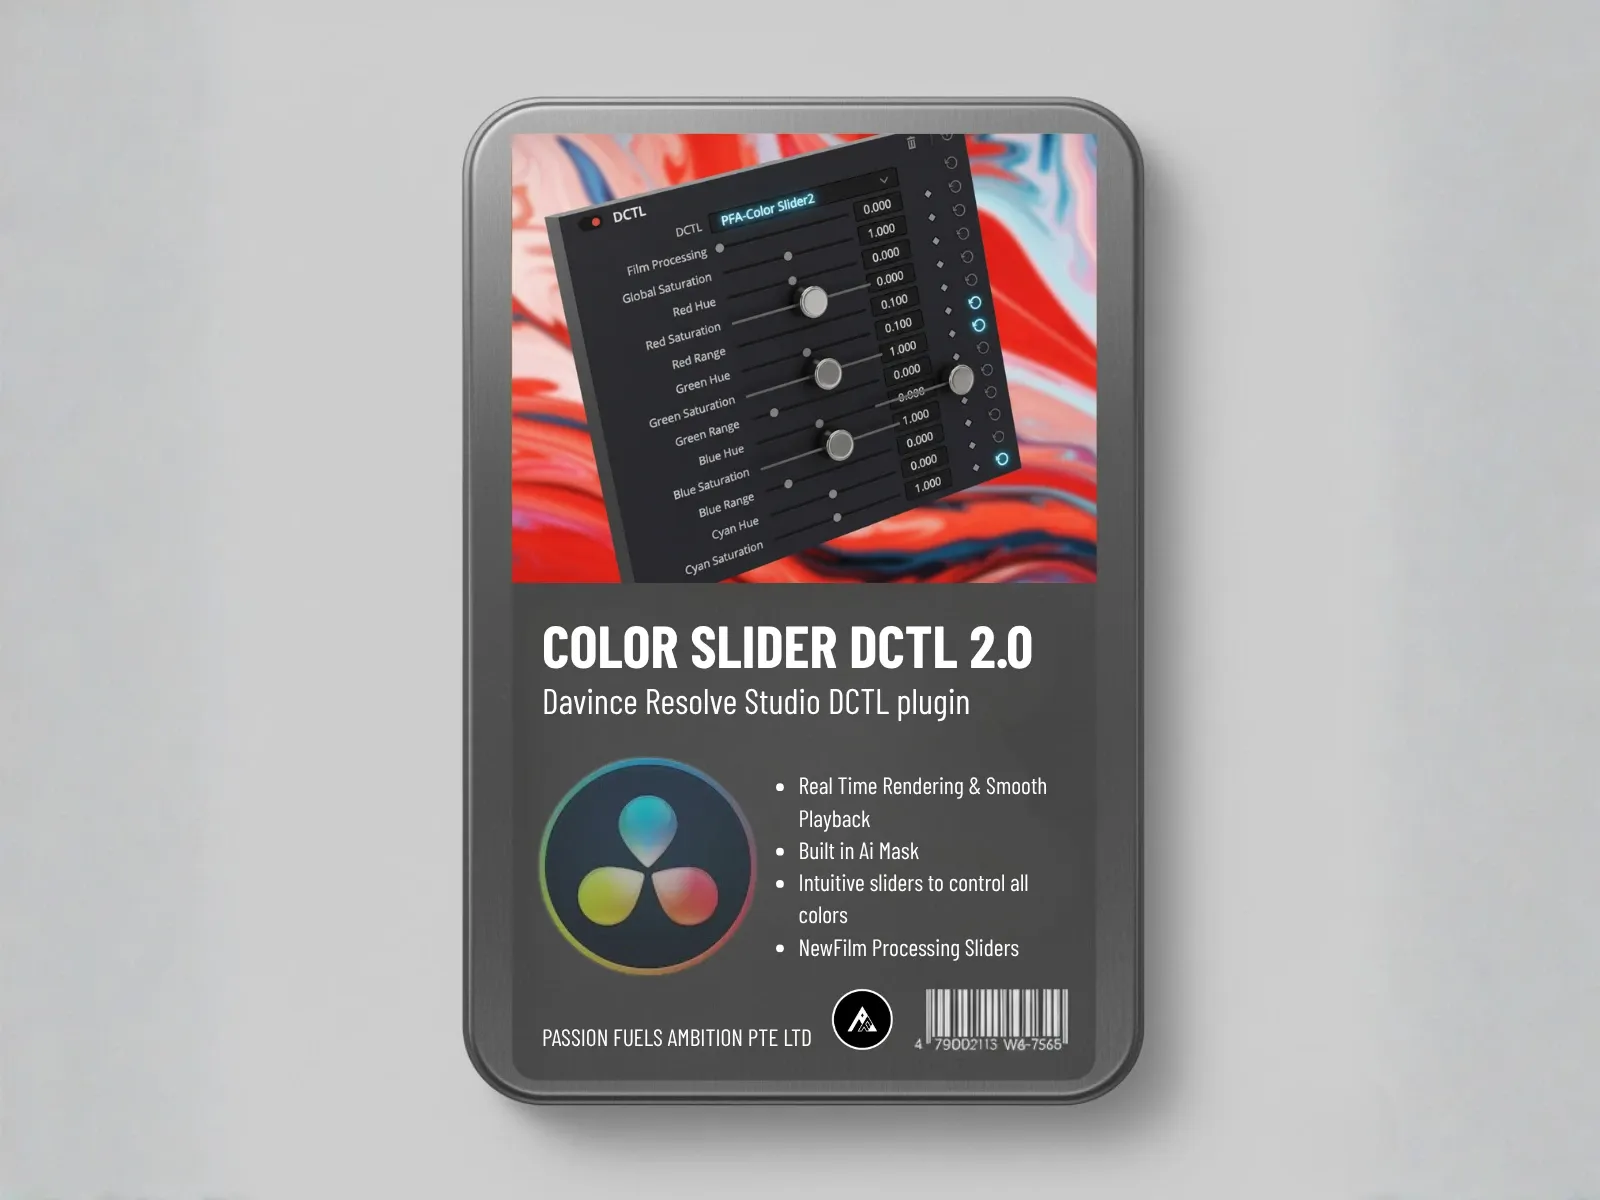
Let me walk through a manual grade to prove the point. After log correction, the image lacks saturation because the correction log does not burn in manufactured color saturation. That is intentional. We want to do our own color work. This is where Color Density comes in.
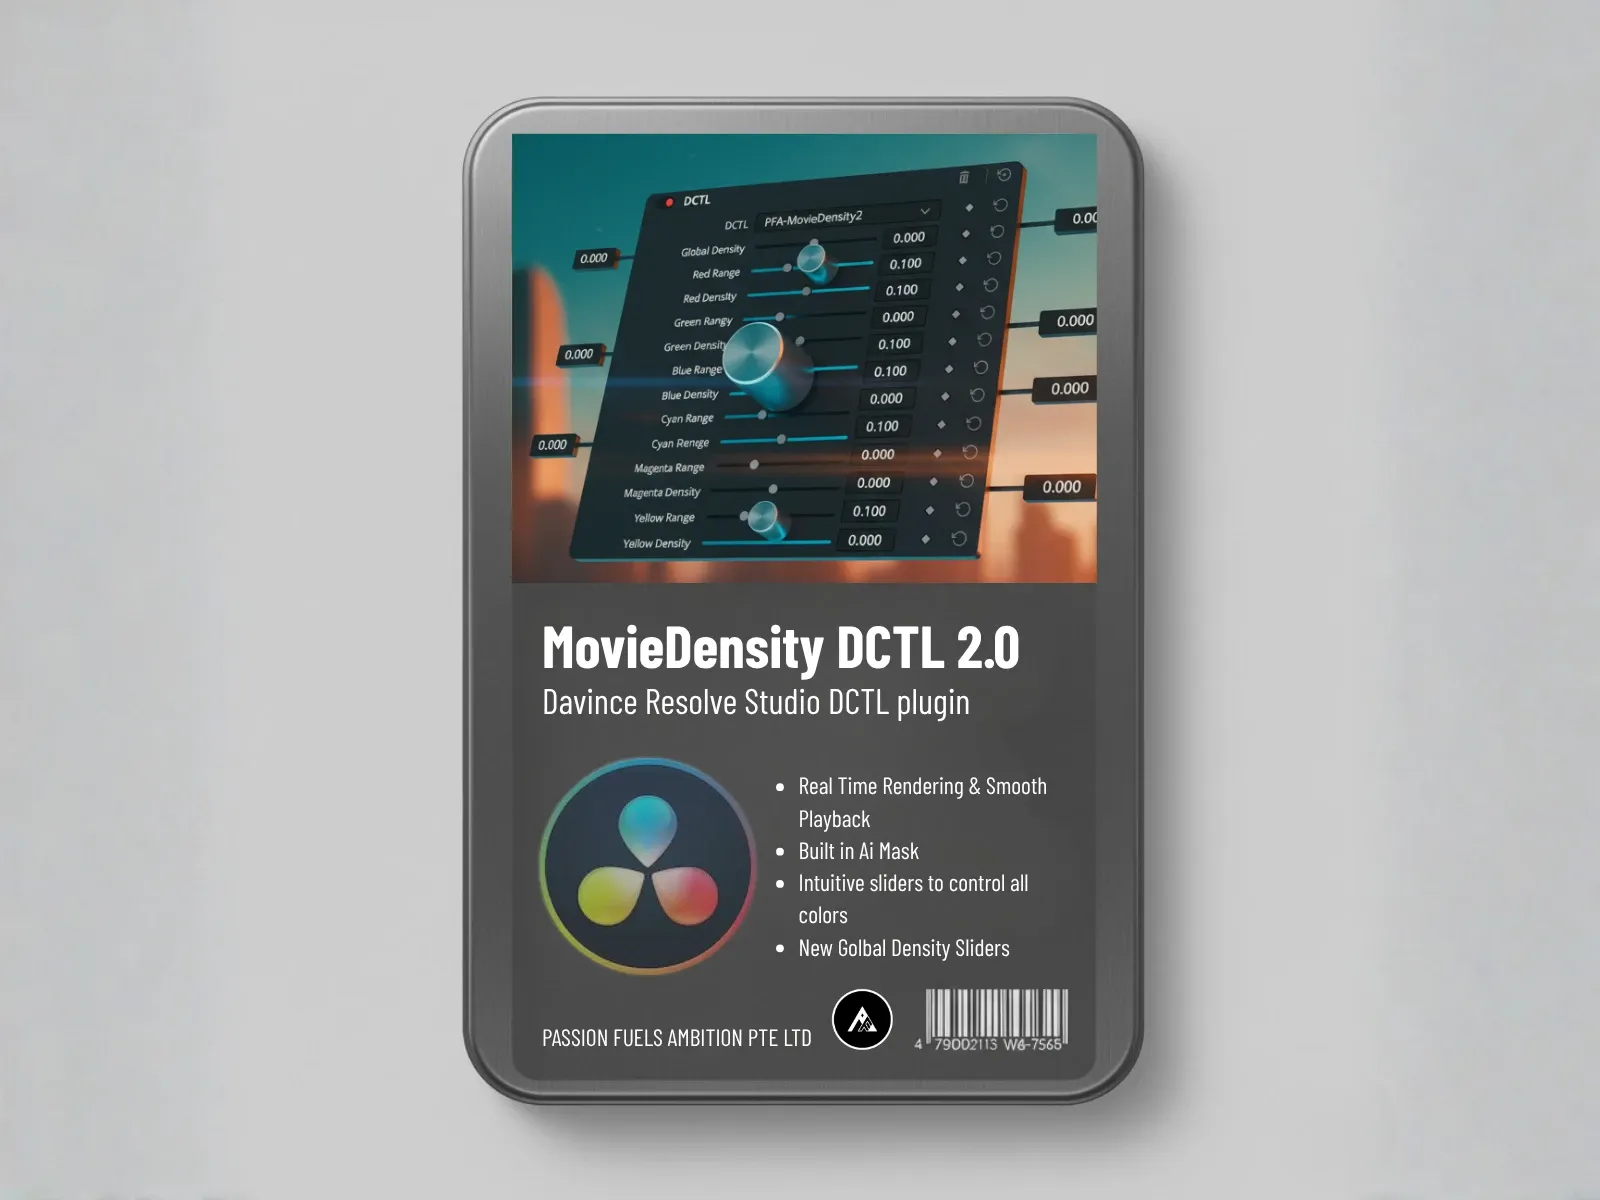
Watch the RGB parade. As I lower the global intensity, the image actually gets more saturated while the RGB parade pixels get darker. This is exact film physics. More saturation means more color dyes that block light. The toolkit replicates the actual physics of film. Most color grading tools just crank a saturation slider. Color Density behaves like real film stock.
Why Color Density Beats a Saturation Slider
A standard saturation slider pushes all channels equally and clips skin tones. Color Density works subtractively. Lowering global intensity increases perceived saturation by deepening the color dye layers, exactly how film emulsion works. The RGB values get darker while the image looks richer. This is the difference between a digital-looking grade and a filmic one.
Skin Tone Protection That Actually Works
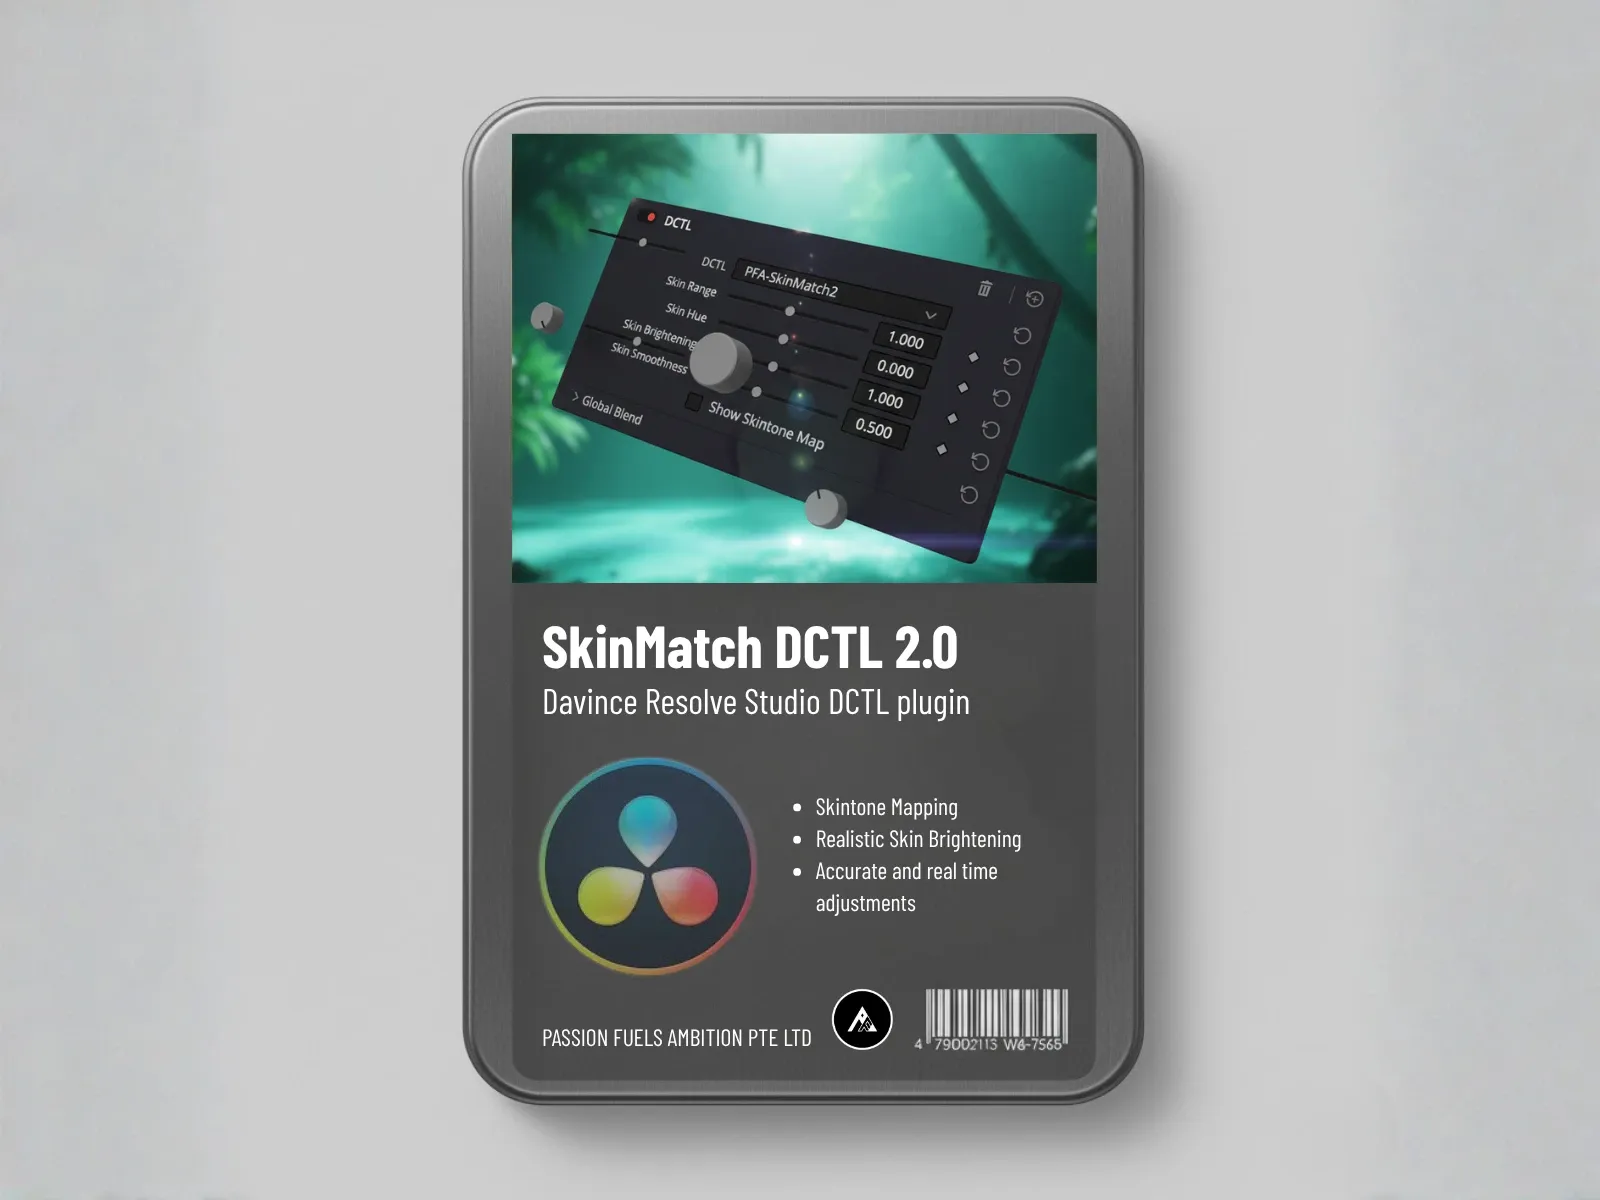
Sometimes you need to color your skin tones specifically. Turn on skin tone matte in the Color Skin tool. Select your skin area. Make sure the hue sits perfectly on the orange skin line in the vectorscope. Once aligned, you can make skin darker or fairer without touching anything else in the frame. This level of targeted control usually requires separate qualifier nodes, power windows, and tracking in DaVinci Resolve. Here it is one tool.
The entire plugin contains a twelve-node workflow compressed into a single interface. Save it as a preset. Use it in Adobe Premiere. Use it in DaVinci Resolve. Soon, Final Cut Pro. That workflow compression is what replaces the massive node trees people think they need.
Film Mixer: Color Relationships Native Tools Cannot Create
Then you have the Film Mixer. This is a normalized slider tool that creates color relationships DaVinci Resolve native tools simply cannot produce. Want teal and orange? Push the Film Mixer sliders and watch the vectorscope respond. The entire color relationship shifts into that teal-orange pattern. In Resolve, you would need multiple curves, HSL qualifiers, and layered nodes to approximate this. Film Mixer does it with normalized sliders.
Teal and pink. Magenta and green. Every combination is available. And through all of it, skin protection ensures no matter how hard you push, skin tones stay untouched. That is how wonderful this engine is.
Then there are Film Printer Lights. These inject mood into the grade. Increase green, increase yellow, and you shift the entire time-of-day feel of the shot. This is essential for matching footage that was not shot in the same lighting conditions.
Lie Number Three: Digital Footage Can Never Look Like Film
Now for the final mystery. What is the single contributing factor that makes film different from digital video? What is the final touch that most people miss?
Run the same workflow. Correction log. Exposure correction. White balance. CinePulse AI generates the look. You love the direction. But it still looks very digital. It does not have that film texture. The secret lies in the Film Tonal Curve.
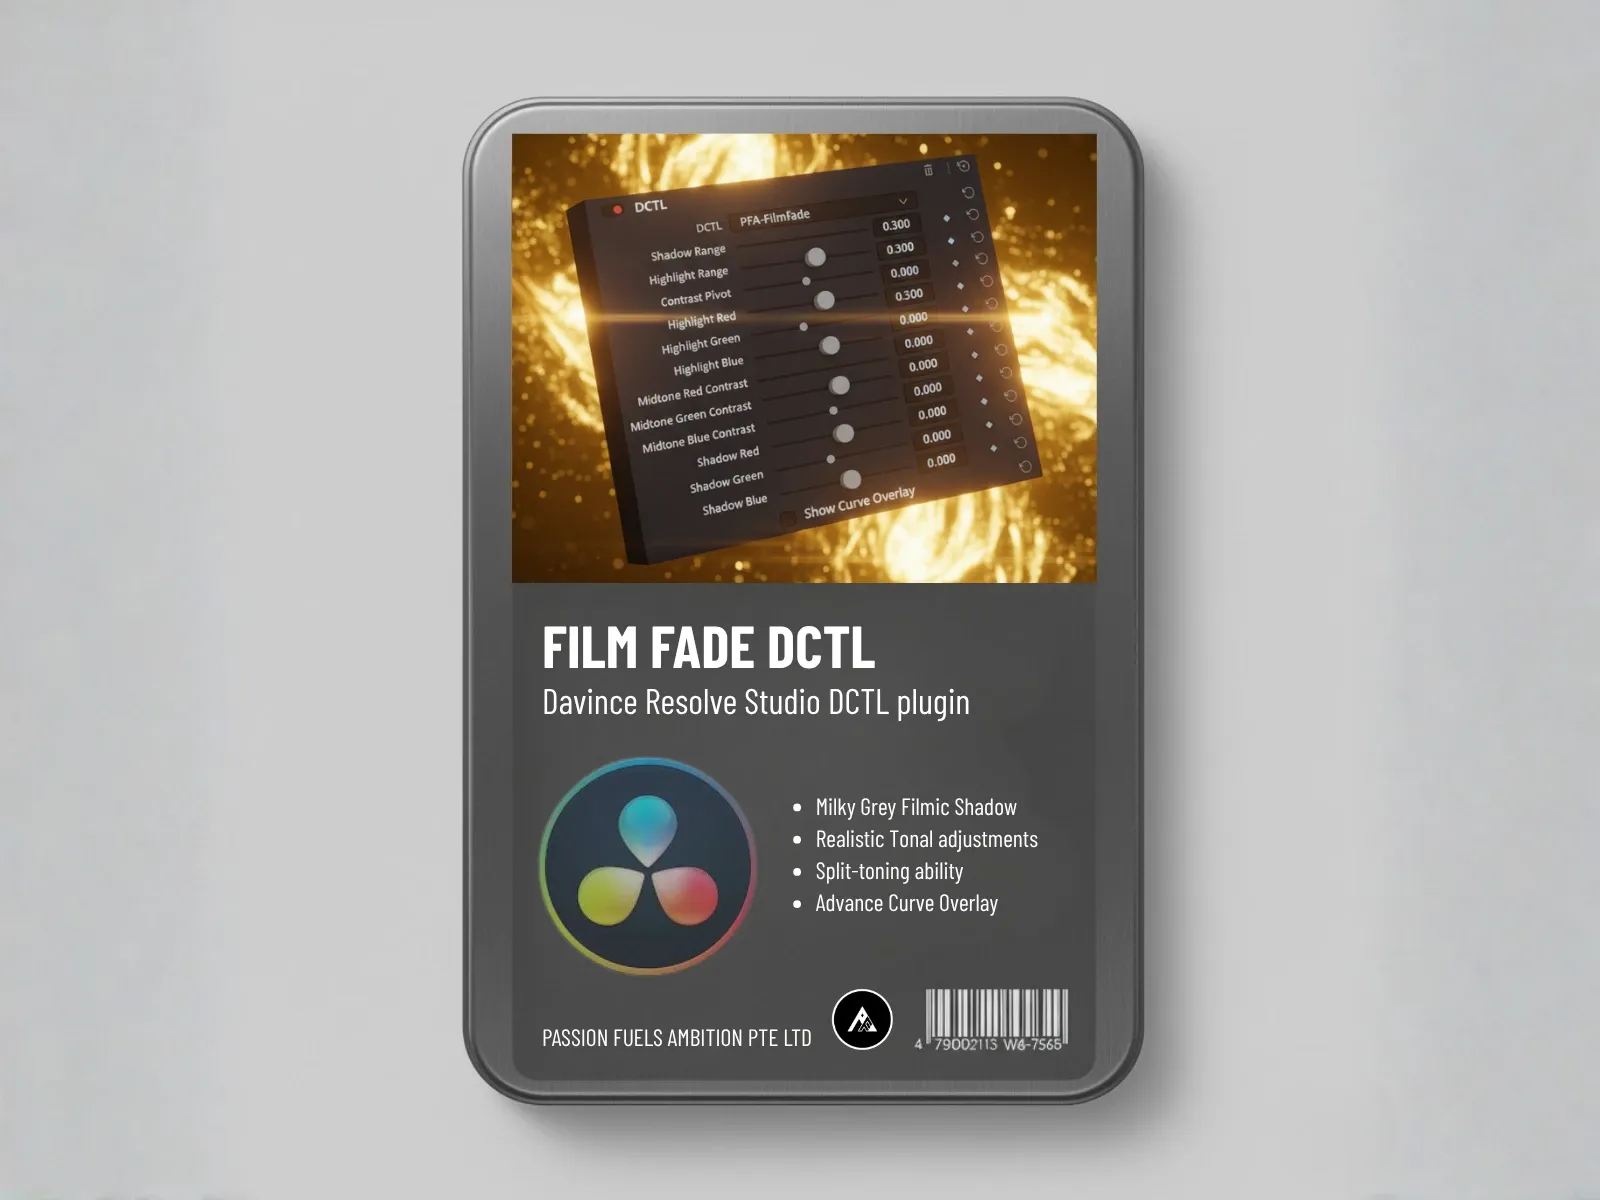
This is the most underrated and overlooked tool in the entire color grading process. Create an S-curve. Increase the black point. Raise the shadow softness. It creates a milky gray in the shadows. Look at the before and after. This contributes to the dynamic range that film achieves compared to a normal digital video.
The Film Tonal Curve lifts the black point slightly, creating that characteristic film shadow roll-off. Digital sensors clip to pure black. Film retains information in the shadows with a gentle fade. This S-curve with lifted blacks is the final touch that makes video look like film. It is the most overlooked step in the entire process, and it is the difference between a grade that looks processed and one that looks cinematic.
The Real Secret Behind Professional Color Grading
Color grading is supposed to be fun. It is supposed to be fast. It does not have to be slow and painful. And you still get full customization after the AI grade.
Stop using LUTs. Stop building fifty-node trees. Stop blaming your camera. The tools exist to do all of this in one node with full control over every parameter. That is what PFA Color Suite delivers.
Try PFA Color Suite Free
Download the PFA Color Suite free trial. It is always one version behind the latest release, so you get a stable, fully-featured experience. Try every engine. CinePulse AI. Color Density. Film Mixer. Film Tonal Curve. Film Printer Lights. All of them, free.
When you are ready to upgrade, use code THANKYOU2026 for 45 percent off the lifetime license. You will not see this level of discount again.
My name is Nash. Passion Fuels Ambition. I will see you in the next one.