How to Get the Film Look in DaVinci Resolve: The Complete Tutorial
The film look isn’t one thing. It’s a combination of characteristics that digital footage lacks: organic grain, smooth highlight roll-off, rich shadow detail, natural color separation, and that intangible feeling of depth and weight that makes cinema feel cinematic.
Getting a film look in DaVinci Resolve requires understanding how motion picture film captures and processes light differently from digital sensors. Film has organic contrast roll-off, natural color separation through layered emulsion, and subtle grain structure. According to Blackmagic Design, Resolve’s node-based color system allows you to replicate these film characteristics with precision.
Here’s exactly how to build it in DaVinci Resolve, step by step.
Step 1: Start with Properly Exposed Footage
The film look starts before you grade. If your footage is overexposed, underexposed, or shot in the wrong color space, no amount of grading will fix it. Shoot in LOG or a flat profile when possible. This gives you the maximum dynamic range to work with.
If you’re working with already-shot footage, the first step is to normalize it using a CST to convert to Rec.709. This gives you a consistent starting point.
Step 2: Color Correction
Before building the film look, fix the technical issues:
- Set your white balance — make whites look white, not blue or orange
- Set your exposure — use the waveform to position your highlights around 0.90 and your shadows above 0.02
- Match your shots — all shots in a scene should have consistent exposure and color
- Fix any color casts — remove unwanted tints from shadows or highlights
Only after correction should you start building the film look. Correction is the canvas. Grading is the painting.
Step 3: Build the Film Contrast Curve
This is the most important step. Film contrast is fundamentally different from digital contrast:
Digital contrast is linear and harsh. It clips highlights at 1.0 and crushes shadows at 0.0. There’s no middle ground.
Film contrast has a gentle S-curve with a soft shoulder (highlight roll-off) and a soft toe (shadow roll-off). It compresses extremes gracefully, which is why film looks smooth even in high-contrast scenes.
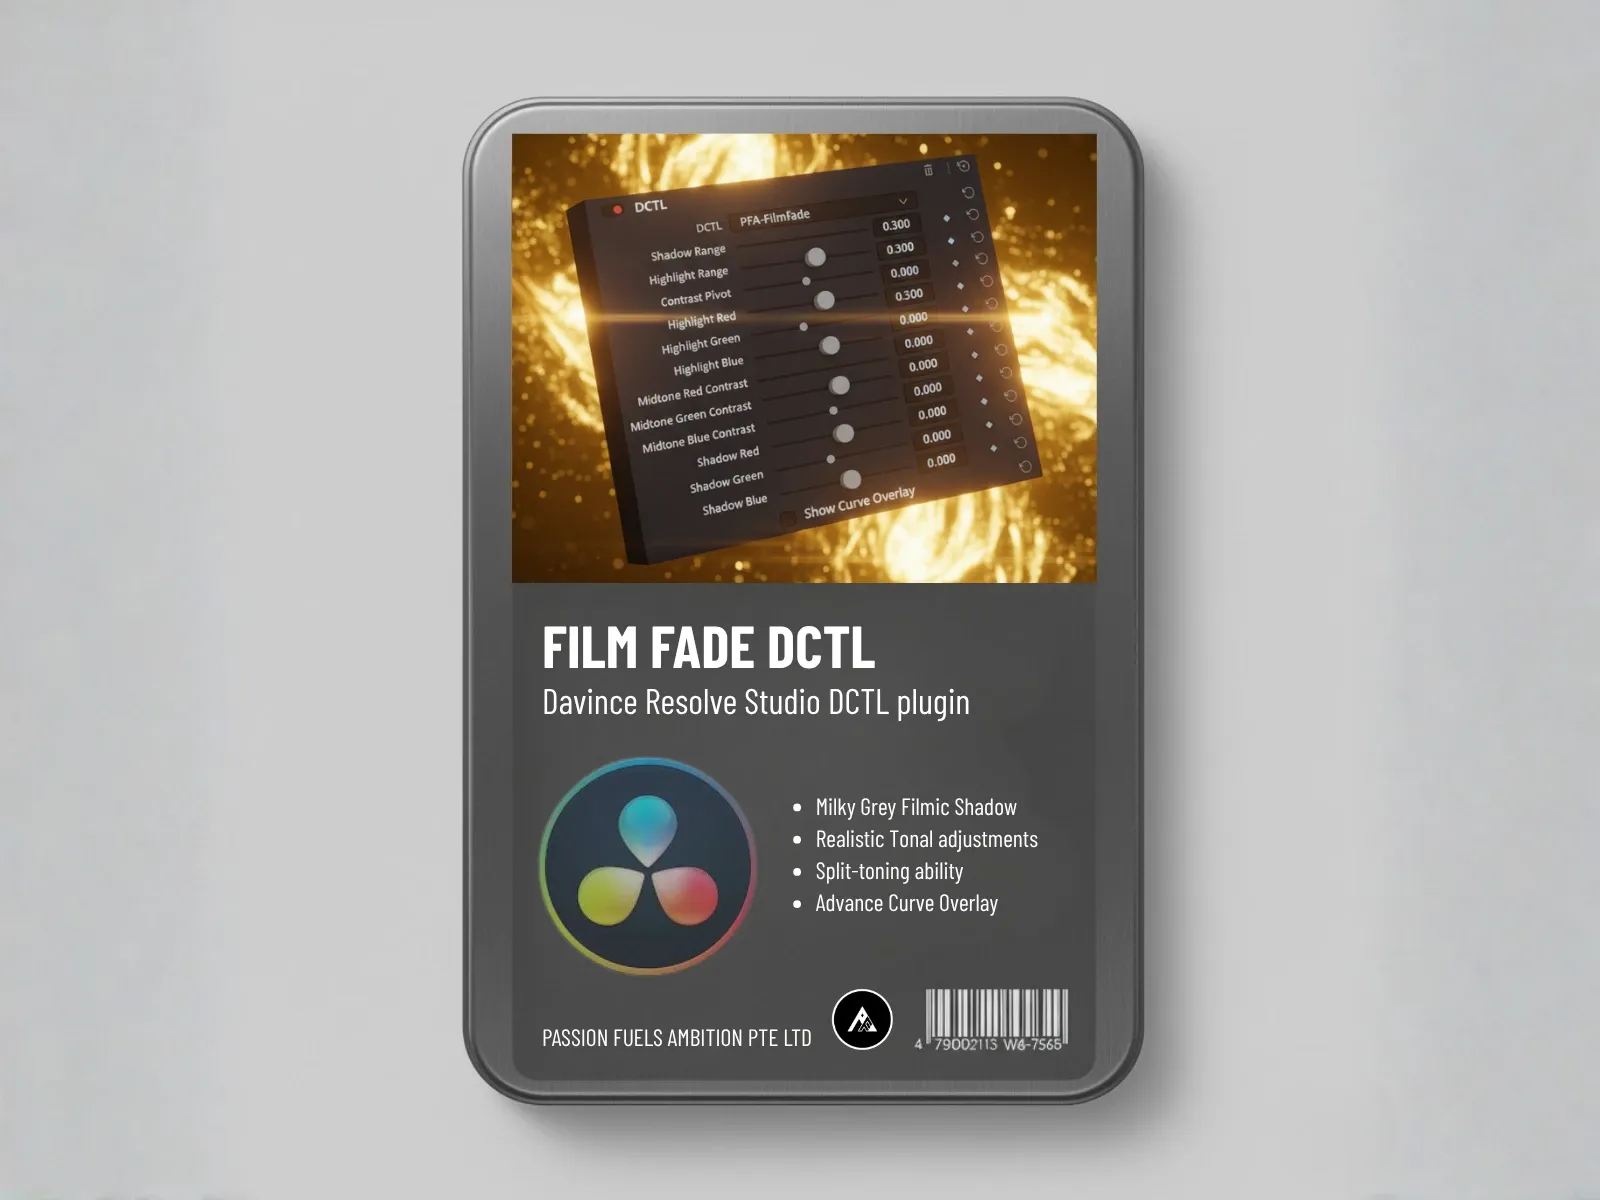
In DaVinci Resolve, build this with the curves tool: gently lift the bottom of the curve (shadows), gently lower the top (highlights), and create a subtle S-shape in the midtones. Or use the Film Tonal Curve in the PFA Color Suite, which models this behavior mathematically.
Step 4: Build Film-Like Color Density
This is where most colorists go wrong. They push the saturation slider and wonder why their footage looks plastic.
Film doesn’t increase saturation by making colors brighter. It increases saturation by making colors deeper and darker. This is subtractive color behavior, and it’s the key difference between film and digital.
To build film-like color density:
- Don’t just push the saturation slider
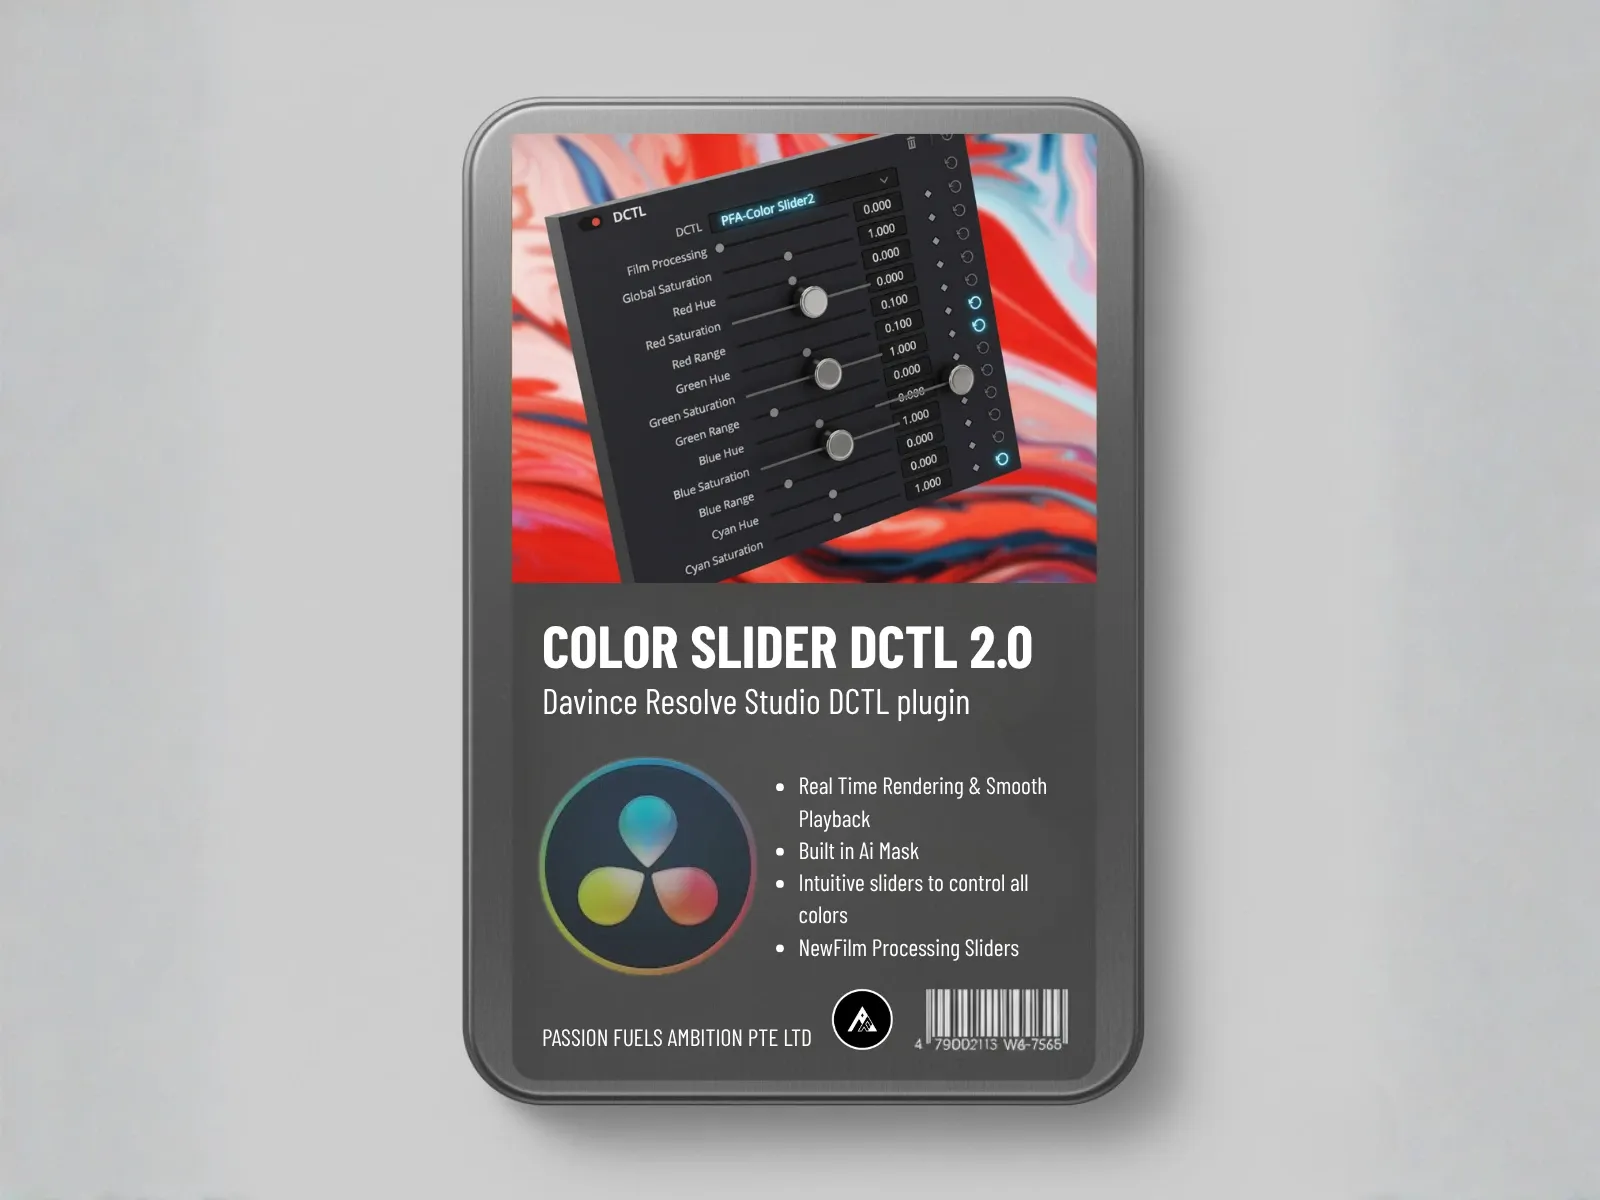
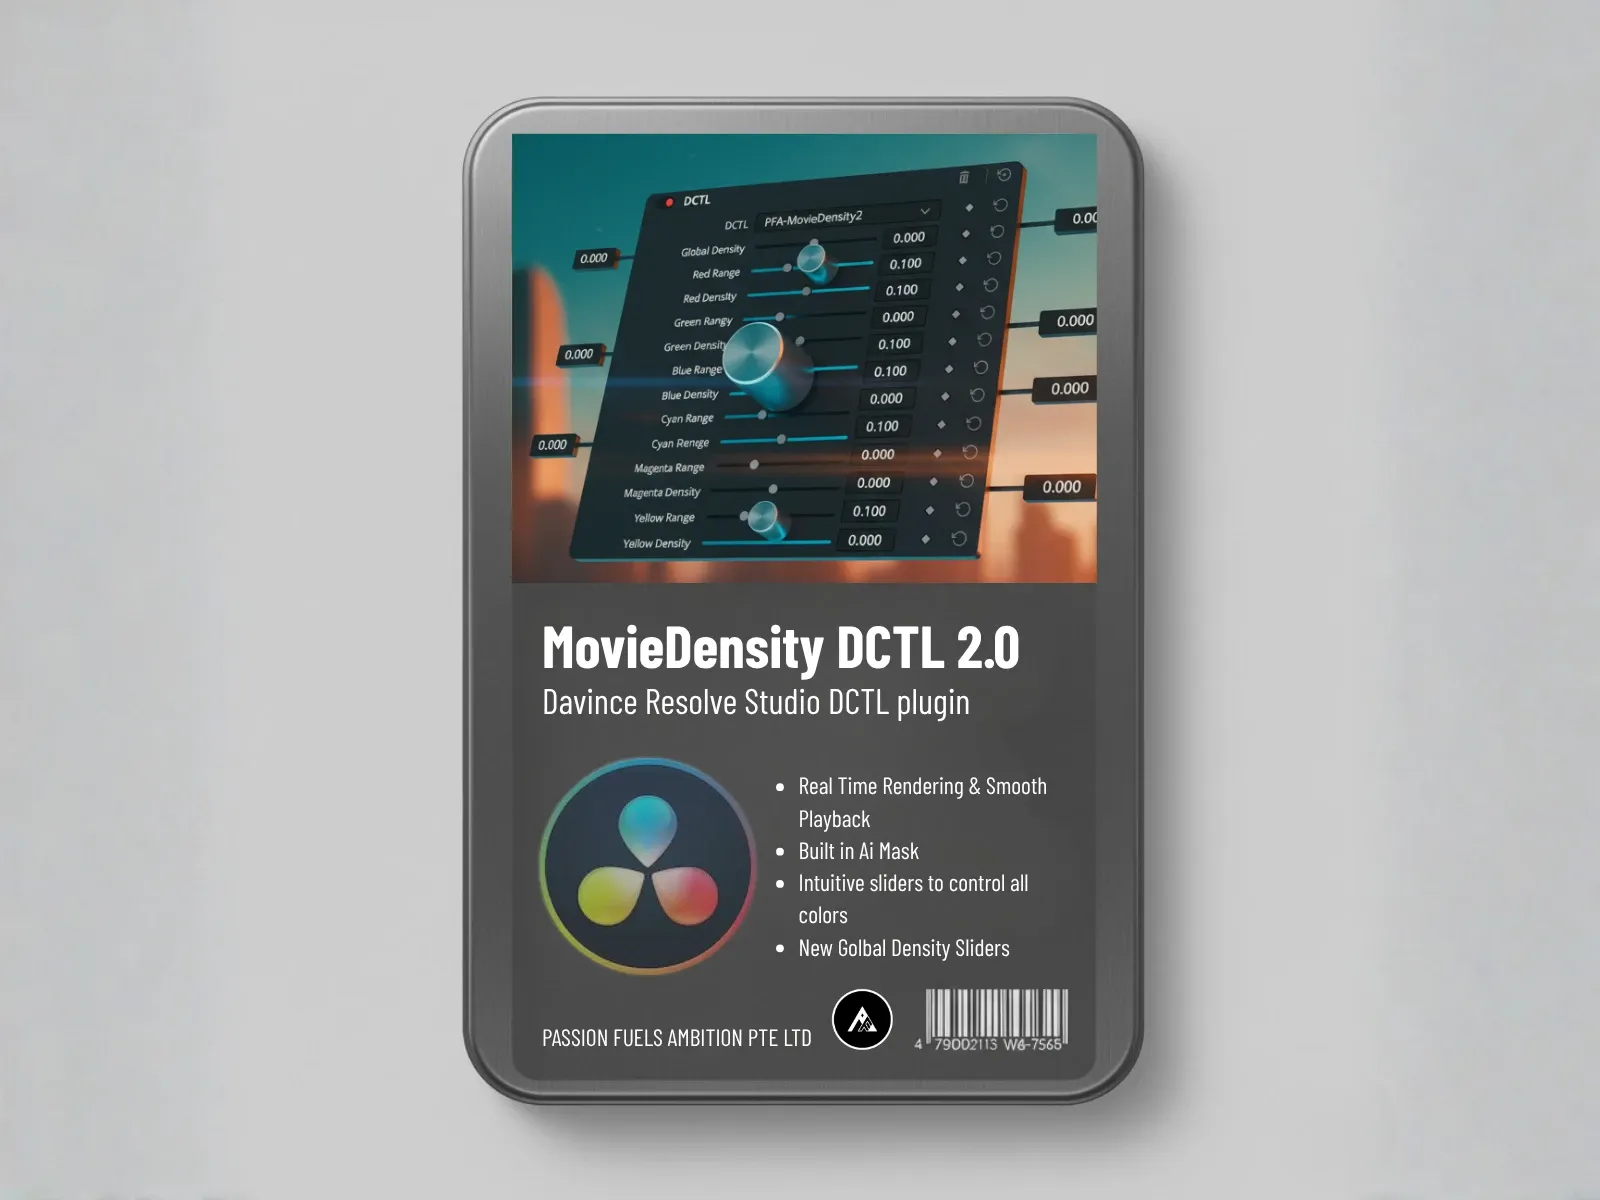
- Use the Movie Density DCTL or the Color Density engine in PFA Color Suite
- Build density in the midtones first, then adjust highlights and shadows
- Protect skin tones while building density in other colors
Step 5: Add Film Texture
Film texture is the final layer that sells the look. It has three components:
Film grain. Random, varied in size, exposure-dependent. Set intensity to 15-25% for a subtle look. Match grain size to your resolution.
Halation. The warm glow around bright highlights caused by light bouncing through film emulsion. Keep it subtle — it should enhance, not dominate.
Bloom. The soft spread of light around highlights. Similar to halation but broader and softer.
In Resolve, use the Film Grain effect, a Glow node on highlights only, and a soft blur on the brightest areas. Or use the Film Texture engine in PFA Color Suite which handles all three in one panel.
Step 6: Fine-Tune and Protect
Before you call the grade done:
- Check skin tones on the vectorscope — they should sit on the skin tone line
- Check your waveform — no clipping at 0.0 or 1.0
- View on multiple displays — phone, laptop, calibrated monitor
- Compare to your reference film — does it feel similar?
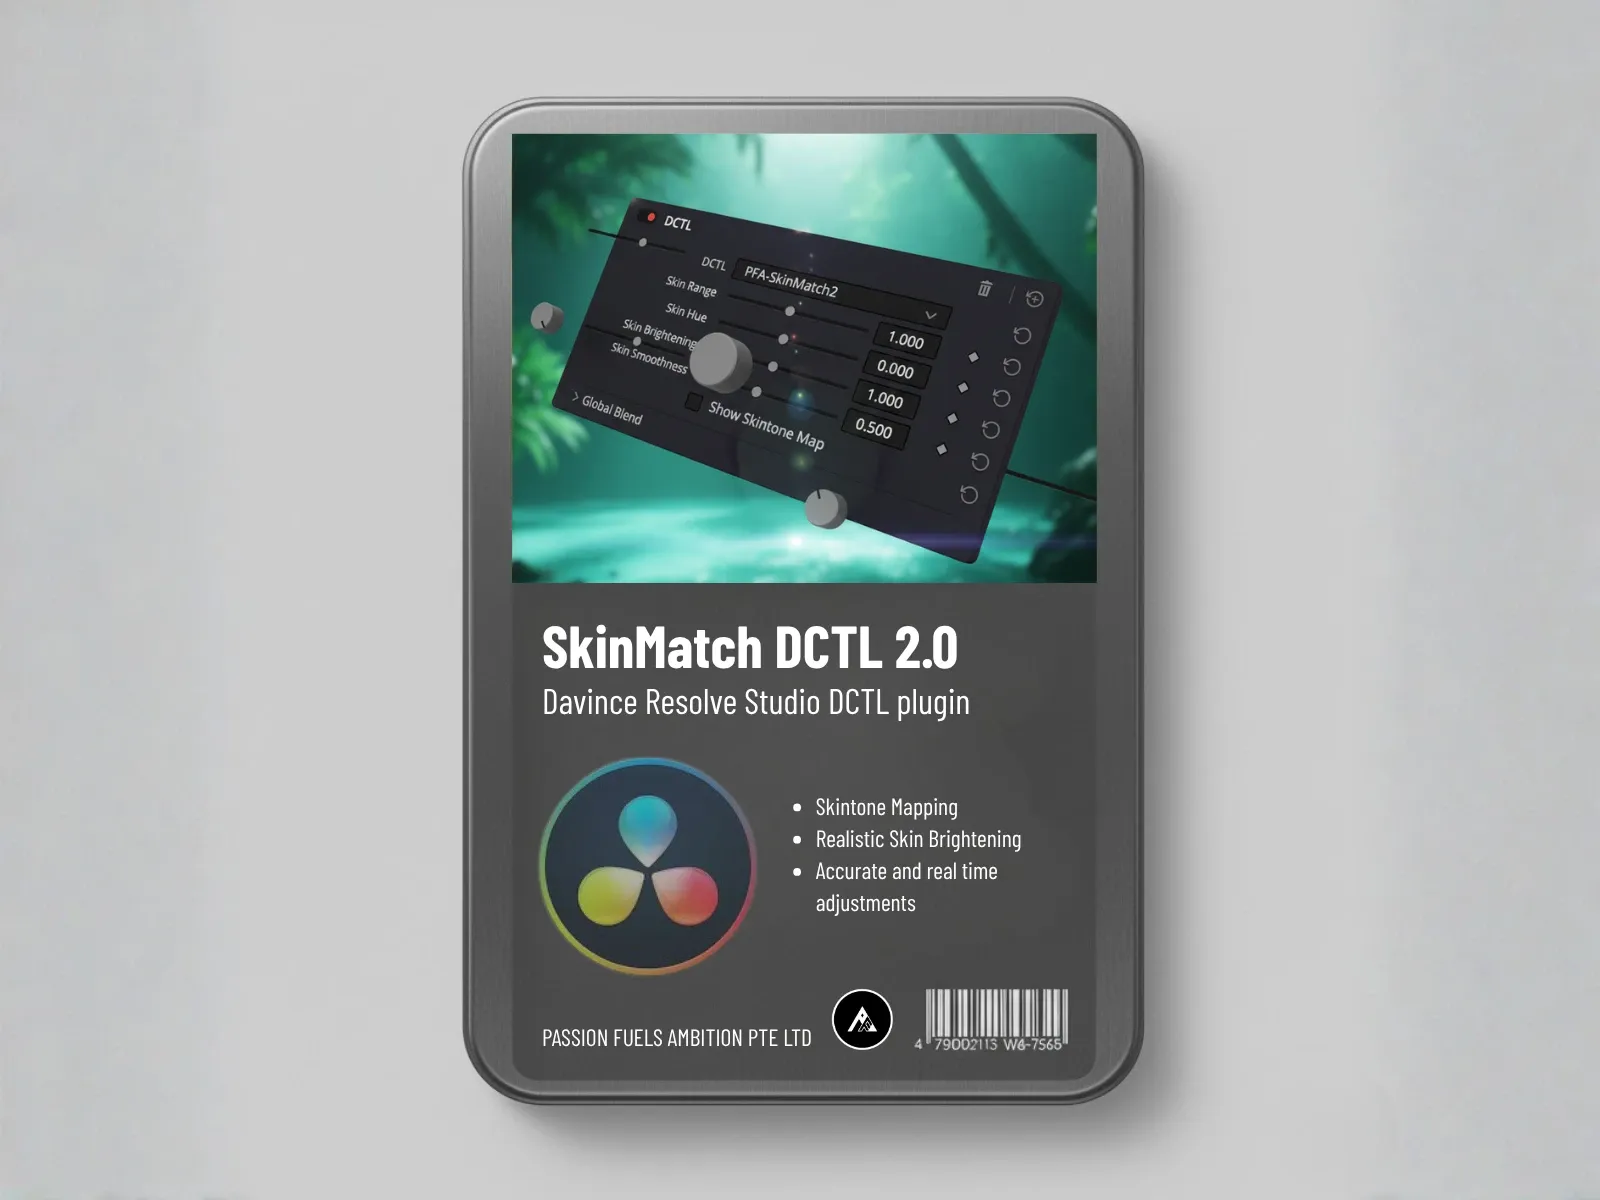
The SkinMatch DCTL provides a visual overlay that shows exactly where your skin tones sit. Orange means perfectly aligned. Blue means off. It’s the fastest way to verify skin tone accuracy.
Can You Get a Film Look Without Plugins in DaVinci Resolve?
Yes. DaVinci Resolve’s built-in tools can create a convincing film look: use the film grain OFX for texture, adjust the highlight rolloff for soft contrast, apply split toning for color character, and add a subtle halation effect. However, dedicated film emulation plugins like PFA Color Suite automate these processes and deliver more authentic results with less manual work.
Can You Get a Film Look Without Plugins in DaVinci Resolve?
Yes. Resolve’s built-in film grain OFX, highlight rolloff, split toning, and halation effects provide a solid starting point. However, dedicated film emulation plugins like PFA Color Suite automate these processes and deliver more authentic results through subtractive color processing that mimics how film emulsion stacks dye layers.
Frequently Asked Questions
Can I get the film look on any camera?
Yes, but the better your source footage, the better the result. LOG footage from a cinema camera will look more filmic than iPhone footage. But even phone footage benefits from film emulation.
How long does it take to build a film look?
With manual Resolve tools: 30-60 minutes per scene for an experienced colorist. With plugins like the PFA Color Suite: 5-10 minutes with full control.
Should I apply the film look to every shot?
Apply it consistently across a project, but adjust intensity per shot. Some shots need more film character, some need less. The key is consistency of approach, not consistency of settings.