Professional Color Grading: Mastering the Digital Color Grading Workflow for a Cinematic Look
Streamline Your Color Grading in Film: A Guide for the Modern Colorist
Achieving a high-end cinematic look in filmmaking often feels like a dark art. Whether you are a professional colorist or new to digital color grading, the goal is the same: to tell a story through visual storytelling. However, a messy workflow can kill creativity. To truly streamline the process, you need a structured approach that moves efficiently from technical color correction to creative color grading.
Professional color grading requires a systematic workflow that covers color correction, creative grading, and finishing in a structured order. According to Blackmagic Design, DaVinci Resolve’s node-based system provides the framework for professional grading pipelines.
In this guide, we will explore color grading techniques used in film and video and provide a step-by-step guide to building a professional node tree using DaVinci Resolve. We will also introduce powerful tools that replace complex steps with simple, efficient solutions.
Color Correction vs. Color Grading: Understanding the Foundation
Before diving into creative color schemes, it is vital to understand the difference between color correction and color grading.
Color correction is the technical process of fixing color imbalances and ensuring consistency across shots. This involves adjusting white balance, exposure, and contrast to create a neutral, unified color image. Color grading is the creative phase where you establish the visual style and look and feel of the movie.
Color correcting involves fixing exposure mistakes, while grading requires an artistic eye to enhance the mood and impact of color.
Step 1: Mastering Color Management and CST
A solid color workflow begins with proper color management. Before making any color adjustments, you must normalize your log footage into a workable color space like Rec.709. This ensures your initial color is accurate.

Many colorists struggle here, but you can achieve the best results instantly with our free tools:
- Universal Log to Rec.709 LUTs: A comprehensive pack for color space transformation that works with Sony, Canon, ARRI, and more.
- Free FUJIFILM Look LUTs: If you prefer a stylized base, this pack converts any log footage into iconic Fuji profiles.
Using these LUTS ensures a solid foundation before you even touch a node.
Step 2: Precision Corrections with the Color Slider
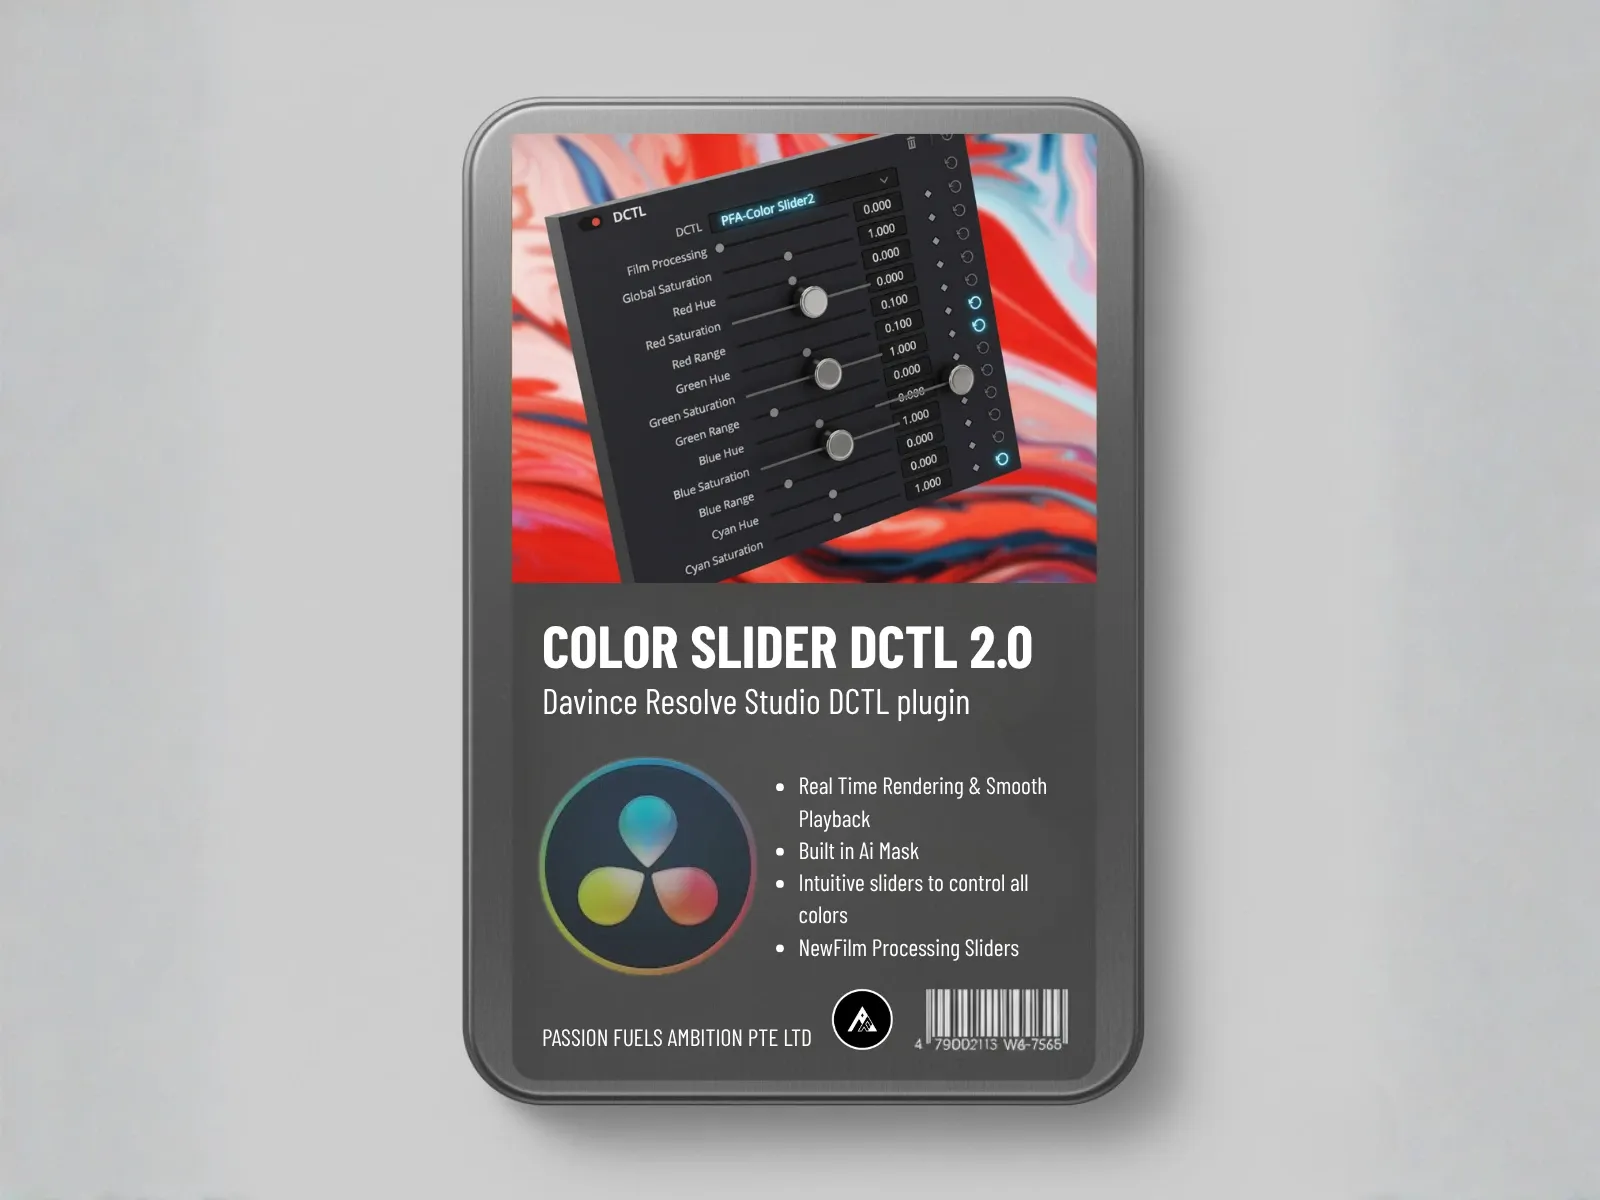
Once your footage is normalized, you move to the correction phase. Professional color grading demands precise control over specific channels. Instead of using a standard RGB mixer, we use the Color Slider DCTL.
This tool is essential for color separation. It allows you to manipulate the red, green, and blue channels independently in a single node. You can fix a color cast or enhance separation without breaking the image. This streamline approach replaces multiple standard nodes, making it far superior to grading tools found in Final Cut or basic video editing software.
Step 3: Cinematic Density and Film Color
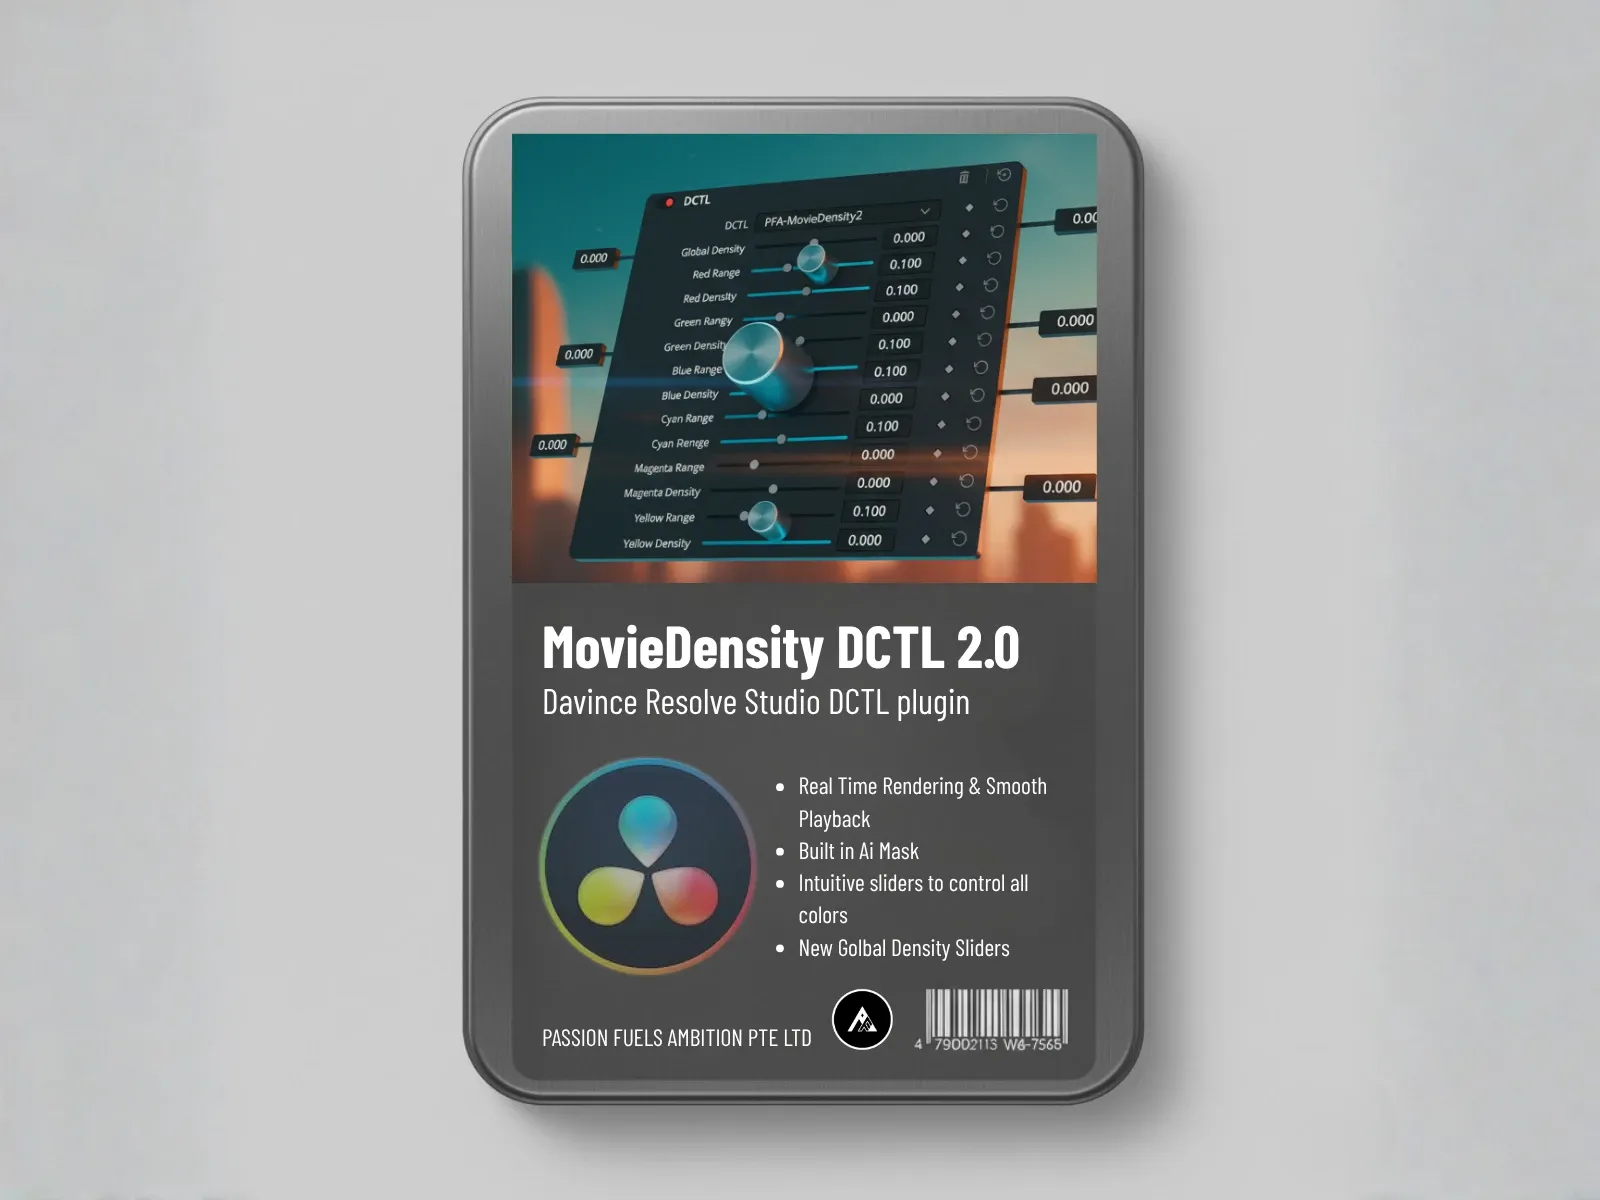
To achieve true film color, you must move beyond standard saturation. Digital sensors often look thin and linear. Cinematic color grading requires “density”,the rich, subtractive color characteristic of celluloid.
The Movie Density DCTL is designed to add this weight. Unlike standard saturation knobs that look digital, this tool adds movie color richness. It ensures that deep colors remain vibrant and desaturated areas don’t look muddy. This is a key secret in advanced color grading techniques.
Step 4: Perfect Skin Tones with SkinMatch
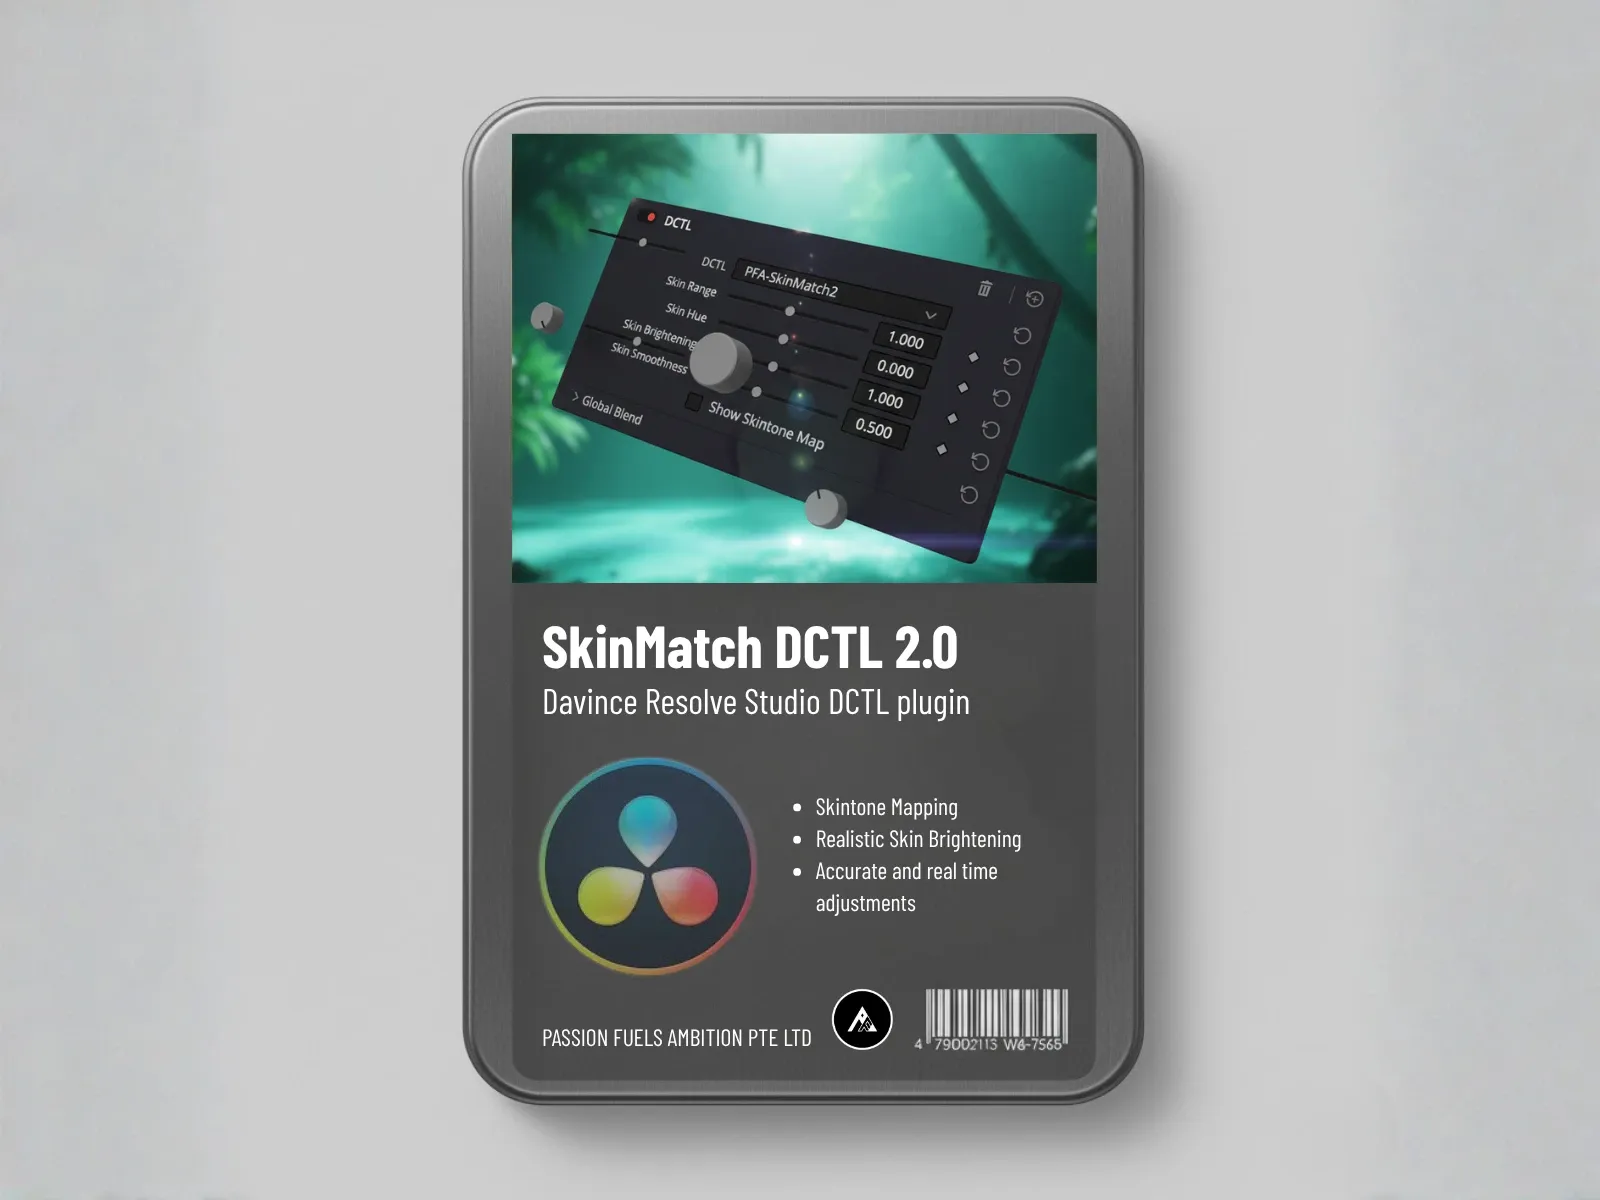
Skin tones are the most critical part of any grade. Bad skin tones ruin visual storytelling. Grading requires you to isolate skin, often involving complex qualifiers and windows.
We streamline this with the SkinMatch DCTL. This tool uses AI to automatically detect and correct skin, ensuring it sits perfectly on the vector scope. It fixes cooler tones or excessive warm tones instantly, providing consistency across the entire timeline. It is faster and cleaner than using tools like standard HSL qualifiers.
Step 5: Finishing with FilmFade and Style
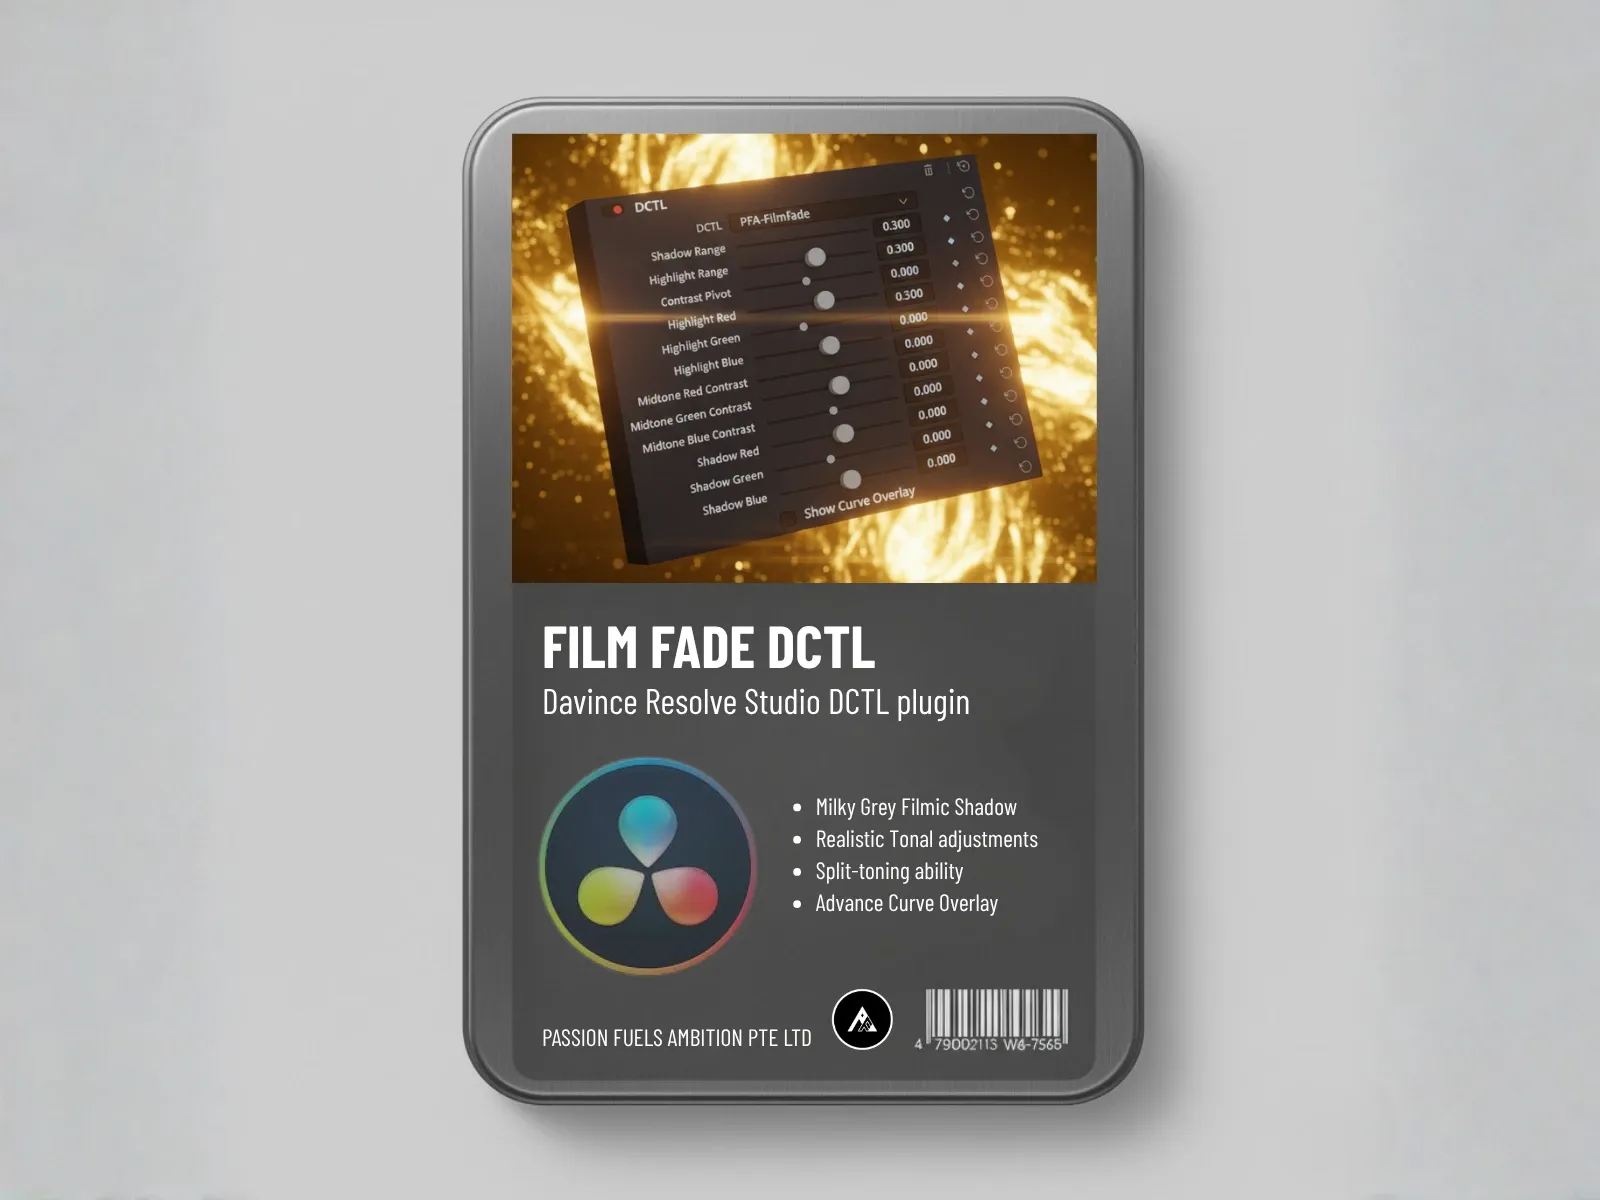
The final step in our workflow is establishing the final mood. This is where color theory comes into play. You might want warmer tones for a nostalgic feel or cooler tones for a thriller.
The FilmFade DCTL is the ultimate finishing tool. It allows you to lift shadows into a “filmic gray” and apply subtle split-toning. It gives you control over color in the shadows and highlights independently, helping you achieve a desired aesthetic.
Advanced Color Grading Techniques and Theory
Mastering color involves studying color schemes (complementary, analogous, triadic) and how they affect the audience. Color grading in film is not just about making it pretty; it’s about psychology.
- Production Design: Overall production and set design dictate the color palette.
- Selective Color: Use color to guide the eye. Tools like the Color Slider help boost specific hues.
- Consistency: A professional colorist ensures that color tone doesn’t jump between shots.
Software like DaVinci Resolve offers deep control, but DaVinci Resolve and Adobe Premiere users alike can benefit from DCTLs and LUTs that standardize these complex processes. Even if you use Adobe Premiere Pro or are new to color grading, understanding these principles is key.
Conclusion: Elevate Your Visual Style
Whether you are using the free version of software like Resolve or the full DaVinci Resolve Studio, the right tools make all the difference. By following this step-by-step guide and utilizing powerful color grading tools like our DCTL suite, you can achieve professional-grade color faster.
Streamline your creative process today:
- Normalize: Universal Rec.709 LUTs
- Correct: Color Slider DCTL
- Density: Movie Density DCTL
- Skin: SkinMatch DCTL
- Finish: FilmFade DCTL
Video color grading is the final rewrite of the script. Make it count.
How does cinematic color help streamline color grading process?
Focusing on cinematic color early in your workflow simplifies decisions by defining an overall color intent,mood, contrast, and specific color accents,before diving into secondary corrections. Establishing a cinematic look reduces back-and-forth color changes, keeps consistent color across shots, and speeds the grading process whether you use color grading software like DaVinci Resolve come or editing software like Premiere Pro.
Can DaVinci Resolve improve my grading process compared to other color grading software?
DaVinci Resolve is optimized for complex node-based workflows and offers advanced tools (scopes, color wheel, and high-quality LUT handling) that speed up consistent color delivery and final color approval. Compared with other color grading software like Adobe SpeedGrade or color tools in editing software like Premiere, Resolve’s nodes let you isolate corrections, batch apply looks, and manage color grading and color correction more efficiently for professional video projects.
What workflow steps should I follow in a streamlined node-based grading process?
A streamlined workflow typically follows these steps: (1) color balance and exposure in a primary node, (2) noise reduction and sharpening, (3) creative look with a separate node or node tree, (4) secondary isolation of a specific color using qualifiers or masks, and (5) final color polish and matching for consistent color across shots. Using nodes helps organize the grading process and makes iterative color changes predictable and reversible.
How do color schemes and color theory affect my color grading decisions?
Applying color theory and deliberate color schemes (complementary, analogous, triadic) helps you pick used color grading choices that reinforce the story and maintain visual harmony. Knowing how the color wheel relationships influence skin tones and backgrounds makes creating consistent color and striking cinematic color grading examples easier and faster during the grading process.
When should I perform color grading and color correction during editing?
Start with color correction,exposure, white balance, and color balance,to create a neutral baseline, then move to color grading for creative looks and final color. Integrating these steps into your editing software workflow (whether in DaVinci Resolve, Premiere, or other editing software like Final Cut) prevents redundant color changes and shortens the overall grading process.
What are practical color grading examples that illustrate a faster workflow?
Practical examples include using a single LUT for a scene and refining it with nodes, creating a dedicated node for skin tone preservation, or building a preset library for common lighting scenarios. These used color grading strategies reduce repetitive tasks and speed up delivering a professional video look across multiple clips.
How can I maintain consistent color across multiple cameras and scenes?
Use color balance tools and scopes to match exposure and white balance first, then apply reference frames or groups with shared secondary corrections for consistent color across cameras. Tools in color grading software like scopes, color wheels, and the ability to copy node trees make matching much more reliable and minimize manual color changes.
Are there simple step-by-step guides to learn color grading for faster results?
Yes,start with a step-by-step guide: ingest and transcode footage, set a baseline with color balance, remove noise, apply a creative node for the look, isolate specific color adjustments, and finalize with sharpening and delivery LUTs. Tutorials for DaVinci Resolve and other editors explain each step and supply color grading examples to practice a repeatable, efficient grading process.
Further Reading
What Makes Professional Color Grading Different from Amateur?
Professional color grading follows a systematic workflow: correction first (white balance, exposure, shot matching), then creative grading (mood, cinematic looks), then finishing (grain, sharpening, vignette). Amateurs often skip correction or apply creative looks before fixing technical issues, leading to inconsistent results. The difference is discipline and organization, not just tools.