AI Color Grading: How to Grade 3 Shots in Just a Few Clicks
AI color grading has moved past the hype phase. The question is no longer whether artificial intelligence can help you color grade faster, but whether you can trust it to deliver consistent results across every shot in your project. In this walkthrough, I will show you how PFA Color Suite transformed from a color grading plugin into a full AI color pipeline assistant, and how you can grade three completely different shots with just a few clicks.
The workflow I will cover applies to DaVinci Resolve users who want a seamless process from flat LOG footage to a finished cinematic look. Whether you are working on a music video, a short film, or client content, the same steps apply. And if you prefer to colour grade using British English terminology, every principle here translates directly.
Why Shot Consistency Is the Real Color Grading Challenge
You nailed the first shot. The exposure is perfect, the white balance sits right, and the cinematic looks you created feel exactly right. Then you cut to shot two and everything falls apart.
Same camera. Same day. Same settings. Yet nothing matches.
This is the problem every colorist faces. Manual color correction across multiple shots eats hours. A 2024 report from PremiumBeat noted that professional editors spend roughly 60 percent of their total project time on shot matching alone. You tweak one clip and break three others. The traditional approach requires a massive node tree with individual adjustments per shot, and even then, consistency is never guaranteed.
According to Blackmagic Design, the Color Page in DaVinci Resolve offers the most comprehensive toolset in the industry. But comprehensive does not mean fast. A color grade that takes 45 minutes per shot on a 50-shot project is 37.5 hours of work. That is where AI changes the equation.
How the AI Color Pipeline Works
PFA Color Suite approaches color grading differently from tools that burn results directly into your footage. Every ai-powered button you click is not a baked-in filter. It is a calibrated adjustment of every parameter inside the toolkit. The AI analyzes your footage and calls the exact parameters needed for a correct starting point.
Here is the foundation workflow:
- LOG to Rec.709 conversion — The AI corrects your LOG footage to a standard Rec.709 color space, giving you a proper starting canvas.
- Exposure correction — The AI sets perfect exposure by analyzing the histogram and adjusting until shadow detail, midtones, and highlights are all visible.
- White balance correction — The AI identifies the correct color temperature so your footage starts from a neutral baseline.
Once these three foundation steps are done, you move to CinePulse AI to generate different looks. Every look has a different taste, a different style, and different switches. You filter through them and pick the one that matches your vision.
Step-by-Step: Grading 3 Shots
Shot One: Build the Look from Scratch
Start with your first shot. Go to the correction LOG group and click Grade with AI to convert the LOG footage to Rec.709. Next, set correction exposure to nil for perfect exposure, then use correction white balance to establish the right starting point.
Now move to CinePulse AI to generate different looks. As you filter through the options, you will notice each one has its own character. Pick the one that feels right for your project.
Once you find the look you want, save it as a preset through the preset manager. This preset becomes your template for every remaining shot. Name it something you will remember, like the project date, and you are ready to move on.
Shot Two: Load the Preset, Stay Consistent
On the second shot, follow the same foundation steps: LOG conversion, exposure correction, white balance correction. Then load the preset you saved from shot one. Select it and apply.
Look at how consistent the grade is from one shot to the next. The exposure, color balance, and overall look carry through without any manual tweaking. This is the power of a preset-based workflow combined with AI-assisted foundation corrections.
Shot Three: Repeat and Verify
Shot three follows the same pattern. Correction LOG, correction exposure, correction white balance. Load the preset. Done.
Three shots, same style, zero inconsistency. The entire sequence feels like it was graded as a single unit, even though each shot may have different lighting conditions, different camera angles, or different subjects.
The Manual Alternative: Full Control Without AI
If you prefer the manual route, the AI buttons are not replacing your work. They are a starting point that you can ignore entirely. Here is how the same result looks when you do everything by hand.
Manual Exposure and White Balance
Click on the LOG guide and adjust LOG exposure until you see all the fine details. Turn on the scopes to make sure you can see both shadow tone and highlight information. Once you have perfectly nailed the exposure, you can fine-tune it up or down.
Then adjust your lift, gamma, and gain manually to shape the image. The AI simply calls these parameters for you. When you do it yourself, you get the same result with more time invested.
Film Tonal Curve: Building the Foundation
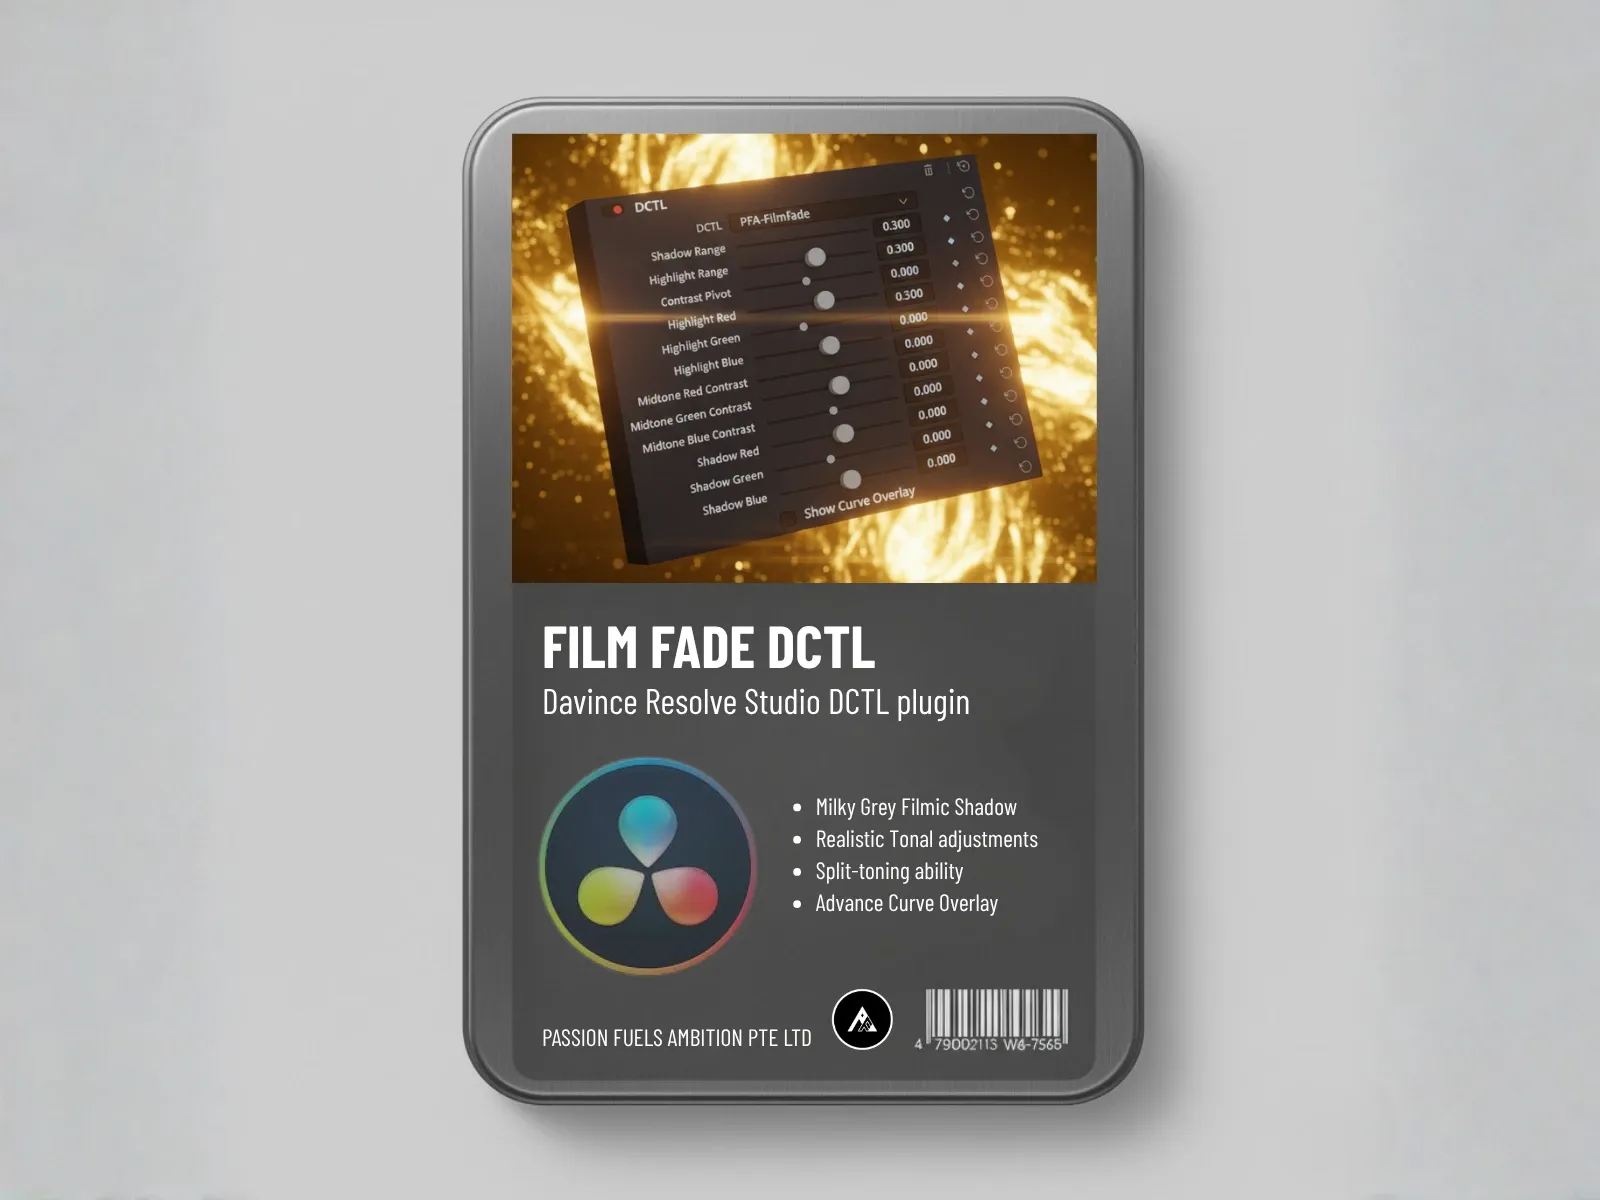
Go to the Film Tonal Curve and enable the curve overlay. Increase shadow softness and raise the black point to create that milky gray quality in the shadows that film has. Add a touch of contrast and you have a solid foundation.
Film Spectral Contrast: Color and Contrast Together
The Film Spectral Contrast engine creates contrast and saturation simultaneously. You can adjust red contrast, blue contrast, and other color channels independently. This gives you precise control over how different colors interact within your grade.
Tuning the tonal curve and film spectral contrast together produces results that rival any traditional node tree, but in a fraction of the time.
Color Density: Richness Without Blowout
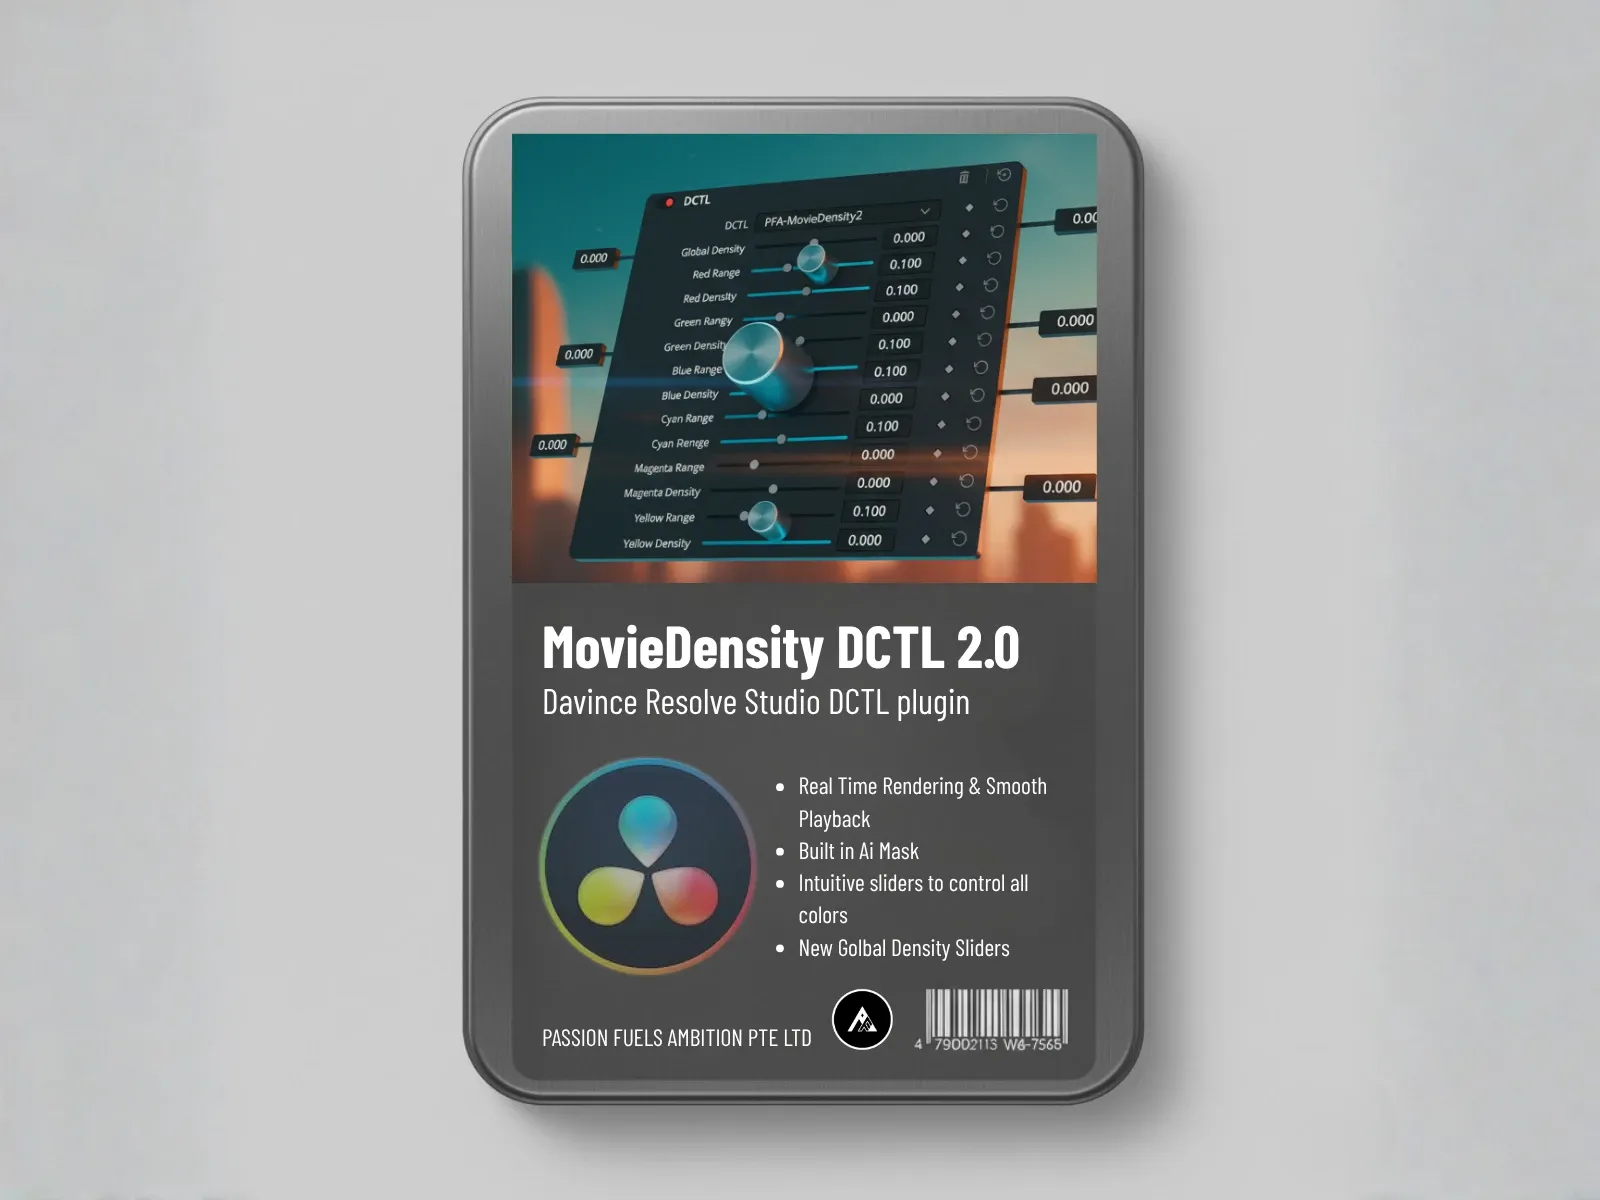
The Color Density engine introduces saturation while lowering luminance at the same time. This creates richness in the color without the harsh blowout that happens with simple saturation sliders. As you increase saturation, the image gets denser rather than brighter. That is the difference between a digital look and a film-like grade.
Film Mixer: Creating Color Palettes
The Film Mixer lets you create specific color palettes using channel mixing. Think of it like working with dyes. You are remixing the red channel into different colors. Reduce red and you get more cyan in the frame. Increase green and magenta shifts toward green. Adjust blue and yellow moves toward blue.
This is how you build a teal and orange palette, a teal and pink look, or a magenta and green split tone. And throughout all of this, skin tones stay protected. Without the skin protection system, every adjustment would push skin tones into unnatural territory. The math behind this is what makes PFA Color Suite different from other grading tools on the market.
Film Printer Lights: Reshaping the Light
Film printer lights let you change the lighting character of a shot without reshooting. Want golden hour? Increase green slightly, reduce yellow a touch, and you get a clean morning light. Want a darker, more moody afternoon tone? Increase blue and cyan, adjust yellow, and the entire mood shifts.
Traditionally, printer lights were about shining light through film strips during the printing process. Here, the same principle applies digitally. You are reshaping the lighting shade of your footage.
Why 32-Bit Float Math Matters (And Why LUTs Cannot Compete)
There is a fundamental difference between how PFA Color Suite handles color grading and how LUT-based workflows operate. PFA does not use LUTs at all. Every adjustment is calculated in 32-bit floating point math.
A LUT is a lookup table. It maps input values to output values with fixed precision. When you push a grade beyond what the LUT was designed for, you get banding, clipping, and color artifacts. The LUTs you download from the internet are one-size-fits-all presets that cannot adapt to your specific footage.
32-bit float math operates on the actual pixel values with virtually unlimited precision. Every parameter adjustment is a real mathematical calculation, not a table lookup. This means you can push the grade as far as you want without degrading image quality. When AI calls these parameters, it is working with the same precision you would have manually. The result is identical. The process is just faster.
For editors working in Premiere Pro or any other NLE that supports OpenFX, this means you get DaVinci Resolve level precision without leaving your editing timeline.
Save Your Grade and Apply It Everywhere
Once you have built a grade you love, save it as a preset. Load that preset on every remaining shot. The foundation corrections (LOG, exposure, white balance) handle the per-shot differences, and the preset carries the creative look across the entire project.
This is the AI color grading workflow in its simplest form. Three foundation clicks. One preset load. Consistent results across every shot. You can fine-tune any shot manually afterward if needed. The AI gives you a starting point, not a final answer.
If you want to try this workflow yourself, download the PFA Color Suite free trial and test it on your own footage. The 11.3 update includes all the AI features shown in this walkthrough.
Frequently Asked Questions
Does AI color grading replace the colorist?
No. AI color grading is a tool, not a replacement. It analyzes footage and adjusts parameters to give you a strong starting point. You still make the creative decisions about which look to choose, how far to push the grade, and when to fine-tune manually. The colorist remains in control. The AI just removes the repetitive foundation work.
Can I use AI color grading in Premiere Pro?
Yes. PFA Color Suite works as an OpenFX plugin, which means it is compatible with both DaVinci Resolve and Adobe Premiere Pro. The AI features, preset system, and all engines work the same way in both applications. You get the same seamless workflow regardless of which NLE you prefer.
What is the difference between AI grading and LUTs?
A LUT is a fixed lookup table that maps input colors to output colors. It cannot adapt to your footage. AI color grading analyzes each shot individually and adjusts parameters in real time. The result is a custom grade for every clip, not a one-size-fits-all preset applied blindly.
How do I maintain consistency across multiple shots?
Build your look on the first shot and save it as a preset. On every subsequent shot, apply the same three foundation corrections (LOG conversion, exposure, white balance) and then load the preset. The foundation adjustments handle the technical differences between shots, while the preset carries the creative look consistently.
Is 32-bit float processing really better than LUTs?
Yes. 32-bit float math processes colors with virtually unlimited precision. LUTs are limited by their table size and cannot handle extreme adjustments without introducing artifacts. If you want cinematic results that hold up on large screens and HDR displays, 32-bit float is the only acceptable approach.