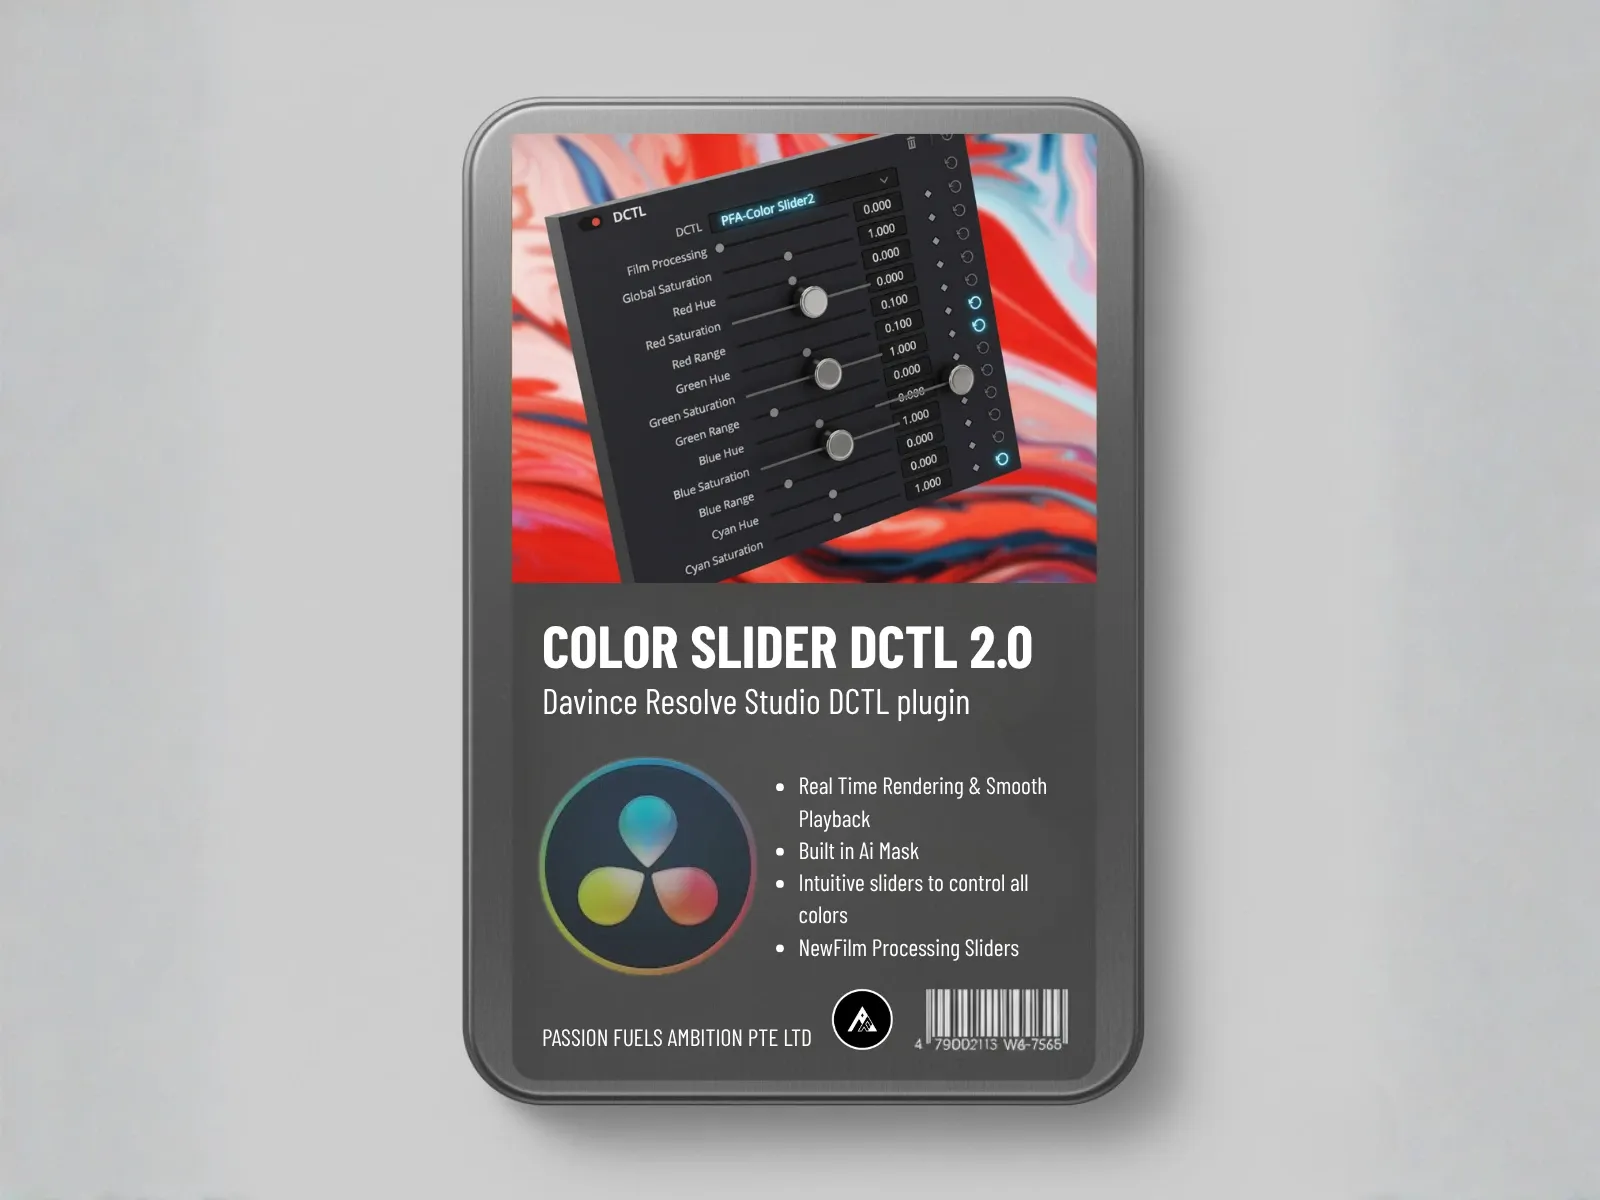
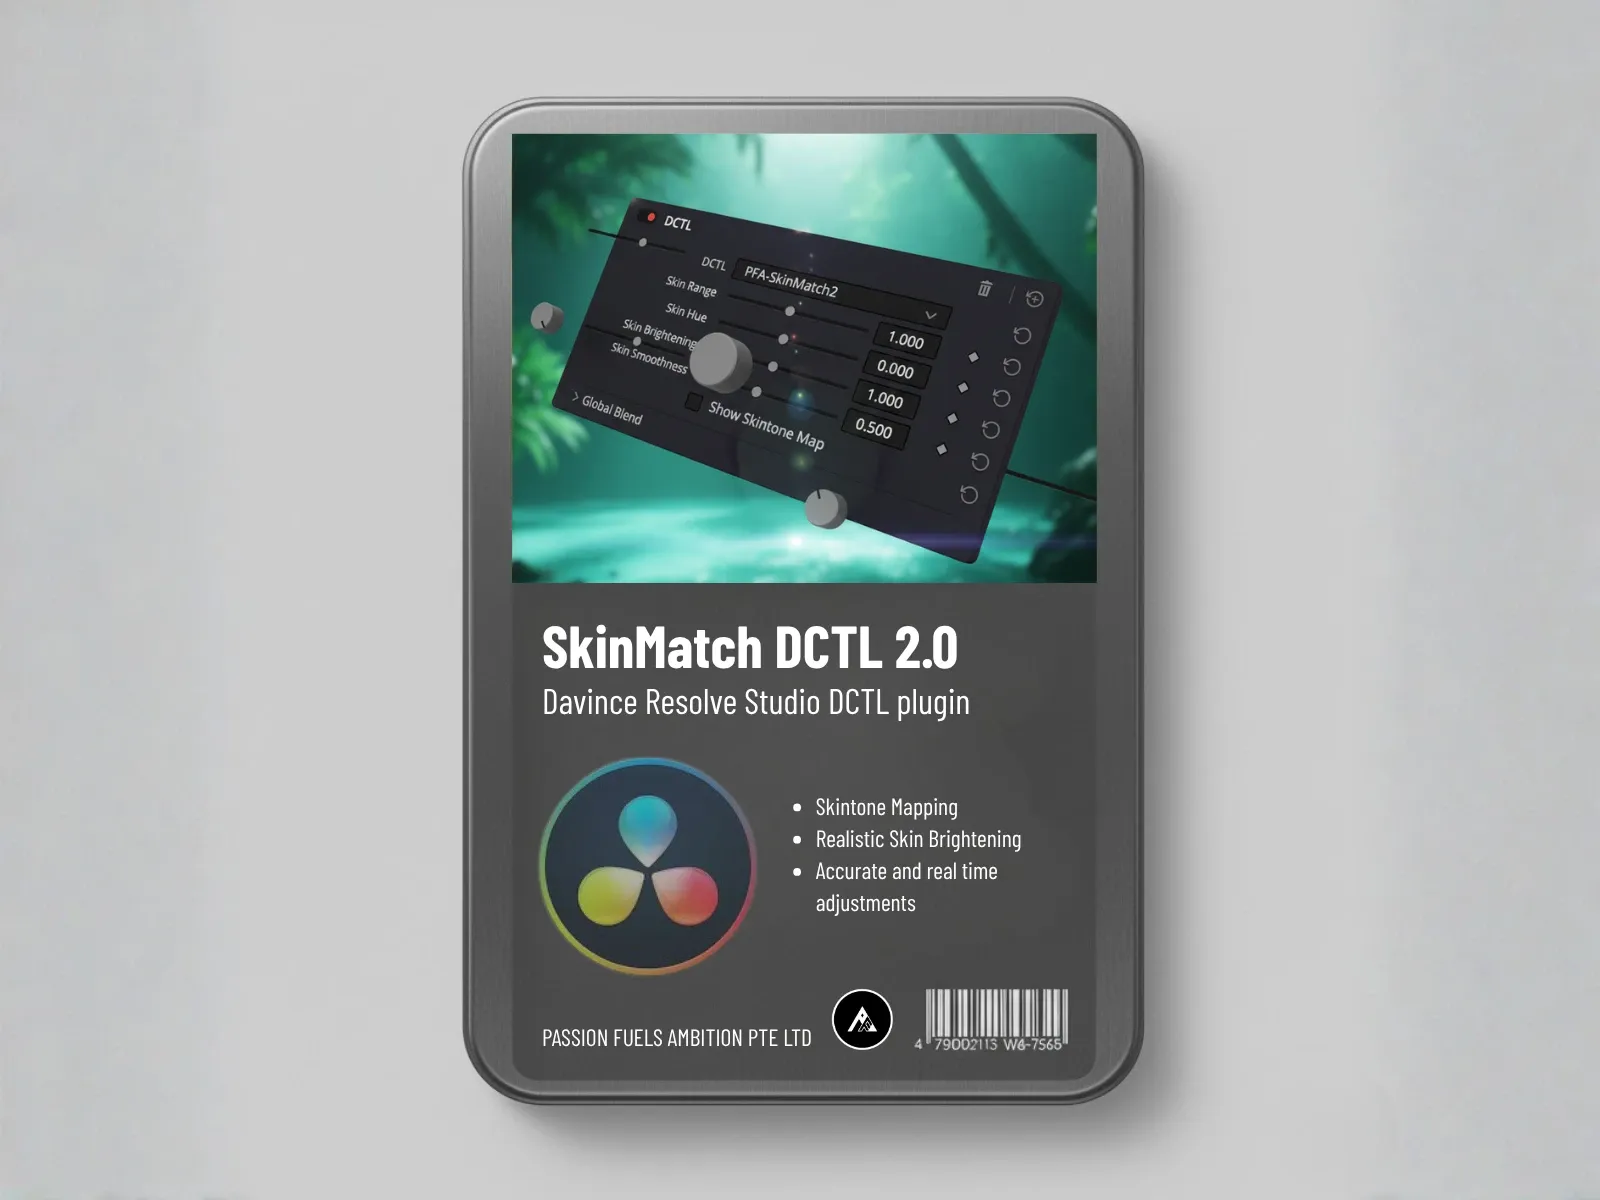
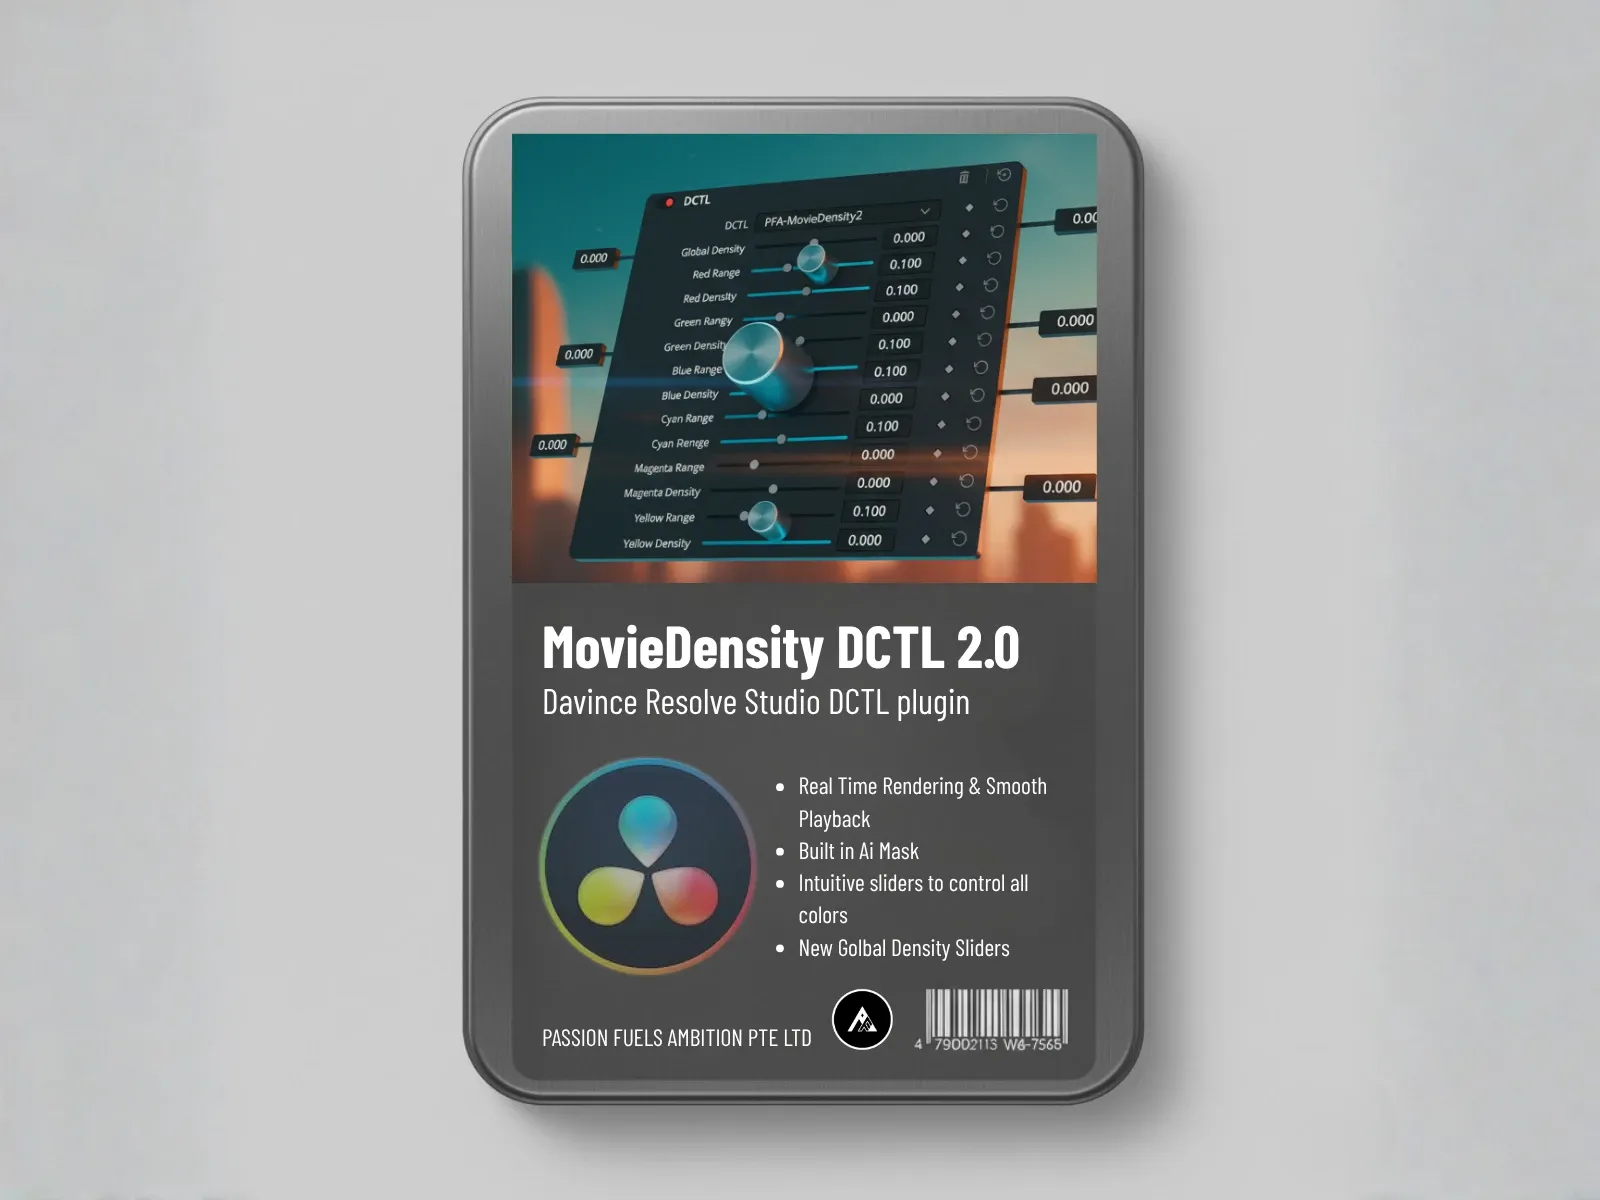
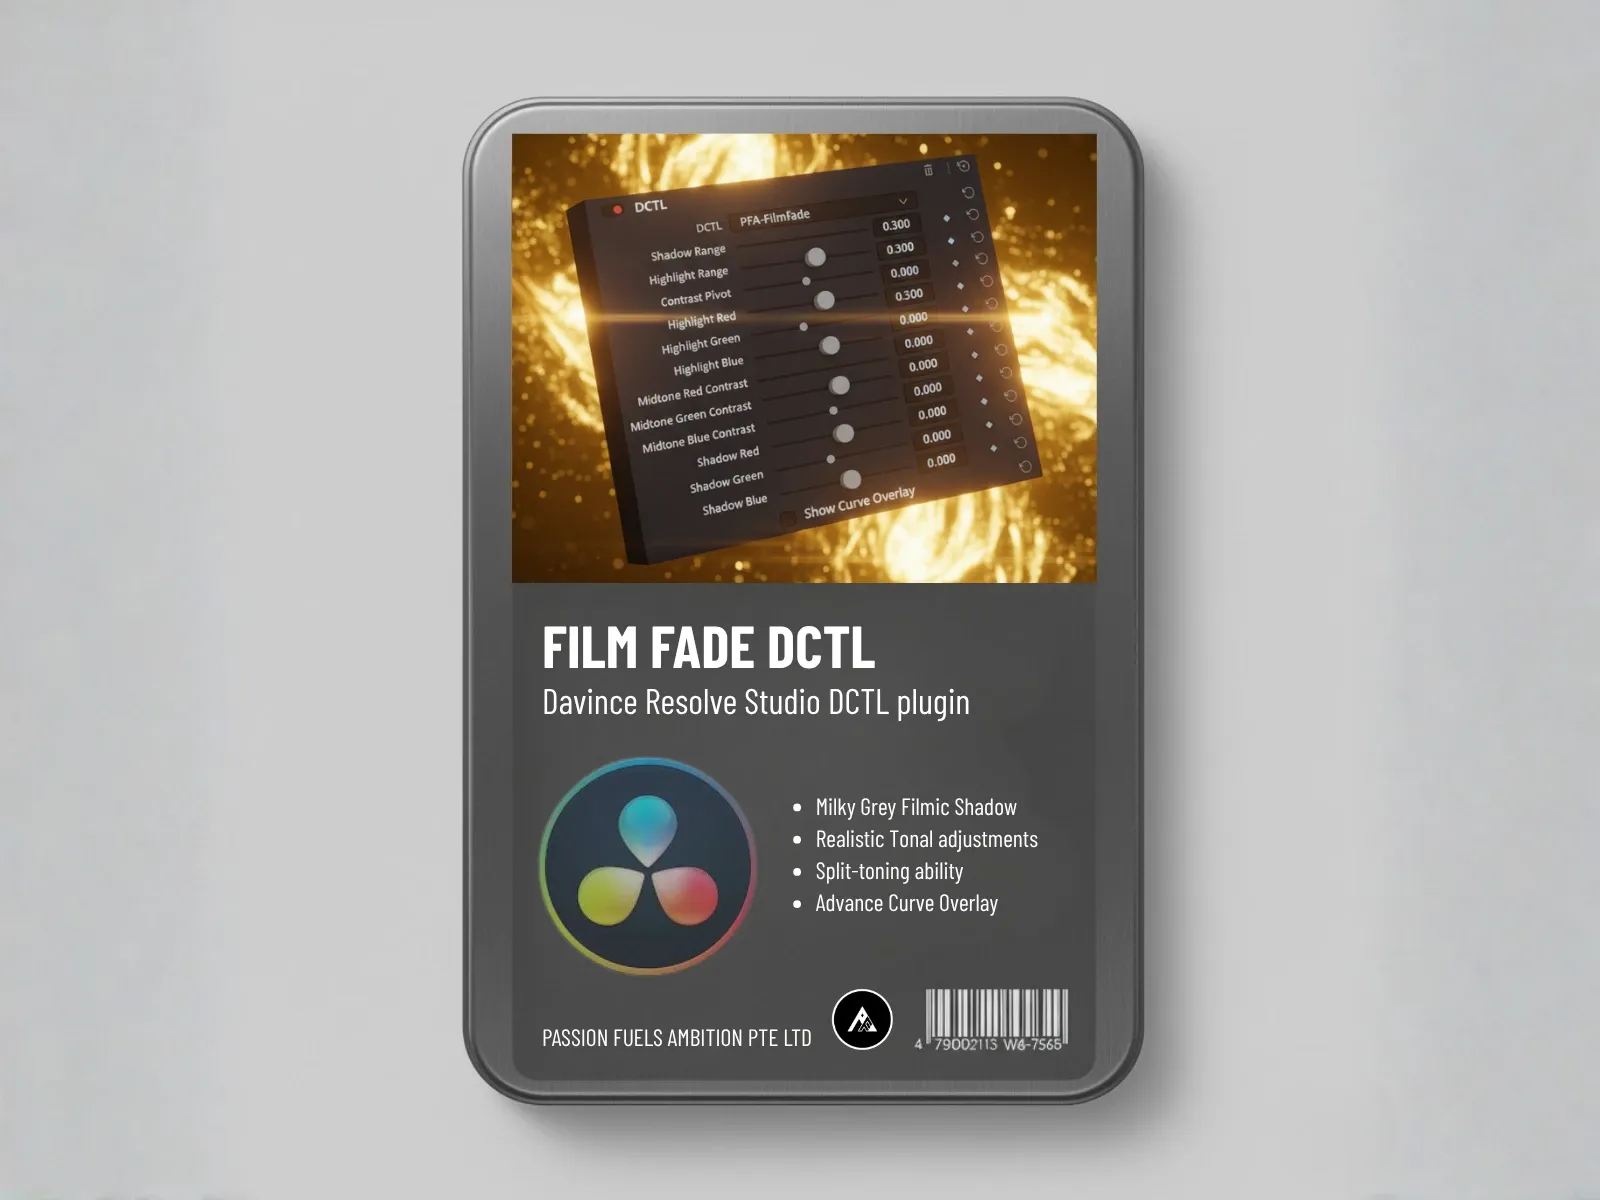
AI Color Grading Is Finally Here: Full Pipeline
AI color grading is no longer a concept. It is here, it works, and it changes everything about how you grade in DaVinci Resolve. PFA Color Suite has completely transformed from a plugin into a full AI color grading pipeline and assistant that replaces fifteen-node setups with a single node.
If you have spent any time on Reddit or in editing forums, you know the complaint. Color grading takes longer than actually cutting the video. People spend hours building node trees, tweaking parameters one by one, trying to get from log to a finished look. This walkthrough shows you exactly how the new AI pipeline works, step by step, so you can see the difference with your own eyes.
Traditional Node-Based Color Grading vs AI Pipeline
The traditional approach to color grading in DaVinci Resolve relies on a node tree. You build correction nodes, color grading nodes, mixer nodes, each one handling a specific task. A typical grade might use fifteen or more nodes to go from a flat log profile to a cinematic look. The problem is not just the time it takes, it is the playback performance. Color correction alone can eat up most of your grading session before you even start on the creative look. Stack that many nodes on a single shot and your timeline starts to choke.
Now compare that to the AI color grading pipeline inside PFA Color Suite. One node. One click to correct from log to Rec.709. One click to nail exposure. One click to nail white balance. The AI engine calls all the necessary parameters simultaneously, creating a solid grade in a fraction of the time.
You can control the intensity with the AI influence slider. Want a punchier grade? Push it further. Want something subtle? Dial it back. The AI handles the foundation so you can focus on the creative decisions that actually matter. This ai-powered approach to color grading, which Blackmagic Design has also been advancing with native AI tools is what makes the difference between spending hours on correction and getting a solid grade in seconds.
This is not just about speed. It is about consistency. When you colour grade across a project with hundreds of shots, maintaining a consistent look becomes its own challenge. The AI pipeline ensures every shot starts from the same calibrated foundation, so your grade stays coherent from scene to scene.
How Grade with AI Works: One Click, 135 Parameters
When you click Generate Look in the Grade with AI engine, it moves 135 parameters across multiple tool groups at once. That includes the color engine, contrast engine, and mixer group. Every slider, every curve, every split tone setting gets calculated based on the image content and your creative direction.
You can filter through generated looks until you find one that fits your vision. Then you can dive into any of those 135 parameters to refine them manually. Lower the intensity, increase the cyan in the shadows, adjust the film tonal curve. The AI gives you a starting point, not a locked result.
This is where the workflow shift happens. Instead of building every grade from scratch, you generate a look, adjust what you want, and move to the next shot. For a project with dozens or hundreds of shots, this is the difference between hours and minutes. The entire AI color grading process feels seamless, from correction to final look.
Manual Grading with PFA Color Suite: From Scratch
Not every situation calls for AI. Sometimes you want full manual control. Here is how the non-AI workflow looks when you build a grade from the ground up using PFA Color Suite.
Film Tonal Curve is your starting point. Set the print, adjust the black point, roll off the shadows, lower the white point, control the highlight roll-off. This group gives you that milky green shadow treatment that defines a cinematic foundation. It is the same principle behind professional film emulation LUTs, but with full manual control instead of a baked-in preset.
Film Spectral Contrast adds saturation at the channel level. It creates contrast between color channels without touching exposure. Combined with the tonal curve, these two tools are enough to build any look you want. Unlike applying a standard LUT that affects the entire image uniformly, spectral contrast targets specific color channels for precision grading.
Film Split Tone introduces color movement in specific tonal ranges. Turn on the shadow split, adjust the hue, and you can push shadows toward cyan while keeping highlights warm. The overlay makes it easy to see exactly what is happening on the waveform. This level of control is what separates grading tools from simple filters.
The Color Engine: Color Swap vs Color Density
The color engine in PFA Color Suite comprises two complementary tools that work in opposite directions, and understanding this difference is key to grading like a professional colorist.
Color Swap edits color by increasing saturation while brightening pixels. As you add more saturation, the pixels get lighter. This is the additive approach, similar to how digital sensors respond to increased color information.
Color Density does the opposite. As you increase density, pixels get darker. This replicates how film behaves: more color blocks more light. It is subtractive saturation, the same principle that gives film its characteristic depth and richness. This is why film color grade always feels different from digital. The physics of film stock naturally compress color information in a way that digital sensors cannot replicate without the right tools.
Having both tools in one suite means you can choose the approach that fits the shot. Want vibrant, punchy colors? Color Swap. Want that rich, film-like density? Color Density. The UI logic makes the difference obvious on the RGB parade.
Whether you are working in DaVinci Resolve Studio, the free version, or even Premiere Pro, the underlying color science matters. PFA Color Suite brings this film-grade color engine to any host application through its OpenFX plugin format, making it one of the most versatile grading tools available.
Skin Tone Calibration with Color Skin
After the foundation grade and color engine, skin tone is where most grades break down. The Color Skin tool handles this with precision. Turn on the vectorscope and you can see exactly where your skin tones fall.
Skin should align with the skin tone line on the vectorscope. If it looks yellow, shift the skin density toward red. Want fairer skin? Adjust accordingly. The tool isolates skin tones from the rest of the image so you can calibrate without affecting the background.
This is one of those details that separates a professional grade from an amateur one. Viewers might not know why a shot looks off, but they will feel it when skin tones are wrong. Every experienced colorist will tell you: get the skin right first, then build the rest of the grade around it.
Film Mixer: Building a Teal and Orange Palette
The Film Mixer is where the magic happens for palette construction. If your vectorscope is spread out across all colors, the Film Mixer massages everything into a cohesive palette.
Increase the teal and orange slider and watch what happens. Non-related colors get squeezed into the teal-orange axis. You get a distinct, cinematic look with clear color separation. Then use the RGB sliders to refine it further.
Want more cyan? Reduce red, since cyan is opposite red on the color wheel. Want magenta? Reduce green. The Film Mixer lets you remix the entire color distribution of the shot with a few sliders. Combined with Film Separation, you can strengthen or tone down the palette along any axis while preserving detail by returning some magenta, green, blue, or yellow.
This systematic approach to color grading makes it easier to understand how colors relate to each other. Even if you never use this tool, understanding the concept will improve your grading in any software, from DaVinci Resolve to Premiere Pro to Final Cut.
CinePulse AI: The Future of One-Click Grading
CinePulse AI represents the next evolution. Where Grade with AI moves 135 parameters across existing PFA Color Suite tool groups to create a look, CinePulse AI generates looks from scratch using a different approach entirely.
One click. That is all it takes to generate a complete look. The question it raises is honest: why spend five minutes building a grade when AI can do it in one click? Maybe we have built a tool that is too strong. But that is exactly the point. The AI handles the technical work so you can focus on storytelling.
And if you want different flavors, the Printer Lights feature injects color into the frame that was not captured on set. Add green for atmosphere. Add yellow for a nostalgic feel. Grade with AI generates multiple options so you can pick the mood that fits your scene.
Why AI Color Grading Matters for Your Workflow
Whether you use DaVinci Resolve Studio or the free version, the principle is the same. Correction should not be where you spend your time. Correction is the foundation. The creative process is where your skill shows.
AI color grading tools like PFA Color Suite shift that balance. Instead of spending ten minutes on correction for a single shot, you spend ten seconds. That time goes back into creative decisions, client revisions, or simply grading more projects in less time. Download the free trial to try every feature yourself.
The best grading tools do not replace the colorist. They amplify what the colorist can do. And that is what this pipeline delivers. From log to Rec.709 conversion to cinematic looks, every step is optimized so you can focus on what matters most: telling your story with color.
Frequently Asked Questions
What is AI color grading?
AI color grading uses machine learning algorithms to analyze footage and automatically adjust color parameters like exposure, white balance, contrast, and saturation. Instead of manually adjusting each parameter, the AI processes the image and generates a grade based on learned patterns from professional color grading workflows.
Can AI color grading replace manual color grading in DaVinci Resolve?
AI color grading does not replace manual grading. It replaces the correction phase, which is the most time-consuming part. You still use your creative judgment to refine the AI-generated grade, adjust specific parameters, and ensure the final look matches your creative vision. The AI handles the foundation so you can focus on the art.
How does PFA Color Suite AI pipeline compare to node-based grading?
A traditional node-based grade in DaVinci Resolve might use 15 or more nodes for correction, color, and mixing. PFA Color Suite AI pipeline achieves similar results in one node by moving 135 parameters simultaneously. This means faster grading, better playback performance, and less time spent on repetitive correction tasks.
Does AI color grading work with log footage?
Yes. The AI engine in PFA Color Suite is specifically designed to handle log profiles. It corrects from log to Rec.709 automatically, nailing exposure and white balance in one click. You can then adjust the AI influence slider to control how punchy or subtle the grade appears.
What is the difference between Grade with AI and CinePulse AI?
Grade with AI moves 135 parameters across existing PFA Color Suite tool groups to create a look. CinePulse AI generates looks using a separate AI model that creates grades from scratch. Both deliver one-click results, but CinePulse AI offers a different creative direction and is ideal when you want variety in your look generation.