You open your N-Log or S-Log footage on the timeline and it looks washed out, lifeless, flat. You throw on a lookup table, crank the saturation, and suddenly everything looks plastic. You have probably been here before.
The problem is not your camera. It is not your monitor. It is not even your skill level. The real culprit behind flat grades is something called spectral contrast, and almost nobody talks about it.
Spectral contrast is the micro-variation in color that makes film look alive and digital look dead. Your eyes crave it even when you cannot consciously see it. And traditional color grading workflows, especially those built around lookup tables and the color space transform, throw it away.
Today I will show you why your grades look flat and how AI-powered pipeline fixes it in a single node. By the end of this guide, you will understand the difference between saturation and color density, why one of them is killing your footage, and how a 32-bit float math pipeline gives you six billion color entries instead of the 270,000 a preset can manage.
Why Your Footage Looks Flat After Color Correction
Flat footage happens when the conversion from log to Rec.709 strips out the subtle color variations that give an image depth. The Blackmagic Design color space transform is powerful, but it operates in a mathematical space that prioritizes accuracy over character. You get a technically correct image that still feels digital and thin.
Traditional color correction workflows fix exposure and white balance but leave spectral relationships untouched. The reds sit next to the greens the same flat way they did in the original file. You add saturation to compensate, and now everything is loud but still lifeless. That is the hallmark of additive saturation, the approach that most Adobe and DaVinci tutorials teach. It brightens pixels instead of deepening them.
The fix is subtractive color science, the same process film labs use. You increase color density while lowering luminance, which adds vibrance without the plastic glow.
What Is Spectral Contrast and Why It Matters for Your Color Grade
Spectral contrast is the variation in color intensity across different wavelengths in an image. Think of it as the difference between how red a red object appears versus how blue a blue object appears, measured independently. In a well-graded image, each color channel has its own contrast curve. That is what gives film its organic, layered look.
Digital sensors capture 10-bit color information, which means roughly one billion color entries. When you run that through a lookup table, you compress it down to 270,000 entries. You are throwing away 99.97 percent of your color data. A 32-bit float math pipeline preserves all six billion entries, keeping every subtle variation your sensor recorded.
This is not theoretical. When you increase red spectral contrast on flat footage, the skin tones warm up without touching the greens or blues. You get targeted vibrance that looks natural, not uniform saturation that looks artificial.
AI-Powered vs Traditional Workflow: The Numbers
Here is the workflow difference in practice. A traditional Resolve pipeline for flat footage looks like this:
- Color space transform (CST) from log to Rec.709
- Exposure adjustment
- White balance correction
- Primary color correction
- Saturation pass
- Film emulation preset
- Secondary color adjustments
- Skin tone correction
- Highlight recovery
- Final contrast adjustment
That is ten nodes minimum. Twenty on a complex project. Every node in your color grade adds processing overhead and every preset application throws away color data.
An AI-powered workflow in PFA Color Suite handles the same job in one node. Correction LOG replaces the CST with two sliders: De-Logify and Exposure Adjustment. Correction Exposure handles the grade generation and white balance in one click. Correction Print converts the result to a film negative with selectable film stocks like Eterna. All of it runs on 32-bit float math, so zero data is discarded.
How AI Color Grading Replaces the Color Space Transform
The Correction LOG engine is where the magic starts. Instead of the traditional color space transform approach that maps your log curve through a fixed matrix, Correction LOG uses two intuitive sliders. De-Logify compresses the log curve back into a usable range. Exposure Adjustment sets the baseline brightness. Two sliders replace an entire CST node chain.
From there, Correction Exposure generates a full primary grade with one click. It analyzes the footage and creates a balanced starting point for any cinematic look you want to build. One more click corrects the white balance automatically. You now have a clean, properly exposed foundation without a single node tree.
The Correction Print Engine: Film Negative Conversion in One Step
New in v15.2, Correction Print adds film negative simulation to the pipeline. You pick a film stock, set the print intensity, and choose which color regions get the treatment. Options include 4×383, 8×24, 2×1, and Eterna. Each stock has a different spectral response curve, which means each one produces a unique look at the sensor level.
From this point forward, every adjustment you make works on a simulated film negative instead of raw digital data. You can lower the negative intensity for subtlety or push it for that unmistakable film character. The subtractive density tool then adds vibrance by deepening colors while keeping luminance controlled.
For more on film emulation techniques, check out our complete film emulation guide and the deep dive on 32-bit math vs lookup tables.
Color Density vs Saturation: Why LUTs Fail to Deliver Cinematic Results
This is the concept most tutorials skip. Saturation adds equal intensity to all color channels simultaneously. The reds get brighter, the blues get brighter, and the whole image takes on a plastic sheen because luminance rises with color.
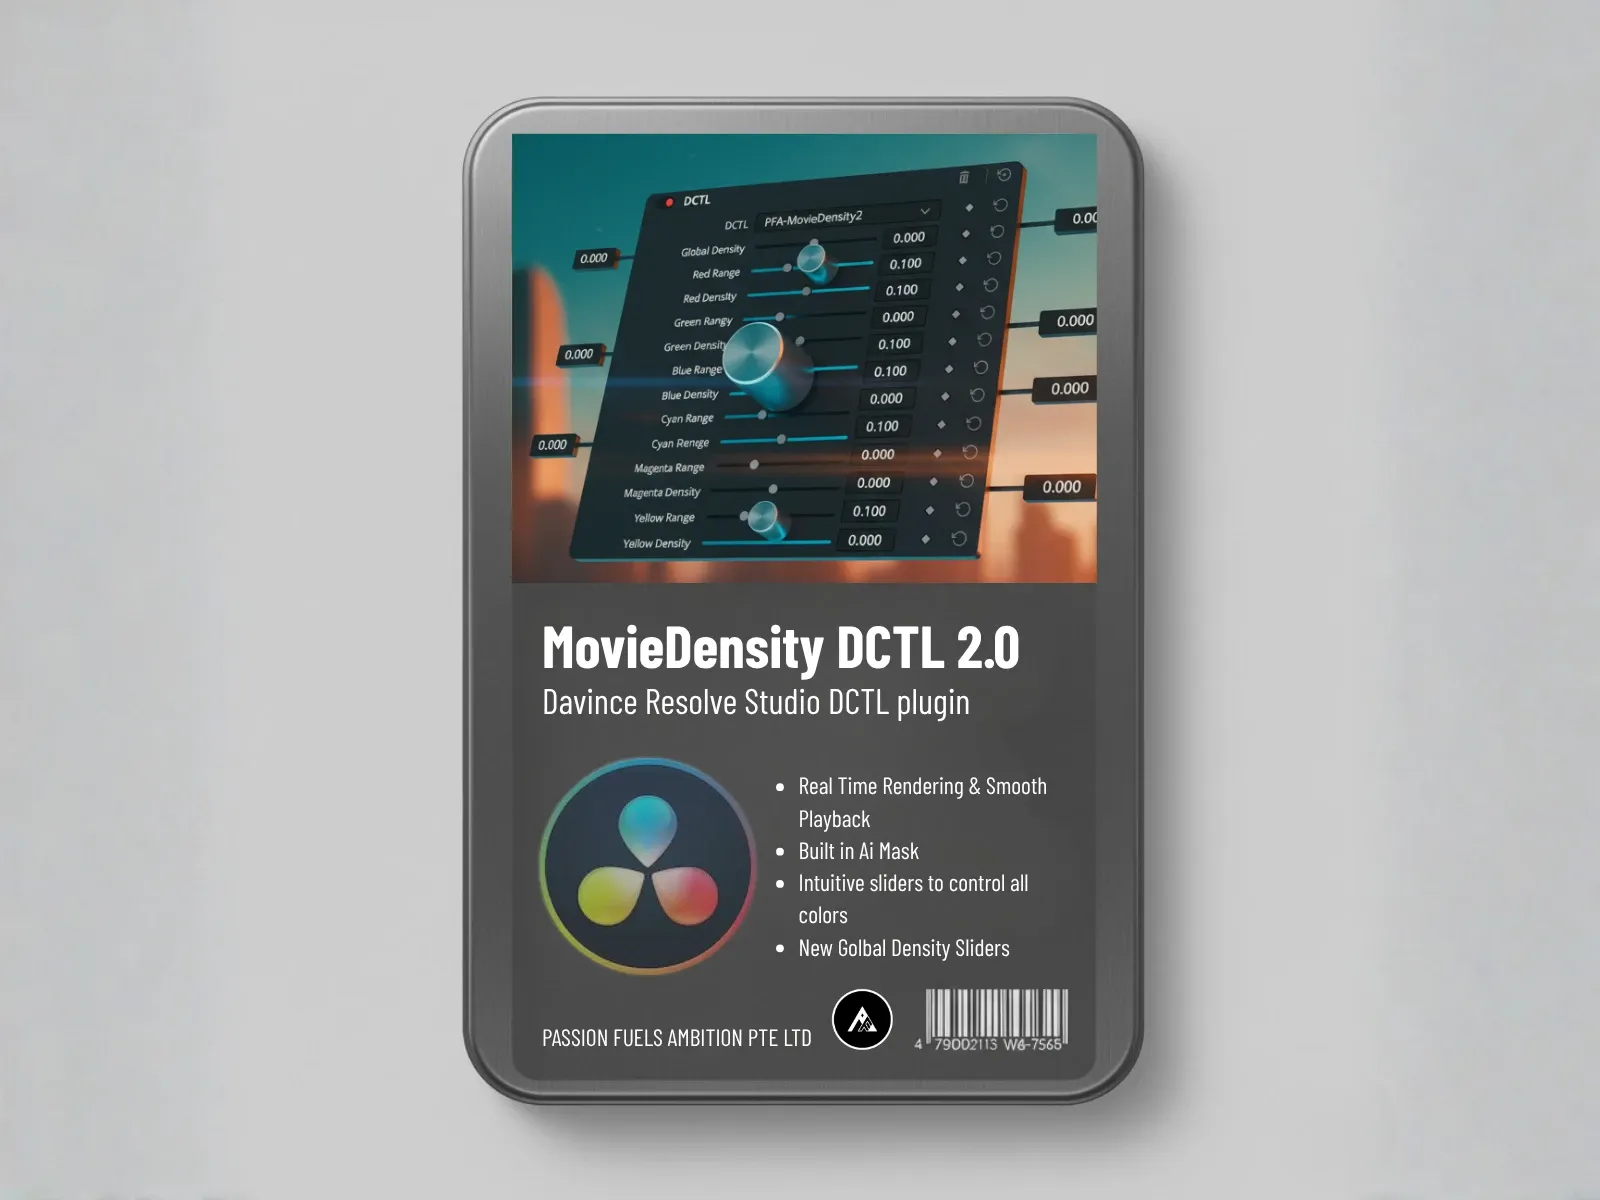
Color density works differently. It is subtractive color science. You add saturation while lowering luminance, which mimics how real film emulsion absorbs light. The result is deep, rich color that does not blow out highlights or create halos around edges. You can push the color grade density to the maximum and the image stays clean, with zero noise and zero deterioration.
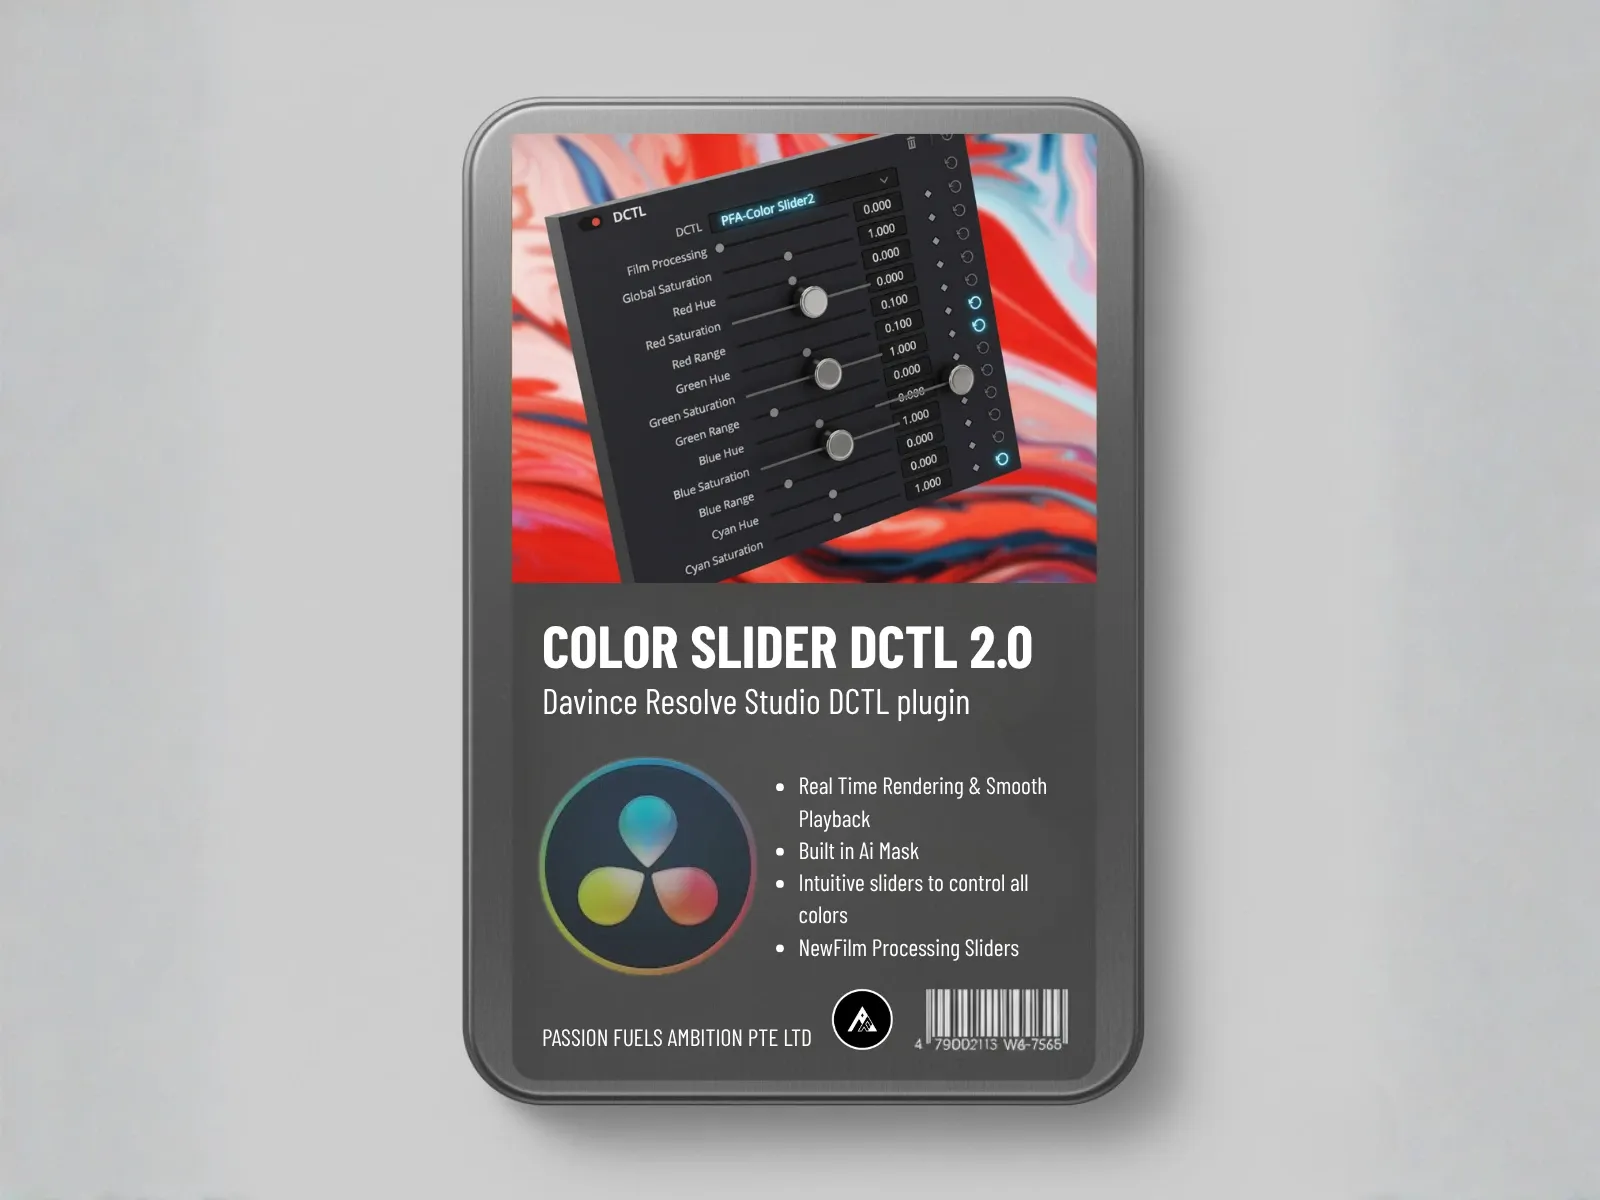
Our Color Density engine handles this per color channel. Red density, green density, blue density, cyan density, each one is an independent slider. You can deepen just the greens in a forest scene without touching the sky. That is the kind of targeted control presets cannot deliver.
For a detailed breakdown of this concept, read our guide on mastering color density in DaVinci Resolve.
Film Glaze: Cinematic Wetness and Depth Effects in v15.2
Film Glaze is another v15.2 addition that adds a filmic texture layer to your image. Two controls drive the effect:
- Wetness Volume controls the intensity of the glaze overlay
- Creamy Depth adds a subtle diffusion that softens the digital edge
Highlight Shim targets only the bright areas of the image, bringing an iridescent tone mapping to specular highlights. It is the kind of effect that makes a digital camera image read as shot on film, because real film has highlight rolloff that digital sensors cannot replicate natively.
Secondary Color Grading: Color Matching with Film Mixer and Color Swap
Once your primary grade is set, the Film Mixer engine takes over for secondary adjustments. It offers preset color palettes like Teal and Orange or Teal and Pink that massage the entire image into a cohesive look. Individual sliders let you remix specific color relationships, reduce red to introduce more cyan, or shift any hue independently.
Color Swap does exactly what the name says. Select a source color, pick a target color, and the engine remaps every pixel in that range. It is faster than a qualifier and cleaner than curves for targeted hue shifts.
Film Separation adds a final layer of control. You can use red and cyan separation to elaborate your palette further, and Film Printer Lights inject colors that were not in the original grade. Add vintage white, introduce green or yellow tones, all isolated to specific luminance ranges. The shadows stay protected. Skin tones stay untouched. It works like a 3D color map.
CinePalette AI: Train Once, Generate Everywhere
Here is where the AI color pipeline becomes truly powerful. After building one color grade manually, you use CinePalette AI to train the engine on your look. Then move to the next shot and hit Generate Look. The AI applies everything it learned from your first grade, adjusted for the specific color and exposure of the new footage.
Want a different variation? Generate Look produces multiple options based on your trained style. Not happy with any of them? Start fresh with Grade with AI, adjust De-Logify and Exposure, run Correction White Balance, and generate a new film look from scratch. The entire process takes seconds per shot instead of minutes.
Learn more about how CinePalette AI learns your personal grading style.
Skin Tone Calibration with Color Skin
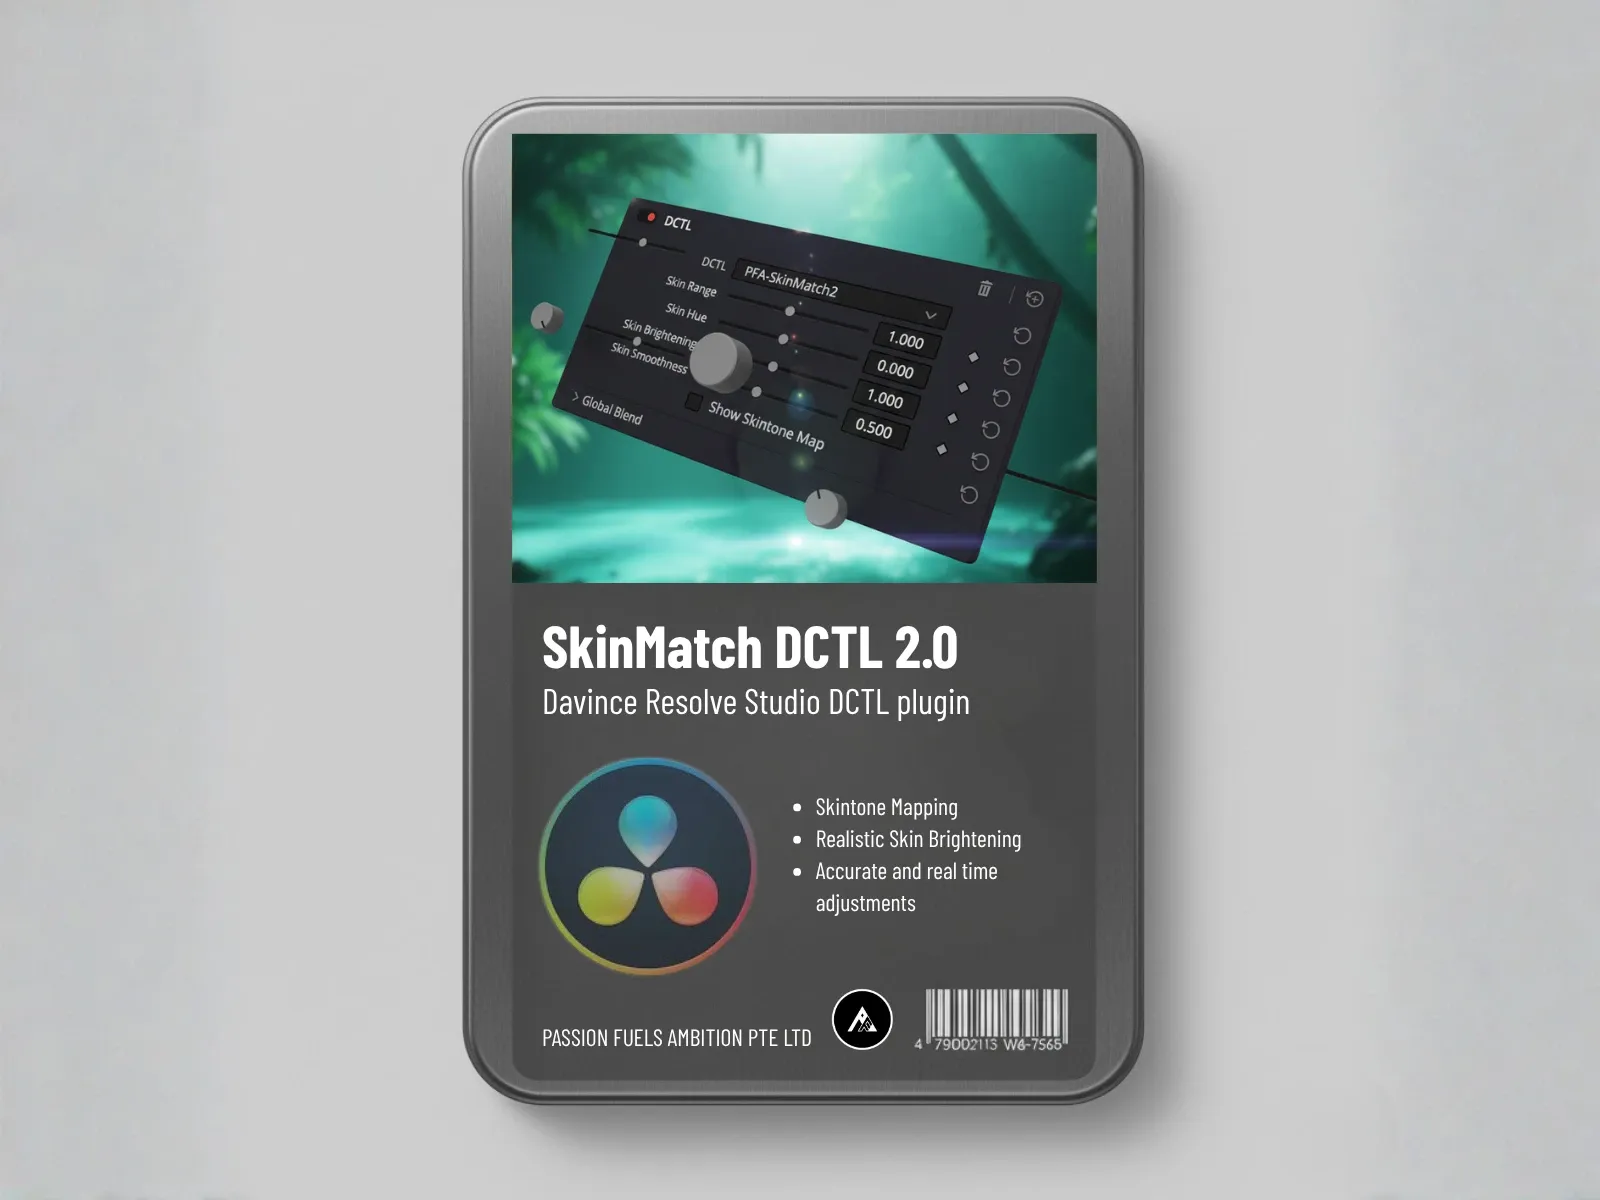
Skin tone accuracy is non-negotiable. The Color Skin engine includes a built-in skin tone map that visualizes exactly which pixels fall within the skin color range. You can narrow the selection until only skin is highlighted, then use Skin Cue to set the target hue around 90 percent orange on the vectorscope.
From there, you control how fair or dark the skin should be, and how saturated. The skin tone stays locked to the skin line on the vectorscope while every other color in the image can be graded independently. It is the cleanest skin correction tool available without a secondary node and a qualifier.
AI Color Match: Color Matching Across Multiple Shots
The real test of any grading system is color matching across shots. You grade one clip, save it as a preset, and apply it to the next shot from a different camera, different lighting, different set. Does the grade hold up?
With the PFA Color Suite v15.2 pipeline, it does. The 32-bit float math ensures the grade translates consistently because every adjustment operates on the full color space, not a preset-compressed approximation. Apply the same preset to totally different footage and the iridescent highlight treatment, the spectral contrast adjustments, and the film glaze all carry through flawlessly.
That is the difference between a system built on color science and a system built on lookup tables.
Frequently Asked Questions
Why does my footage look flat after color correction?
Flat footage after color correction usually means your log-to-Rec.709 conversion stripped out spectral contrast. The color space transform produces a technically accurate image that lacks the micro-variation in color depth that makes images feel alive. Adding saturation on top compounds the problem by brightening all channels uniformly instead of deepening them individually.
What is the difference between color density and saturation?
Saturation adds equal intensity to all color channels while raising luminance, which creates a plastic, oversaturated look. Color density uses subtractive color science to add saturation while lowering luminance, mimicking how real film emulsion absorbs light. The result is deep, natural color without highlight blowout or edge halos.
Why are LUTs bad for color grading?
A LUT compresses billions of color entries down to 270,000 lookup points. A 10-bit sensor captures roughly one billion colors and 32-bit float processing handles six billion. Applying a lookup table throws away 99.97 percent of your color data, which shows up as banding, posterization, and loss of subtle color gradations, especially in skin tones and gradients.
What is spectral contrast in color grading?
Spectral contrast is the independent variation in color intensity across different wavelength channels in an image. Instead of treating all colors the same way, spectral contrast gives each color channel its own contrast curve. This is what makes film look organic: reds, greens, and blues each have their own depth and character rather than being uniformly saturated.
How many nodes does AI replace in DaVinci Resolve?
A complete PFA Color Suite pipeline replaces ten to twenty nodes in a traditional Resolve workflow. Correction LOG replaces the CST, Correction Exposure handles primary grading and white balance, Correction Print adds film emulation, and all the secondary tools like spectral contrast, color density, Film Glaze, and Film Mixer live in a single plugin node.
If you are ready to ditch the node tree and try a pipeline that works at full 32-bit resolution, download the PFA Color Suite free trial and get access to every feature, including all the v15.2 tools covered here.
Passion Fuels Ambition. I will see you in the next grade.