AI Color Grading Finally Kills Your Struggle With the Systematic Workflow
If you have ever stared at a flat LOG clip and felt completely lost, you know the color grade struggle. Most editors jump between LUT packs, trial-and-error nodes, and YouTube tutorials, hoping something clicks. The problem is not that color grading is hard. The problem is that nobody teaches it as a system. PFA Color Suite 13.3 changes that. It gives you a step-by-step system with 15 tools and 135 parameters, backed by AI personal training that learns your creative style. This complete color grade tutorial walks you through every stage, from LOG conversion to cinematic palette design.
Why Color Grading Feels Like a Struggle for Most Editors
The traditional approach to color grading assumes you already understand how scopes work, what a node tree should look like, and why your density slider is making the image look plastic. That assumption kills most beginners. They open DaVinci Resolve, drop in a LUT, tweak a few curves, and end up with footage that looks digital, flat, and incoherent. The real issue is not the software. It is the absence of a systematic process.
PFA Color Suite was designed from the ground up to fix this. Every tool sits in a specific position in the grading chain. Every parameter has a clear purpose. You follow the tabs sequentially, and each stage builds on the last. Zero color grading background required. The system teaches you color theory as you use it.
Stage One: Correction and LOG Conversion With AI
Every professional grade starts with correction. PFA Color Suite 13.3 gives you three correction tools: Correction LOG, Correction Exposure, and Correction White Balance. Each one has a “Grade with AI” button that analyzes your footage and suggests baseline settings. You can influence how contrasty the AI output should be, then fine-tune every individual parameter.
The Correction LOG engine adapts to any log format in the world. As light as GoPro flat, as high-end as ARRI Alexa LogC3. It does not rely on LUTs or fixed color space transforms. It analyzes the frame and corrects it using 32-bit float math. That is a fundamentally different approach from what Blackmagic Design offers with its built-in color space transform, and from what most colorists do with LUT-based conversion.
For shots where the AI correction is slightly off, you can use the De-Logify parameters to lock out exposure manually. This transforms the behavior that usually involves hunting for the right LUT or CST. One click gets you to Rec.709, and you have absolute control over every parameter.
Stage Two: Primary Color Grading
Primary color grade consists of three tools in PFA Color Suite, and they work sequentially:
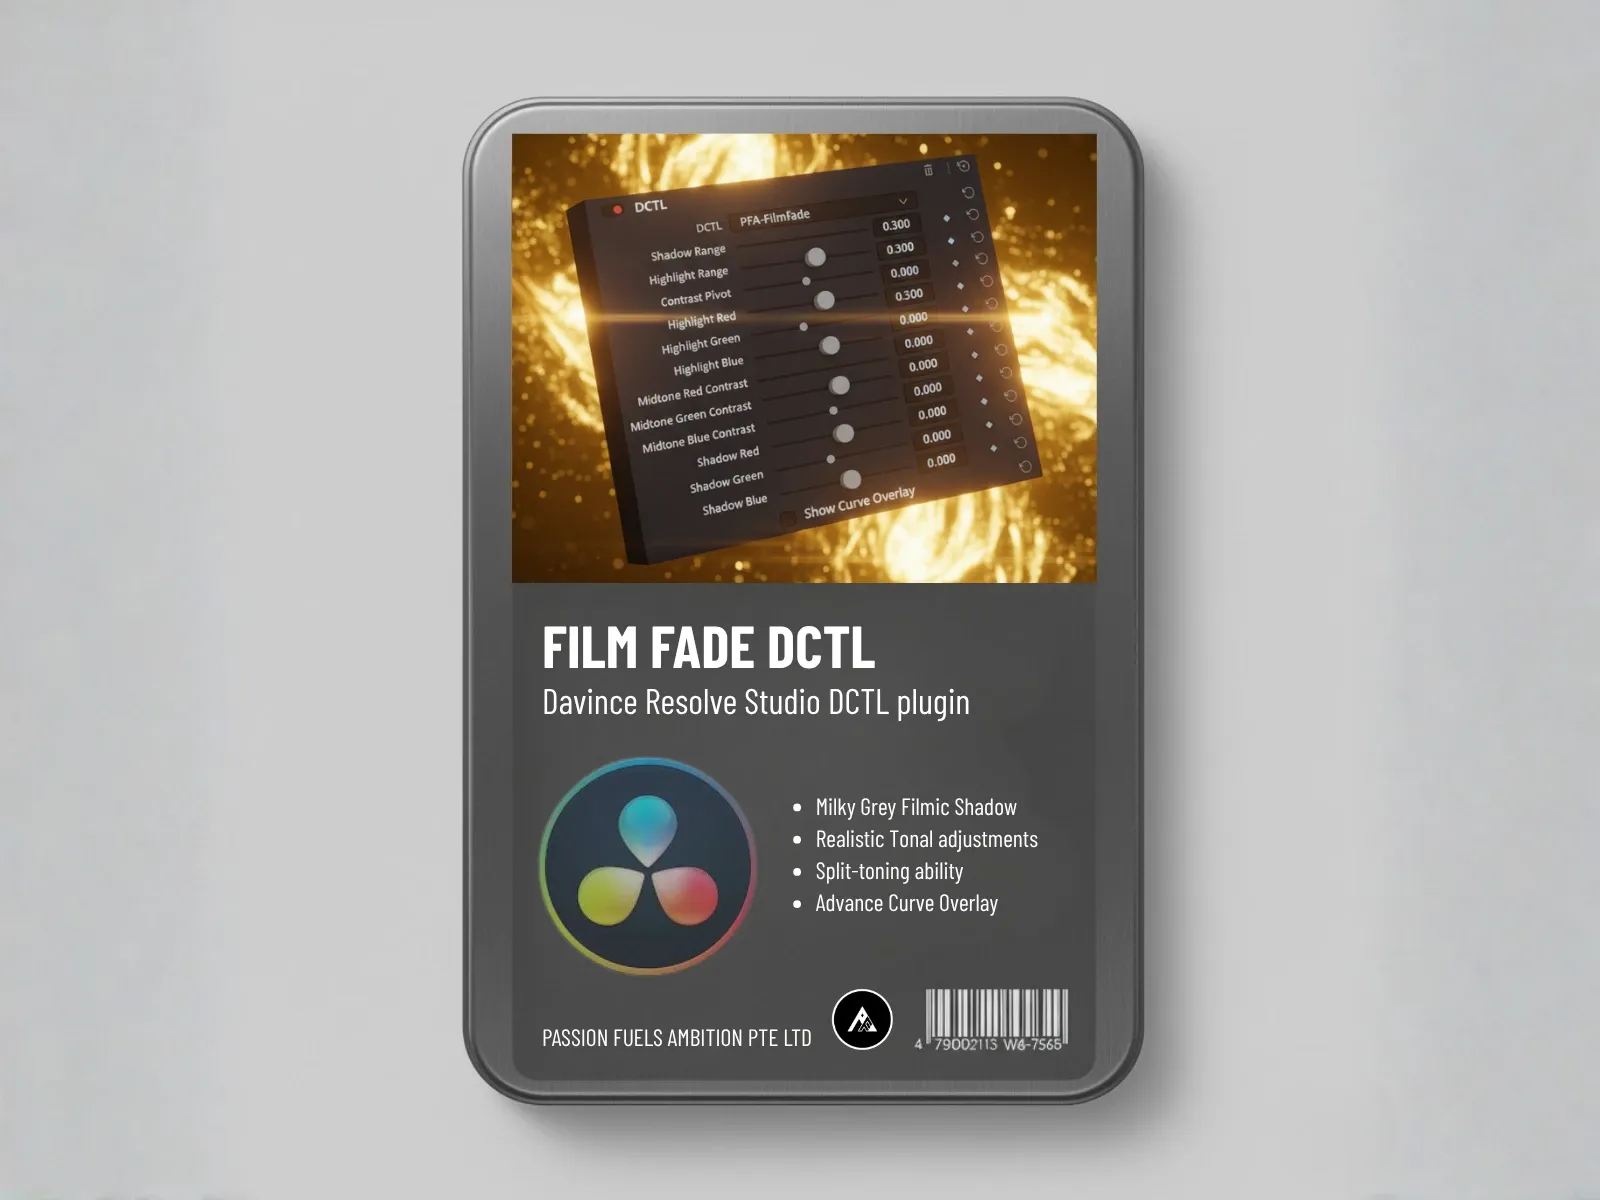
Film Tonal Curve sets the foundation for shadow behavior and filmic texture. Increase the black point slightly, boost shadow softness, and you get that organic milky gray in the shadows that cinematographers chase. This is where you establish the filmic foundation of your grade.
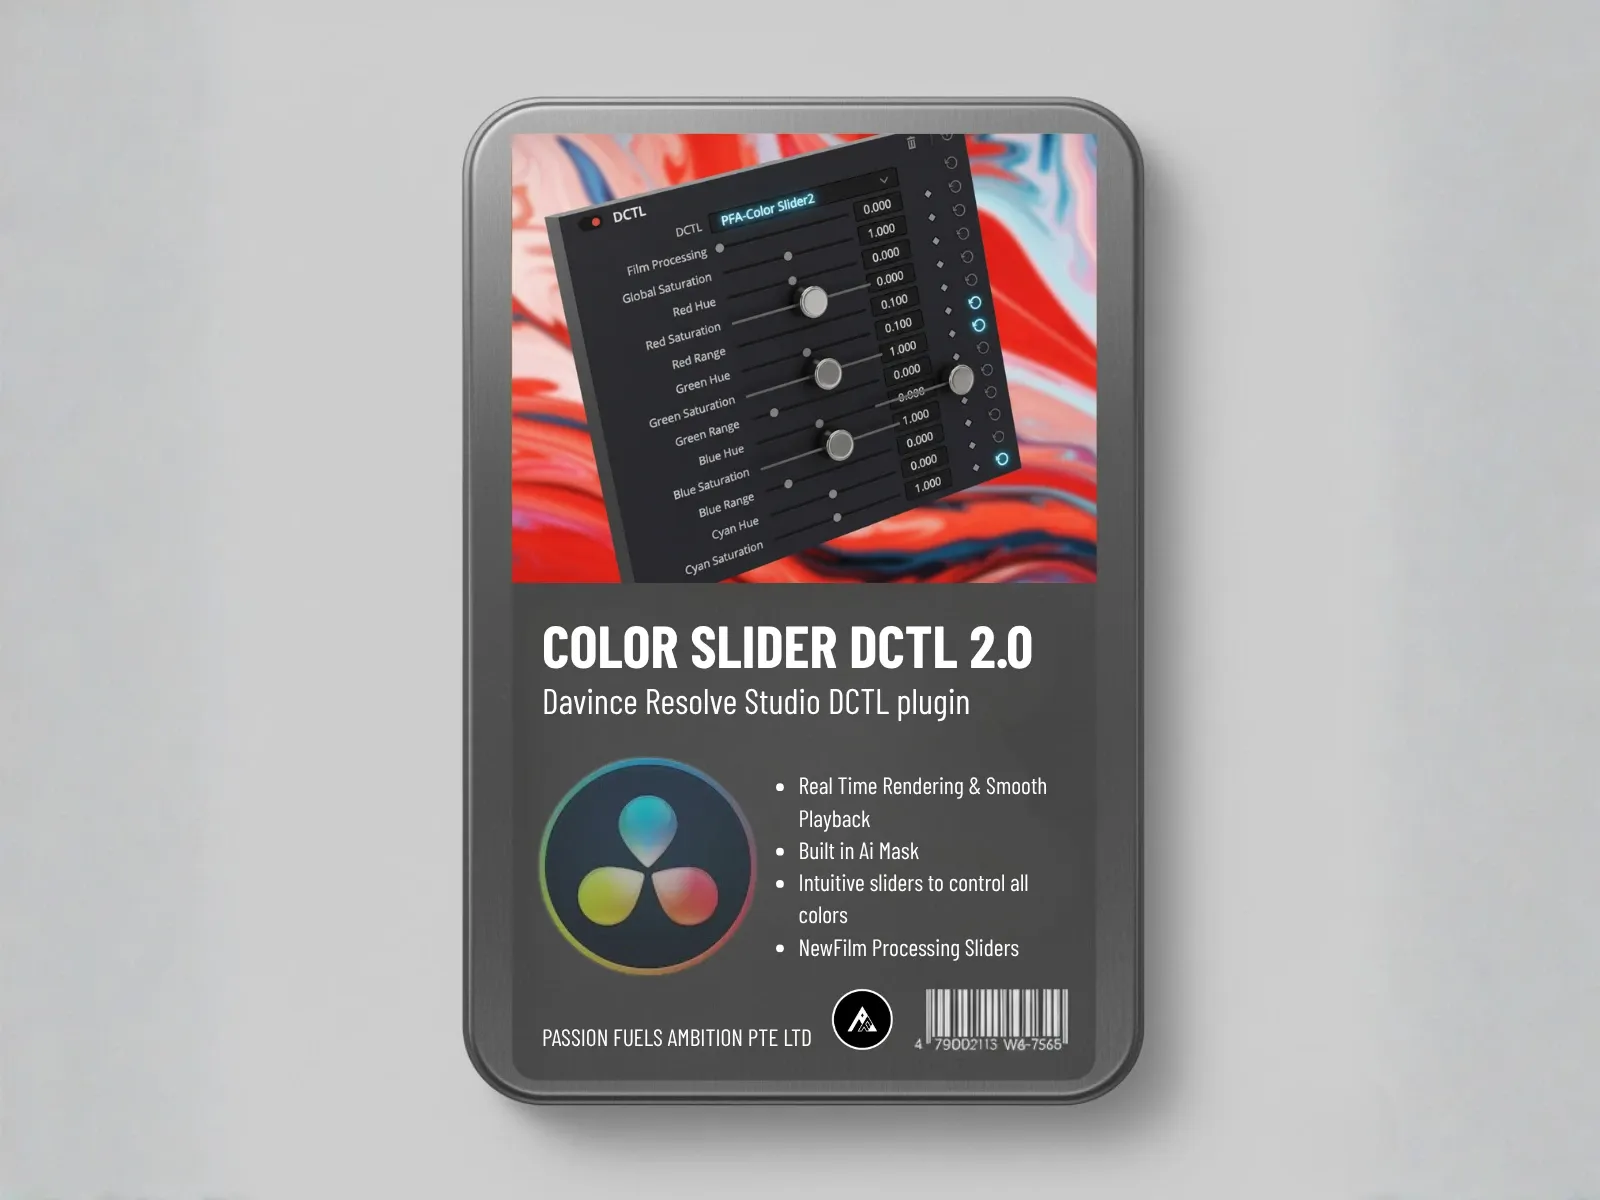
Film Spectral Contrast adds primary color intensity at the channel level. The Correction LOG strips away manufacturer color data, so you rebuild it here using red, green, and blue contrast independently. The result is organic and never clipped, unlike pushing a global density slider.
Film Split Tone introduces different color treatments to shadows and highlights. Add cyan to the shadows, rotate the color angle, and you start building a unique look. This tool builds directly on the foundation you created with the previous two.
Stage Three: Secondary Color Manipulation
Secondary grading is where you swap and manipulate specific colors. Color Swap lets you target individual colors with visual masks showing exactly which pixels are affected. Turn on the red mask to see where red pixels live in the frame, then shift red toward deeper purple, yellow, or orange. You have absolute control of every single color on the image.
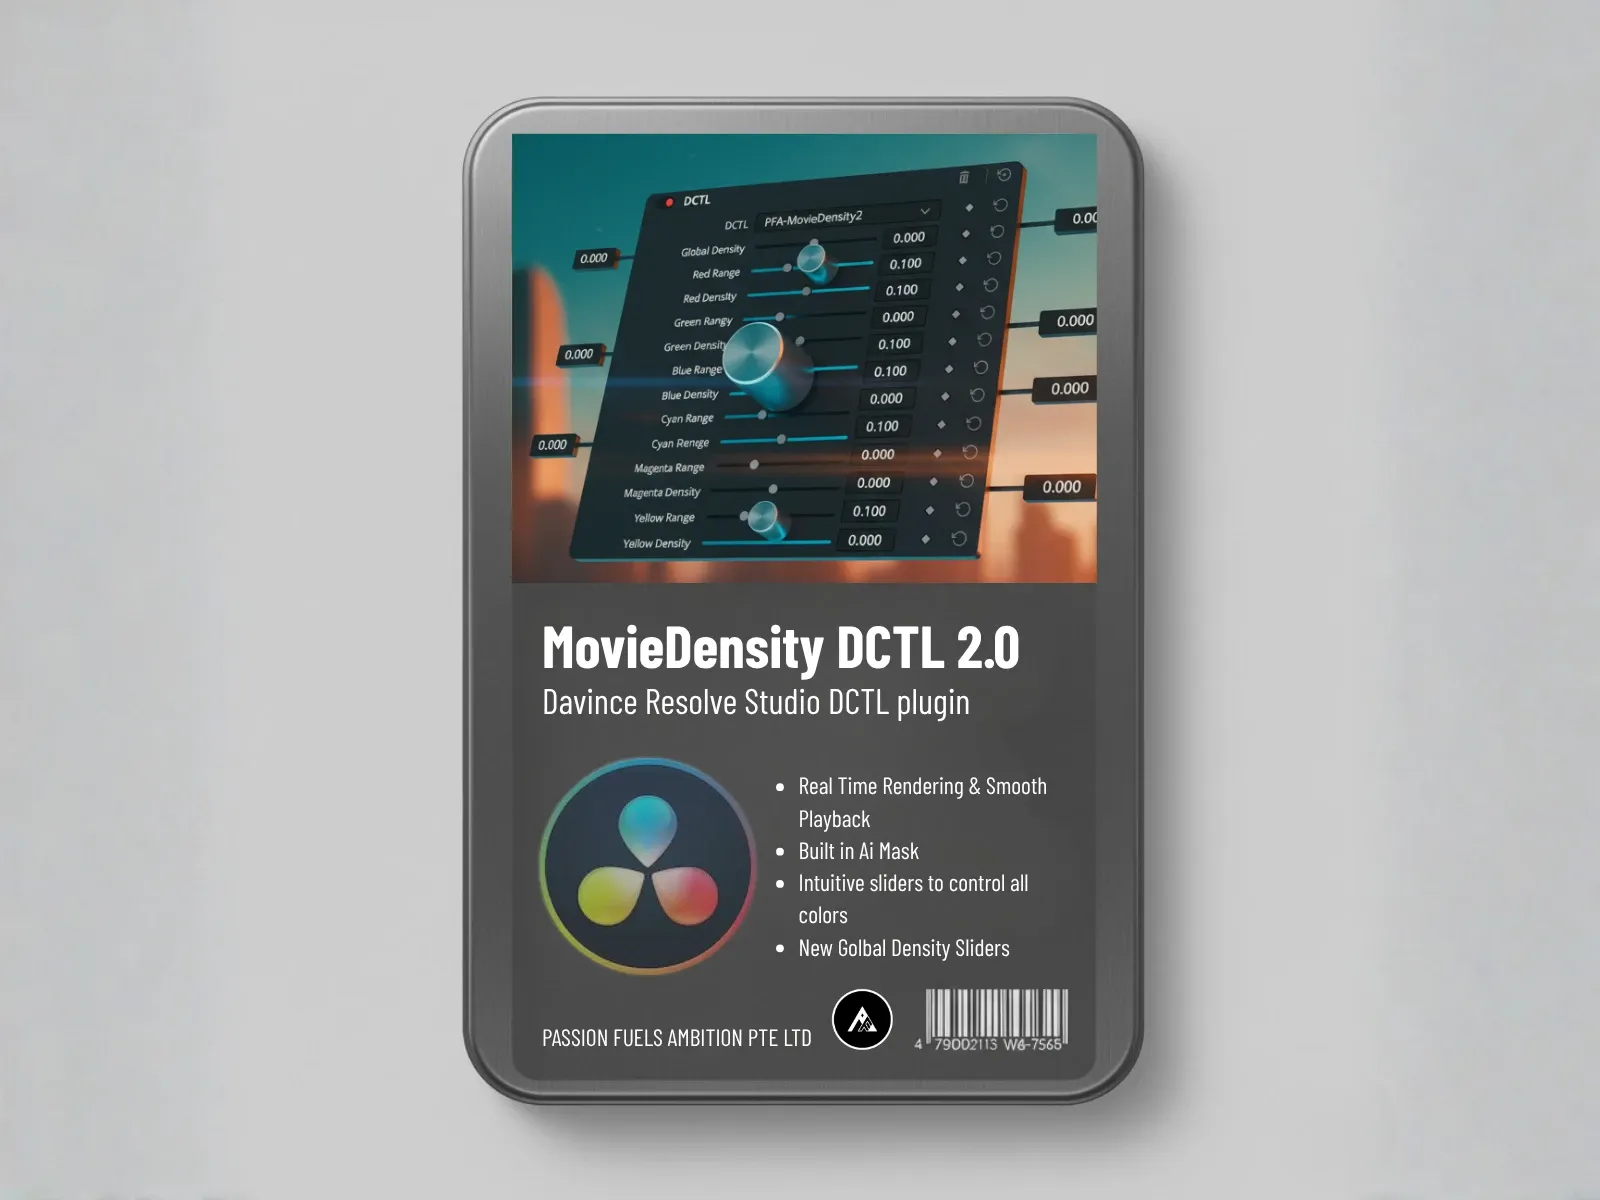
Color Density applies the subtractive color engine based on the Beer-Lambert Law. This is the secret behind why professional grades look organic while amateur grades look digital. As you add more color through density through color density, the image gets darker, just like real film dye. More color blocks more light. That is physics, not a slider. You can increase or decrease density per channel to make your subject pop or push specific colors into the background.
Color Extraction is a new tool for special effects. It extracts specific colors out of the frame. You can create a black-and-white image with selective color, or set keyframes for a gradual color reveal effect. This is the kind of creative control that was previously only possible with complex power window tracking.
Stage Four: Skin Tone Refinement
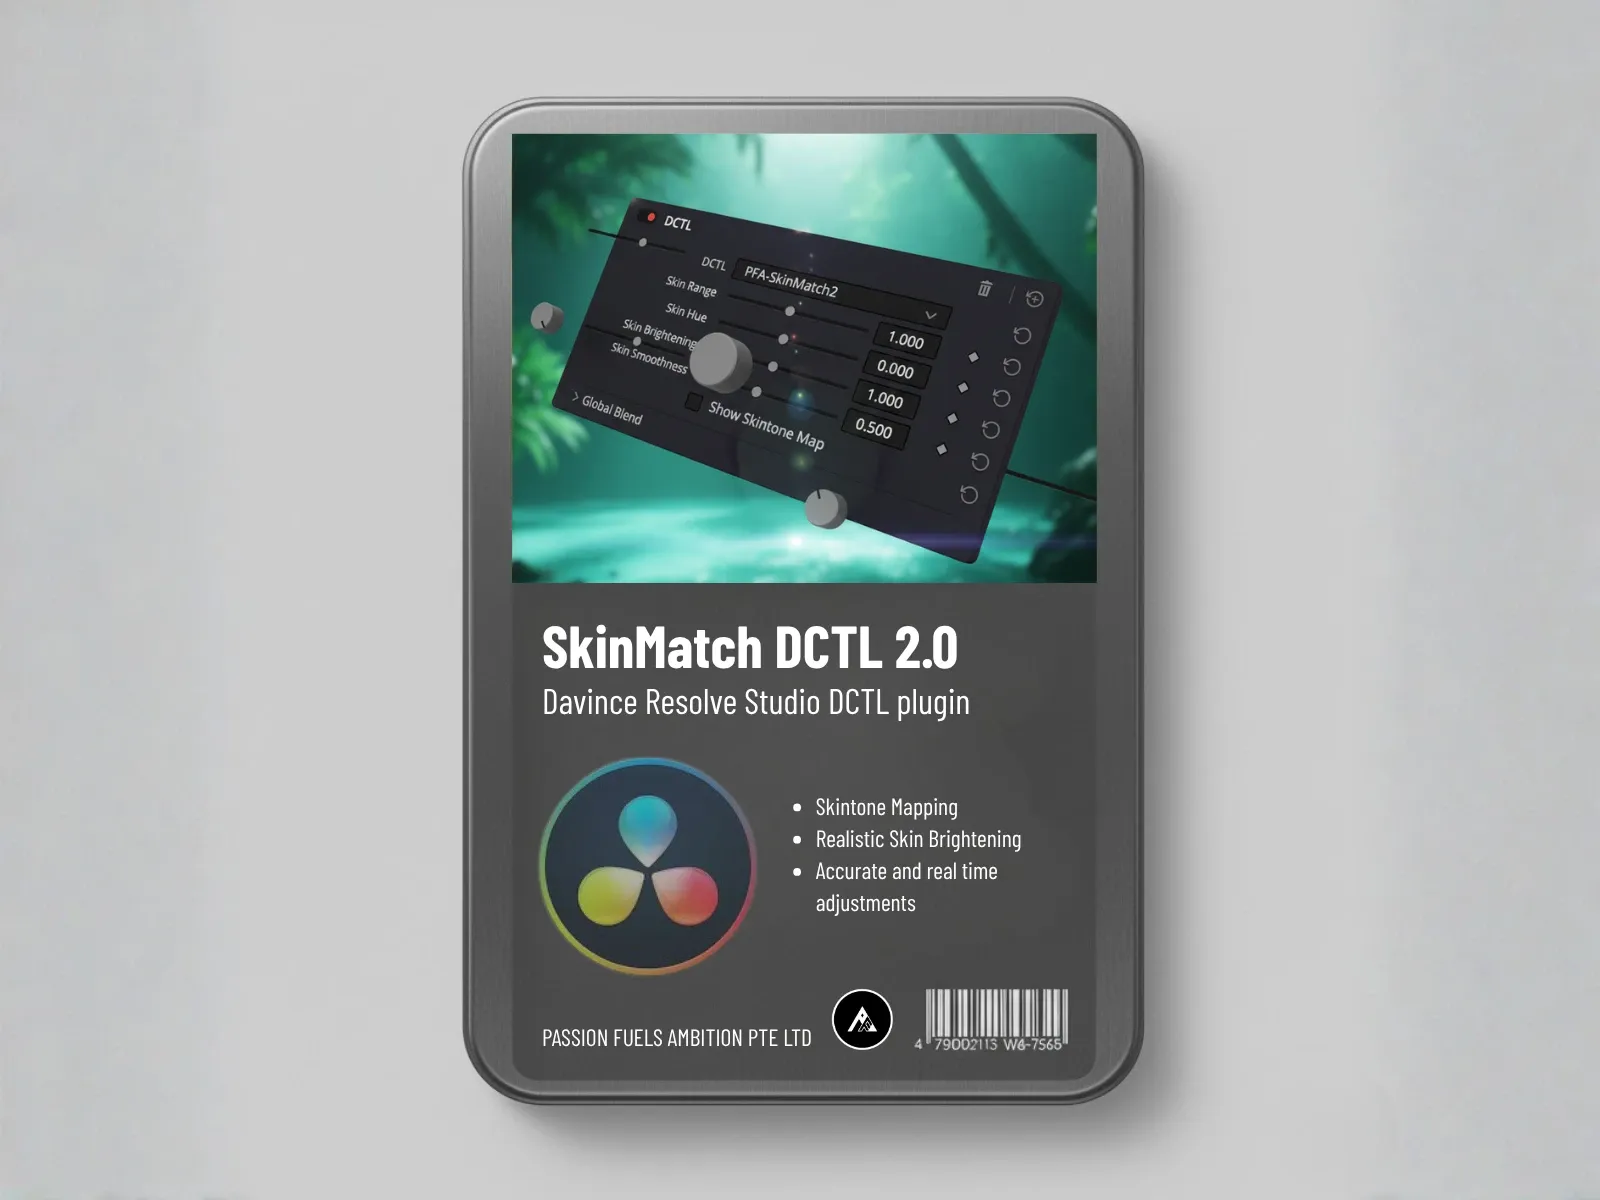
Color Skin is where you perfect skin tones without affecting texture. Turn on the skin tone matte, and the entire image divides into clear skin tone zones. Orange sits perfectly on the vectorscope skin tone line. Yellow is close. Blue is not. You adjust the skin hue to make sure your subject sits in the right zone, then control how fair or dark you want the skin to appear. The process is transparent and precise, no more guessing with color balance sliders that shift everything.
Stage Five: Tertiary Palette Design
Tertiary color grading is where you create a cinematic palette. Three tools handle this:
Film Mixer operates on RGB channel crosstalk, not control zones. That means it works equally well on 8-bit, 10-bit, and 12-bit footage. Push teal and orange, teal and pink, or magenta and green. Reduce the red output to shift red pixels toward cyan. You are remixing the color palette of the entire scene.
Film Separation lets you stretch your palette along specific vector scope axes. You built a palette along the red-cyan line? Reduce the magenta-green axis to make it more muted and moody, or boost the yellow-blue axis for more vibrancy. You control the spread of your palette without hitting broadcast color limits.
Film Printer Lights injects cinematic time-of-day lighting. Add green and yellow for a vintage feel, or add blue and cyan while reducing yellow for a colder, more dramatic mood. The shadow protection mask ensures the effect applies exactly where it should. This goes far beyond what printer lights were originally designed for.
How AI Personal Training Changes the Game
After you build a grade using the systematic process, CinePalette AI lets you export it as training data. The AI learns your style, your color preferences, your contrast choices. On the next shot, you click “Generic Look” and it generates a grade based on what it learned from you. You can cycle through variations of your overall look, each one reflecting your creative taste but offering different texture, mood, and style.
This is not a generic preset. It is a personalized model. The more grades you feed it, the smarter it gets. For editors who struggled with consistency across shots, this eliminates the entire problem. The AI remembers your taste, applies it automatically, and lets you refine the result with manual adjustments when needed.
Why This System Works Across Any NLE
PFA Color Suite works in DaVinci Resolve, Adobe Premiere Pro, and After Effects. The same tools, the same parameters, the same AI training. You can copy a grade from one shot, paste it onto another, and it works identically regardless of which NLE you are using. The Preset Manager saves your complete setup for reuse across projects and platforms.
This matters for real production environments. You might grade a sequence in Resolve, do compositing in After Effects, and need to apply the same look to social media cuts in Premiere. With PFA Color Suite, your creative intent travels with you. No rebuilding grades. No guessing what translates between software.
The Systematic Process Is the Real Secret
Every tab in PFA Color Suite makes sense when used sequentially. Correction first. Primary next. Secondary after that. Tertiary for the final palette. Each stage builds on the last. You do not need to understand node trees or complex color management. You just follow the tabs. The system teaches you color grading as you use it.
That is why editors with zero color grading background can go from flat LOG footage to a cinematic color grade in a few clicks. The struggle is not about talent. It is about process. And PFA Color Suite 13.3 finally gives you a process that works.
PFA Color Suite 13.3 launches in four days. Pricing increases significantly at launch. Use promo code thankyou2026 for 45% off before the increase. The free trial gives unlimited access to all features on the current version.
Frequently Asked Questions
Can beginners use PFA Color Suite without prior color grading experience?
Yes. The systematic process guides you through each stage sequentially: correction, primary, secondary, tertiary. Every tab builds on the last. You do not need to understand node trees or color management theory. The system teaches you as you use it.
How does CinePalette AI personal training work?
You build a grade manually using any combination of the 15 tools, export it as training data, and CinePalette AI learns your style. On future shots, it generates grades based on your personal taste. You can cycle through variations and refine the output with manual adjustments.
Does the Correction LOG work with any camera’s log format?
Yes. It adapts to any log format from GoPro flat to ARRI Alexa LogC3. It does not use LUTs or fixed color space transforms. It analyzes the frame and corrects it using 32-bit float math.
What makes Color Density different from a regular density slider?
Color Density uses subtractive color science based on the Beer-Lambert Law. More density makes the image darker, just like real film dye. Regular saturation sliders use additive color science, which brightens pixels and creates a digital look.
Is there a free trial available?
Yes. PFA Color Suite offers a free trial with unlimited access to all features. You can test every tool, run AI training, save presets, and apply grades across multiple shots. The trial is available on the PFA Color Suite free trial page.