How to Color Grade RAW Footage in DaVinci Resolve (Free Version, 2026)
You shot your video in RAW. The footage looks flat, washed out, and nothing like what you envisioned. You need to transform that RAW data into something cinematic, but you are not sure where to start. Maybe you are working with RED 6K, ARRI, or Blackmagic sensor formats. Maybe you are wondering if you even need the Studio edition for this. Here is the good news: you can color grade RAW video using only the free version of DaVinci Resolve, and a single plugin can handle the entire pipeline from RAW to Rec.709 in under five minutes.
This guide walks you through the exact workflow for any kind of RAW footage, whether you are a beginner or a working colorist. We will cover the Correction LOG engine, Film Spectral Contrast for bringing back sensor-level color science, and why lookup tables are the wrong tool for RAW conversion. By the end of this tutorial, you will have a repeatable process that works on any camera format.
Why RAW Footage Needs a Different Color Grading Approach
RAW footage is fundamentally different from log or rec.709 video. When your camera records RAW, it captures the full sensor data without any baked-in color science, gamma curve, or contrast. That gives you maximum flexibility, but it also means the image out of camera looks flat and lifeless. Every decision about gamut, gamma, and contrast is yours to make.
Most color grading guides assume you are working with log footage that has already been mapped to a display space. RAW skips that step entirely. You need to establish a proper color management workflow before you touch a single color wheel. The traditional approach involves setting up a transform, selecting the right input space, and converting to DaVinci Wide Gamut or Rec.709. That takes several steps and a solid understanding of color management theory.
There is a faster way.
Step 1: Convert RAW to Rec.709 with Correction LOG
The first thing you need to do is take that raw image out of its flat state and into a viewable Rec.709 space. This is where the Correction LOG engine in PFA Color Suite does the heavy lifting. Instead of building a multi-step color space transform chain, you drop the plugin on your clip and let the AI handle the conversion.
Start by adjusting the De-Logify slider. This controls the contrast curve that maps your raw data into a display-referred image. Push it up until the shadows feel grounded and the highlights are not clipping. Then use the LOG Exposure slider to fine-tune the overall brightness. Small adjustments go a long way here. You want a natural baseline, not a finished grade.
The result is a clean, properly exposed image that still retains all the dynamic range and color information from your raw sensor data. No lookup tables involved. No destructive transforms. Just clean math.
Step 2: Restore Sensor Color Science with Film Spectral Contrast
Here is the part most people miss. When you convert raw to Rec.709, the conversion process strips away the camera sensor’s native color science. That is why the image looks technically correct but emotionally flat. You need to put the color character back.
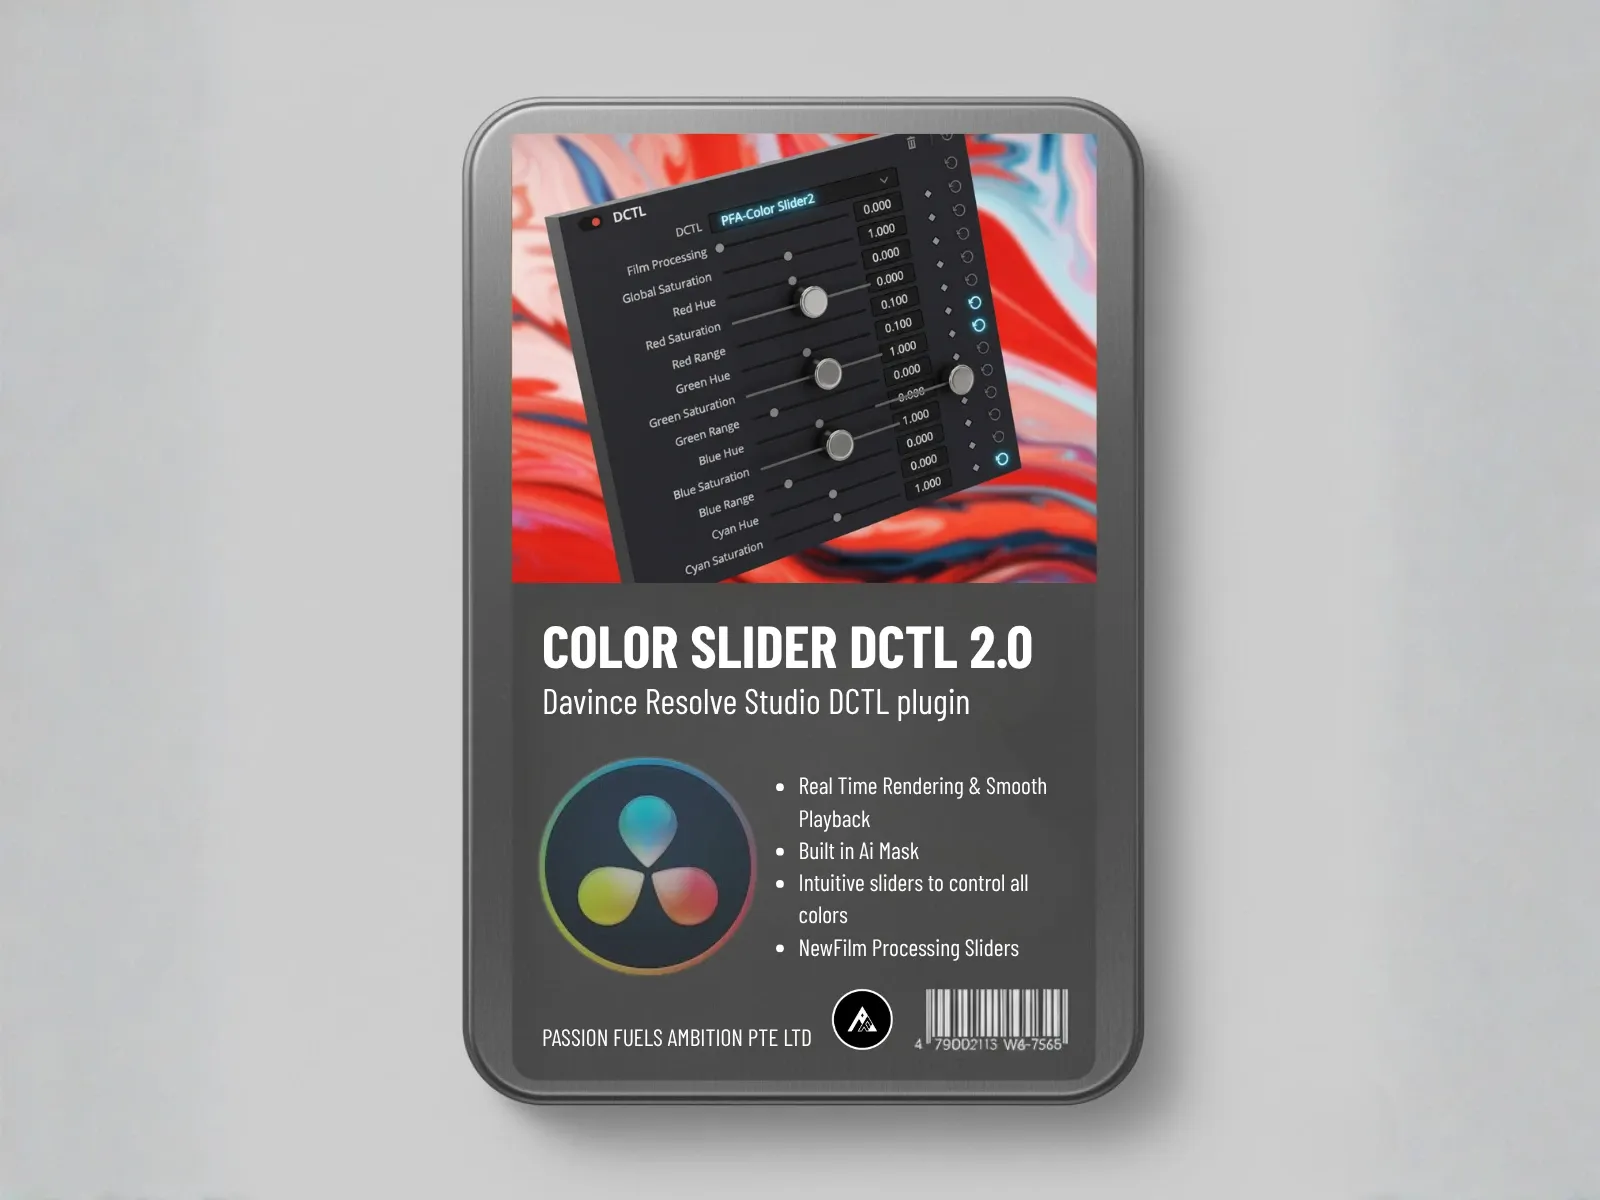
Film Spectral Contrast works at the RGB channel level. Instead of applying a blanket contrast adjustment, it treats each color channel independently. Slightly increase the red contrast. Bump the green contrast a touch. Lift the blue contrast just a bit. These micro-adjustments at the channel level recreate the organic color density that your camera sensor originally captured.
The difference is immediate. Your image goes from “technically corrected” to “natural and filmic” without touching the color wheels. This is especially important for RED raw footage, which tends to lose its signature warmth during standard Rec.709 conversion. If you want to understand how this engine works in depth, check out the Film Spectral Contrast documentation.
Step 3: Build Film Density with Global Color Density
Once your raw footage has proper contrast and channel-level color science, the next step is density. Film stock has a unique way of handling saturation. Instead of just pushing pixels brighter, it deepens the color in a way that feels organic and rich. Digital correction often gets this wrong by cranking saturation, which makes colors look artificial and oversaturated.
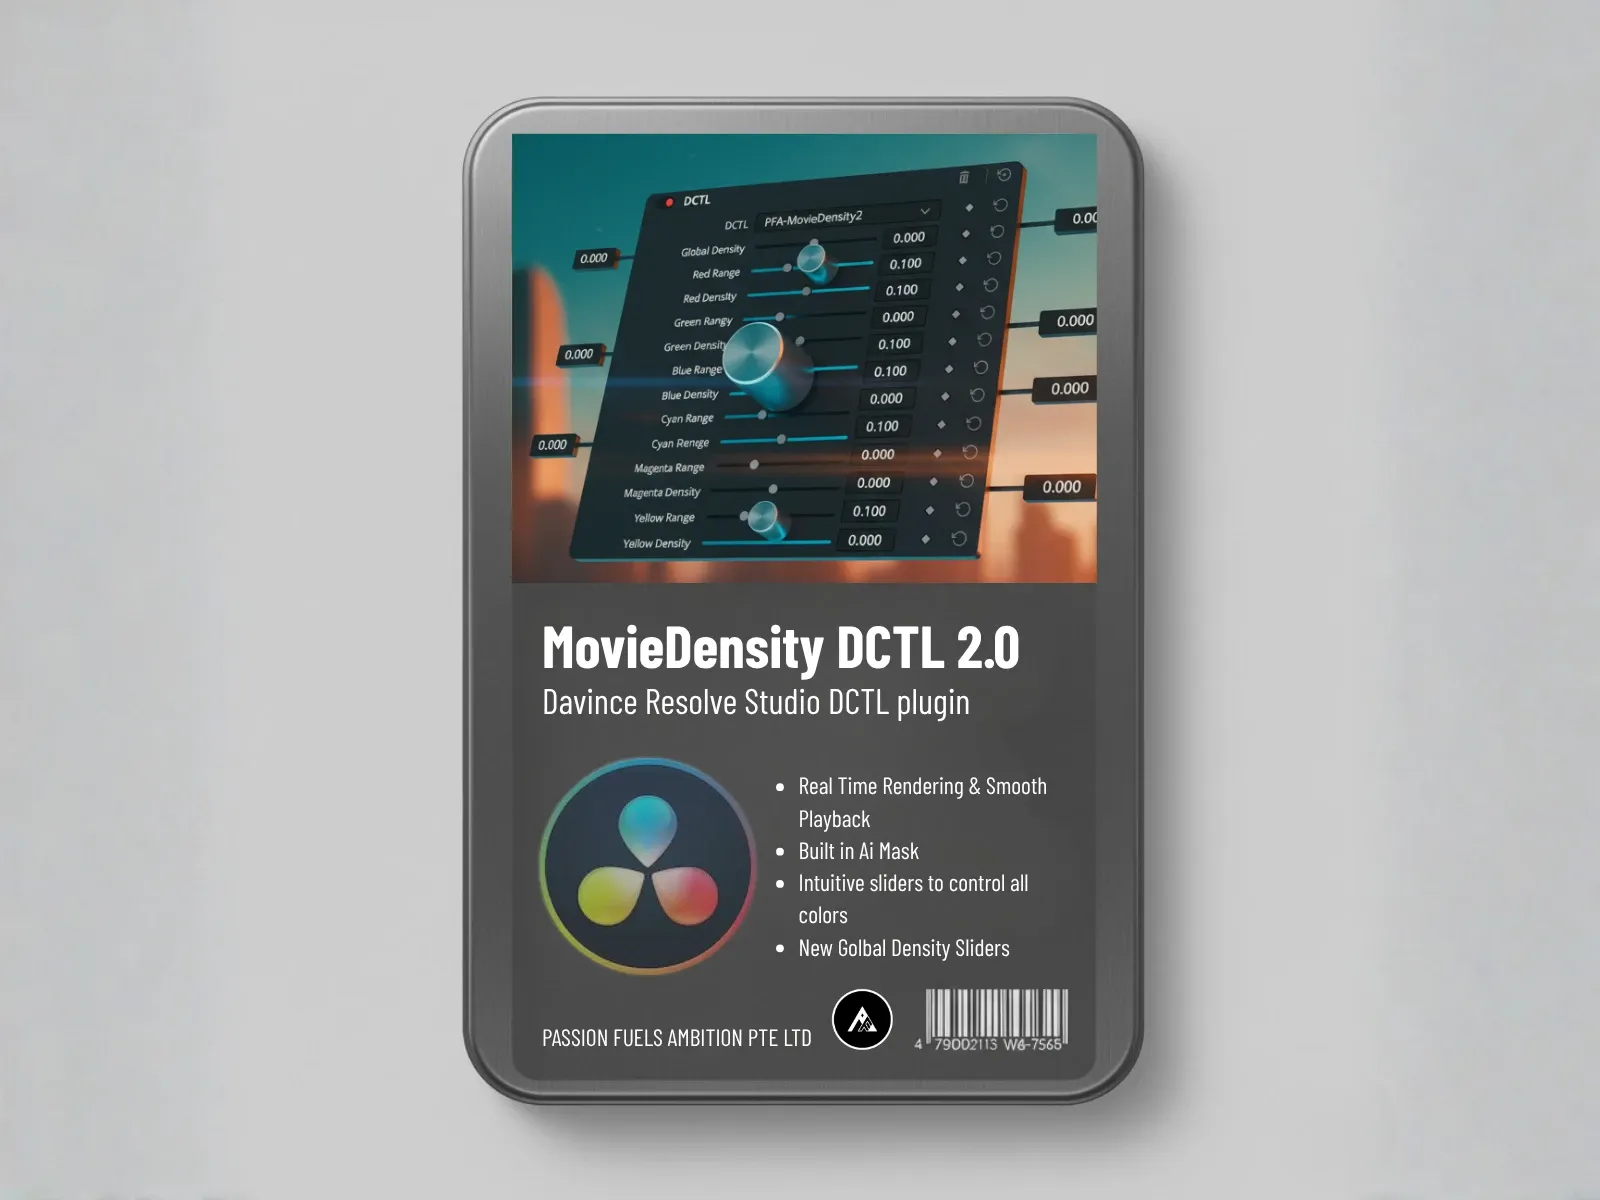
Global Density in PFA Color Suite handles this by lowering the brightness of saturated pixels rather than boosting them. Increase the red density to deepen warm tones. Push the green density slightly for natural mid-tones. The result is that rich, film-like color depth that comes from actual film emulsion, not from a saturation slider.
This step is what separates a basic correction from a look that feels intentional. The Color Density engine applies the same subtractive saturation principles that made lookup table workflows so problematic in the first place.
Step 4: Shape Shadows with Film Tonal Curve
Your RAW footage is now properly converted, color science is restored, and the density feels filmic. The final piece is shadow shaping. Film has a characteristic milky gray in the shadow regions that digital sensors simply cannot replicate on their own.
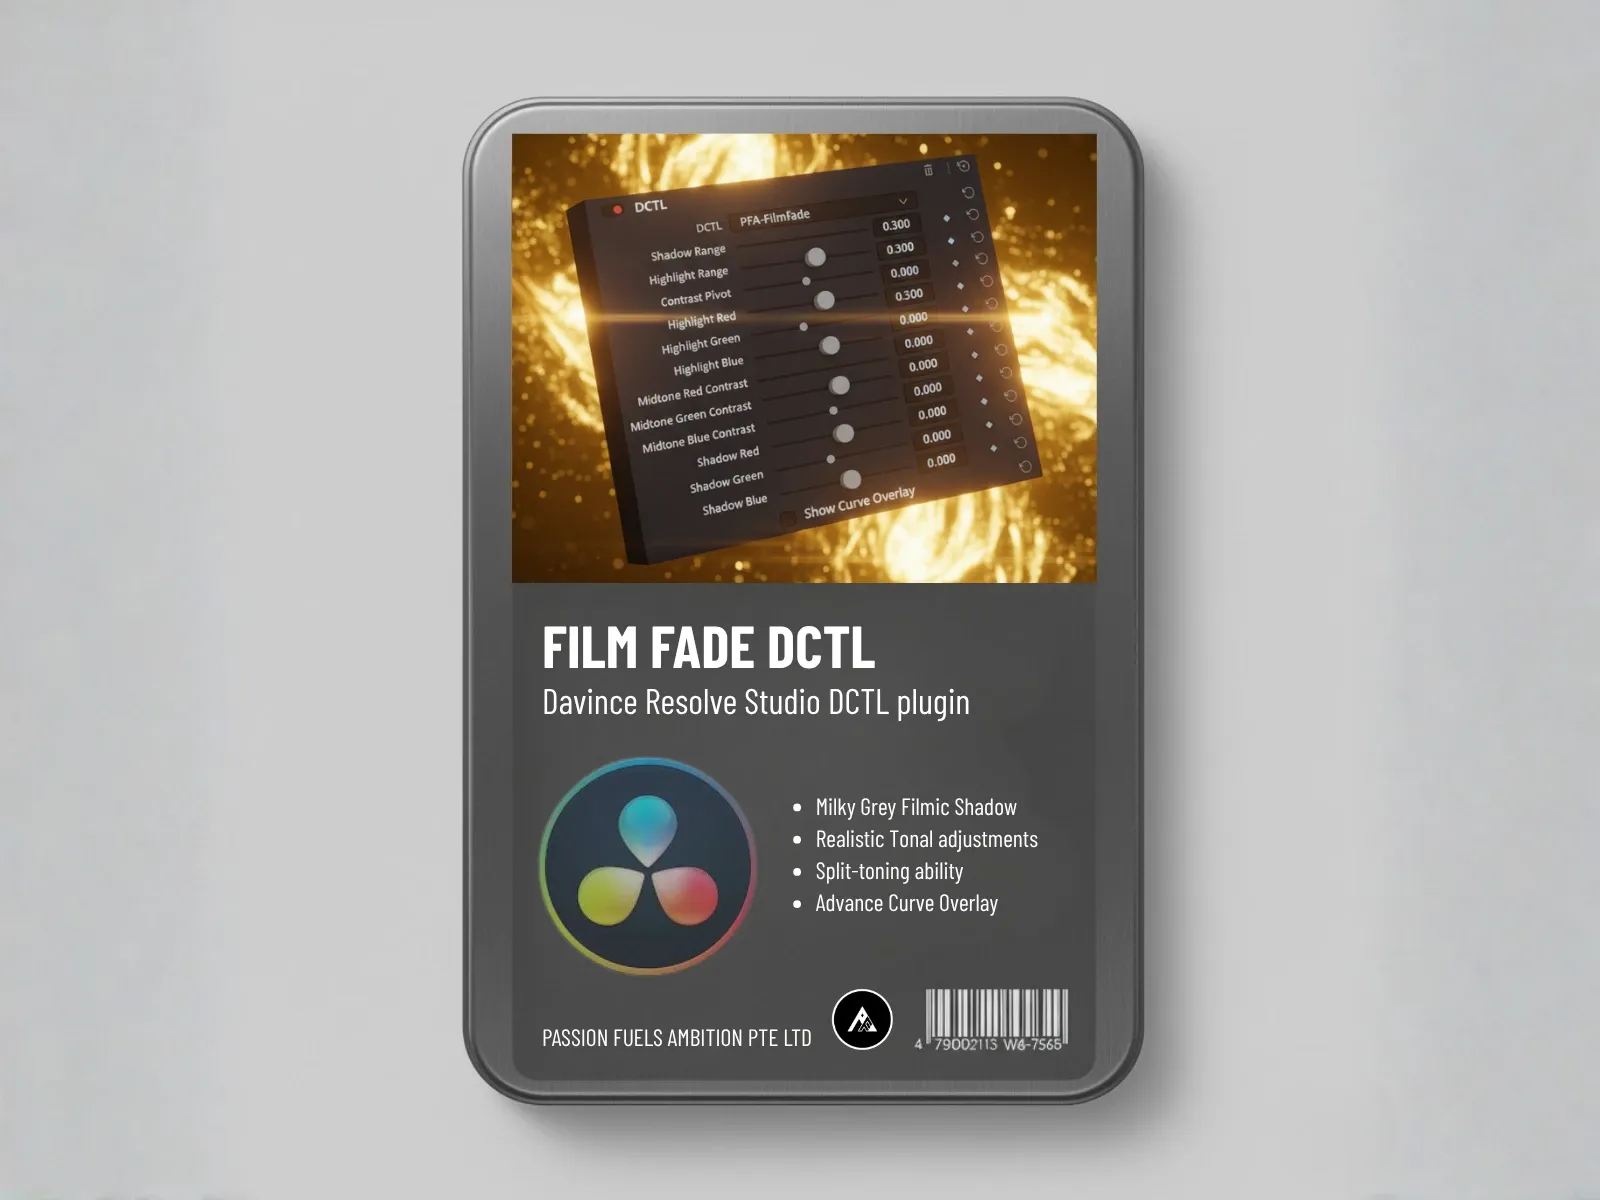
Film Tonal Curve lets you lift the black points and add shadow softness. This is not the same as crushing blacks or adding a fade. It is a subtle tonal reshaping that gives your image that analog quality. Increase the black point just enough to see it. Add a touch of shadow softness. Watch how the highlights and mid-tones hold together beautifully.
Everything in this plugin is built on 32-bit float math, so you are not losing any data. No clipping, no banding, no quality loss. You can learn more about the Film Tonal Curve engine and how it differs from standard gamma adjustments.
What if You Want a Bold Cinematic Look?
The workflow above gives you a natural, organic grade that works perfectly for vlogs, documentaries, and corporate work. But what if you want something bolder? Something more cinematic?
That is where the Film Mixer comes in. After your RAW conversion and density steps, the Film Mixer lets you push the grade into a more stylized direction. Adjust the channel balance, sculpt the color relationships, and create a look that feels intentional and dramatic. This is the step where you move from “correct” to “creative.”
How to Color Grade RAW Footage in DaVinci Resolve Free Version
Yes, this entire workflow works in the free version of DaVinci Resolve. You do not need the Studio edition. PFA Color Suite is an OpenFX plugin that runs in both the free and paid versions. The color tools inside Resolve’s color page are available to everyone. All you need is the plugin installed and your raw footage imported into a new project.
This matters because a lot of guides assume you are working with Studio. They show you features like noise reduction, HDR grading, or multiple GPU processing that require the paid version. This workflow sidesteps all of that. The plugin handles the complex math, and Resolve handles the playback.
Why Lookup Tables Are the Wrong Tool for RAW Footage
A common mistake is trying to apply a lookup table directly to raw footage. These preset transforms are destructive. They apply a fixed mapping that cannot adapt to the unique characteristics of your specific raw file. A table designed for one camera’s output will look completely wrong on another. Even two clips from the same camera shot at different ISOs will respond differently to the same table.
RAW footage needs a dynamic approach. The Correction LOG engine adapts to the actual data in your file. Film Spectral Contrast rebuilds color science at the channel level. Global Density adds organic saturation depth. None of this is possible with a fixed lookup table. If you have been relying on preset tables for your RAW conversion, our free Rec.709 LUTs pack can still be useful for quick reference, but it is not a replacement for proper raw processing.
Does This Workflow Work for Log Footage Too?
Absolutely. The same pipeline works on log footage from any camera. S-Log3, C-Log, V-Log, B-Log, RED Log3G10, ARRI LogC. They all follow the same principle: flat footage that needs to be mapped to Rec.709 with proper color science restoration. The Correction LOG engine handles the conversion, Film Spectral Contrast rebuilds the sensor character, and the rest of the pipeline builds the look. Whether you are working with 8-bit log from a mirrorless camera or 16-bit raw from a RED Komodo, the workflow is identical.
For more on handling different camera formats, the color grading basics hub covers format-specific workflows and common pitfalls.
Speed Up Your Workflow with AI Color Grading
Once you have established your base grade on one clip, you can apply it across your entire timeline. PFA Color Suite also includes CinePulse AI, which learns your preferences and can apply consistent looks across multiple clips automatically. For colorists who need to deliver fast turnarounds, this cuts work time from hours to minutes without sacrificing quality.
If you want to explore how AI can speed up your pipeline beyond RAW conversion, check out the CinePulse AI feature page.
Frequently Asked Questions About RAW Color Grading
Can you color grade RAW footage in the free version of DaVinci Resolve?
Yes. The free version of DaVinci Resolve supports RAW import and full color grading on the color page. You can import RED R3D, Blackmagic RAW, ARRI RAW, and other formats without upgrading to Studio. The only limitations in the free version are noise reduction, some HDR tools, and multi-GPU processing, none of which are required for standard RAW color grading. Use a waveform scope to check your exposure and make sure nothing clips.
Do you need a LUT to convert RAW to Rec.709?
No. Lookup tables apply a fixed transform that does not adapt to your specific footage. Proper RAW conversion requires dynamic gamut mapping that adjusts to the actual sensor data. Tools like the Correction LOG engine handle this conversion in real time without the destructive limitations of a static preset.
What is the best node structure for grading RAW footage?
Start with a single step for RAW to Rec.709 conversion using Correction LOG. Add a second step for Film Spectral Contrast to restore sensor color science. Use a third step for Global Density to build film-like color depth. Add a fourth step for Film Tonal Curve to shape shadows. This four-step structure is cleaner and faster than the traditional six-plus step CST pipeline.
Does Film Spectral Contrast work on all RAW formats?
Yes. Film Spectral Contrast operates at the RGB channel level regardless of the source format. It works on RED RAW, Blackmagic RAW, ARRI RAW, Sony RAW, and any other format that DaVinci Resolve can import. The effect is consistent because it processes the pixel data after it has been converted to a display-referred space.
How is this different from using a color space transform node?
A transform node converts color spaces but does not add any creative treatment. It is purely technical. The Correction LOG engine handles the conversion and adds dynamic contrast control. Film Spectral Contrast, Global Density, and Film Tonal Curve add the creative color treatment that a standard transform alone cannot provide. You get both the technical conversion and the creative grading in one plugin.
Your RAW Footage Is Ready to Grade
Grading RAW footage does not need to be complicated. You do not need DaVinci Resolve Studio. You do not need a six-step transform chain. And you definitely do not need to rely on lookup tables that destroy your image data. With the right tools, you can go from flat raw footage to a filmic, natural grade in four steps. The Correction LOG engine handles the conversion, Film Spectral Contrast restores sensor color science, Global Density builds organic color depth, and Film Tonal Curve shapes the final look. Everything runs in the free version of Resolve, and everything is built on 32-bit float math so you never lose quality.
Try it yourself. Download the free trial of PFA Color Suite, grab some raw footage, and see how fast your color grading workflow can be.
Passion Fuels Ambition. I will see you in the next grade.