Color Grading Tools That Replace Complex Node Trees in Resolve
Your grades look perfect on your screen. Your client opens the file. Everything is wrong. Same clip. Same adjustments. Totally different colors. This is the color confusion that wastes hours of your time. If you are still building 15-node trees for every single shot, you need to see what changed in 2026.
PFA Color Suite 11.3 replaced a manual 15-node workflow with four clicks. The plugin handles LOG conversion, exposure correction, and white balance automatically. Then the AI engine generates a complete look you can cycle through and fine-tune. This article shows you exactly how the new pipeline works, why traditional node trees create more problems than they solve, and which color grade tools actually replace that complexity.
Why Your Color Grades Look Different on Every Screen
Color looks different across monitors because most displays are not calibrated to the same color space. When you grade on an uncalibrated screen, your eyes compensate for its color bias. The result looks right to you but wrong everywhere else. The fix starts with proper color management and a calibrated reference monitor and a reliable process that does not depend on what your screen shows you.
Blackmagic Design recommends using scopes instead of your eyes for critical decisions. The waveform and vectorscope tell you exactly where your exposure and color sit, regardless of what your monitor displays. Blackmagic Design’s official Resolve documentation covers this in detail. Every professional uses scopes as their primary reference.
The Traditional 15-Node Tree Problem
Most Resolve tutorials teach a node tree approach. You add one node for LOG to Rec.709 conversion. Another for exposure. Another for white balance. Then a node tree for contrast, split toning, color adjustment, and skin tone correction. By the time you finish, you have 15 nodes per shot. Multiply that by 200 shots in a project and you are looking at 3,000 nodes to manage.
Here is what goes wrong with fixed node trees. Every shot needs different adjustment values. Copying this structure across clips rarely works because exposure, white balance, and color temperature vary. You end up tweaking each node individually. That is three hours of work that could take three minutes with the right colour grading tools.
PFA Color Suite 11.3: The Four-Click Pipeline
The new PFA Color Suite workflow replaces that entire node tree in four steps. Drop the plugin on your clip. Apply LOG correction to convert your camera’s color space. Set exposure and white balance with auto correction. Then generate a look and cycle through options until you find the right one.
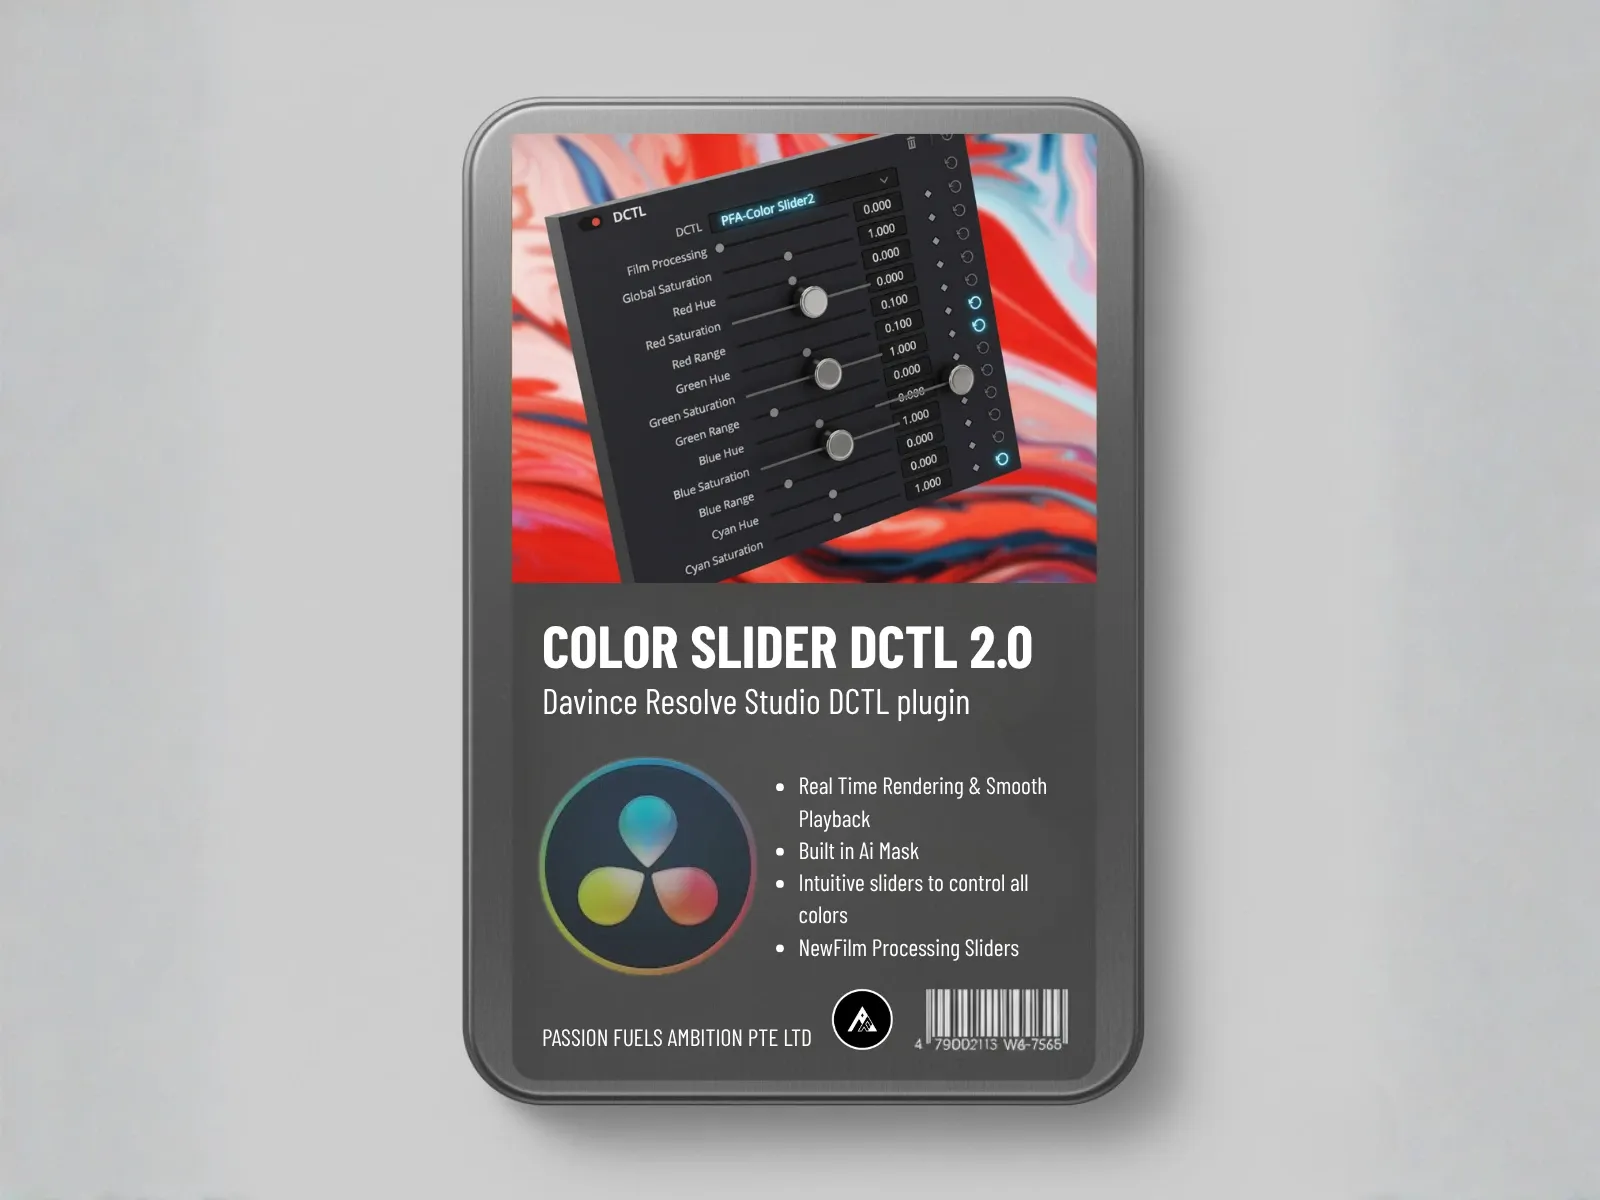
The difference is visible immediately. Where a manual workflow required 15 separate nodes for color correction, tonal curve work, spectral contrast, split toning, color swap, and density, PFA Color Suite bundles all of these into one plugin interface. Each engine handles one part of the grade, and they work together as a single system.
CinePulse AI: Generating Looks Without Building Nodes
CinePulse AI in PFA Color Suite analyses your clip and calls out all the parameters needed to generate a look. Instead of manually adjusting 15 nodes, you pick a style from the generated options. The engine applies film emulation, color separation, and density in one pass.
The key difference from LUTs: CinePulse AI works in 32-bit floating point with subtractive color science. LUTs clip colors at the edges. AI-generated looks preserve the full dynamic range of your original clip. This matters when you need to push a grade further without introducing banding or artefacts.
How to Build Any Look from Scratch with One Plugin
Let us walk through the manual pipeline so you understand what happens under the hood. The transcript from our video walks through every step step by step.
Step 1: LOG Correction and Colour Management Foundation
Every grade starts with correction. LOG correction converts your camera’s flat LOG profile to Rec.709. The strength control lets you dial in how much conversion to apply. This step strips away the manufacturer’s saturation, making it easy to sync footage from different cameras. If you shoot with a Sony and a Canon in the same project, this is where color management starts to work for you instead of against you.
Exposure correction and white balance auto-correction handle the foundation next. You will notice saturation drops during LOG conversion. That is normal. The subsequent engines bring it back with purpose.
Step 2: Film Tonal Curve for Dynamic Range
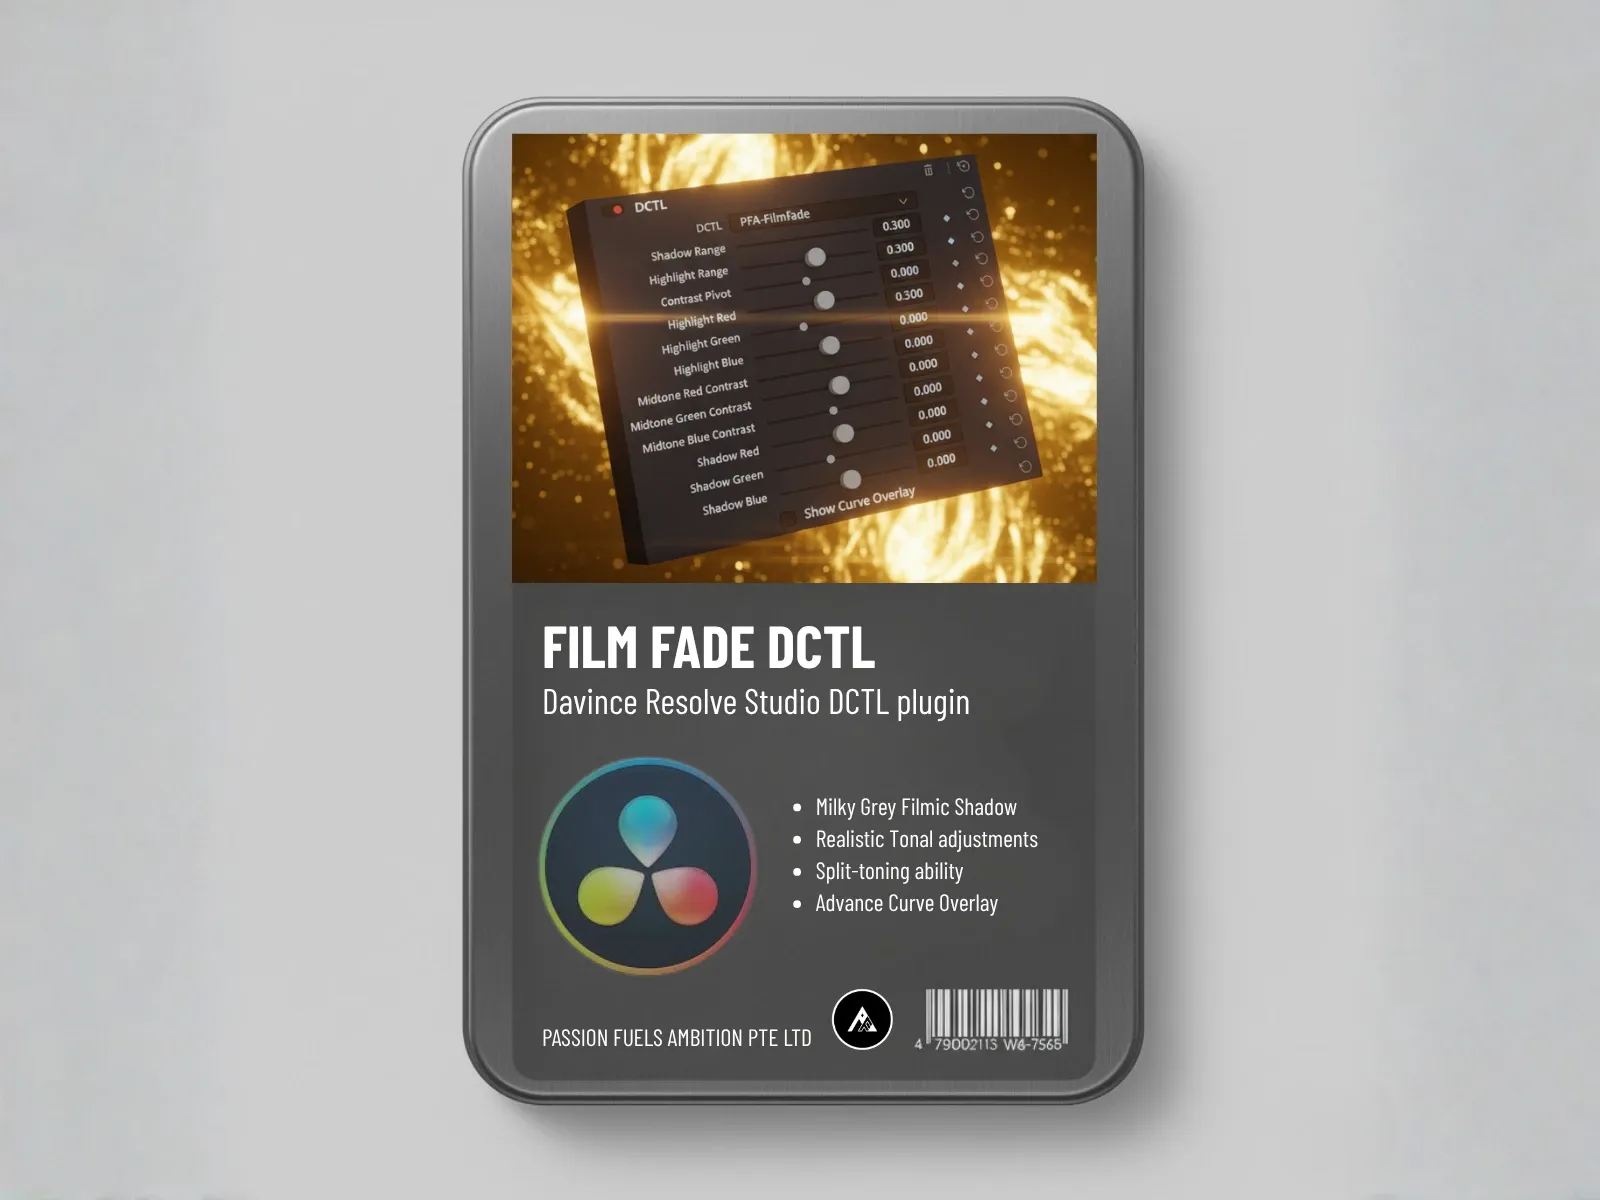
The Film Tonal Curve engine simulates the texture of film print. Increase the black point to establish shadow roll-off. Create a gradual roll-off for your highlight points. The result is a dynamic range look that digital capture cannot achieve on its own. This is the same technique Hollywood colorists use to make digital sensors look like film stock.
Step 3: Spectral Contrast for Colour Without Exposure Shift
Film Spectral Contrast creates saturation without affecting exposure. This is different from a standard saturation slider. When you increase rate contrast, the image feels lighter. Colours separate. The vector scope shows the spread widening while your luminance curve stays put. One tap gets you near the final result.
Step 4: Split Toning for Cinematic Colour Separation
Film Split Tone controls how shadows, midtones, and highlights behave independently. Introduce cyan in the shadows for that moody teal look. Add a touch of green in the midtones for organic warmth. This is where your grade gets depth. The split toning engine works on the luminance ranges you define, so you can target exactly the shadow areas that need a color shift without touching the highlights.
Step 5: Color Swap and Additive Colour Science
Color Swap uses additive color science to shift and saturate colors by their range. Display the color distribution first to see where your mass sits. Use the cyan range to increase readout on cyan information. Shift yellow hues toward orange for a warmer look on foliage. Grab more green colors and push them toward cyan. Each adjustment targets a specific color range without affecting the rest of the image.
Step 6: Color Density for Film-Like Richness
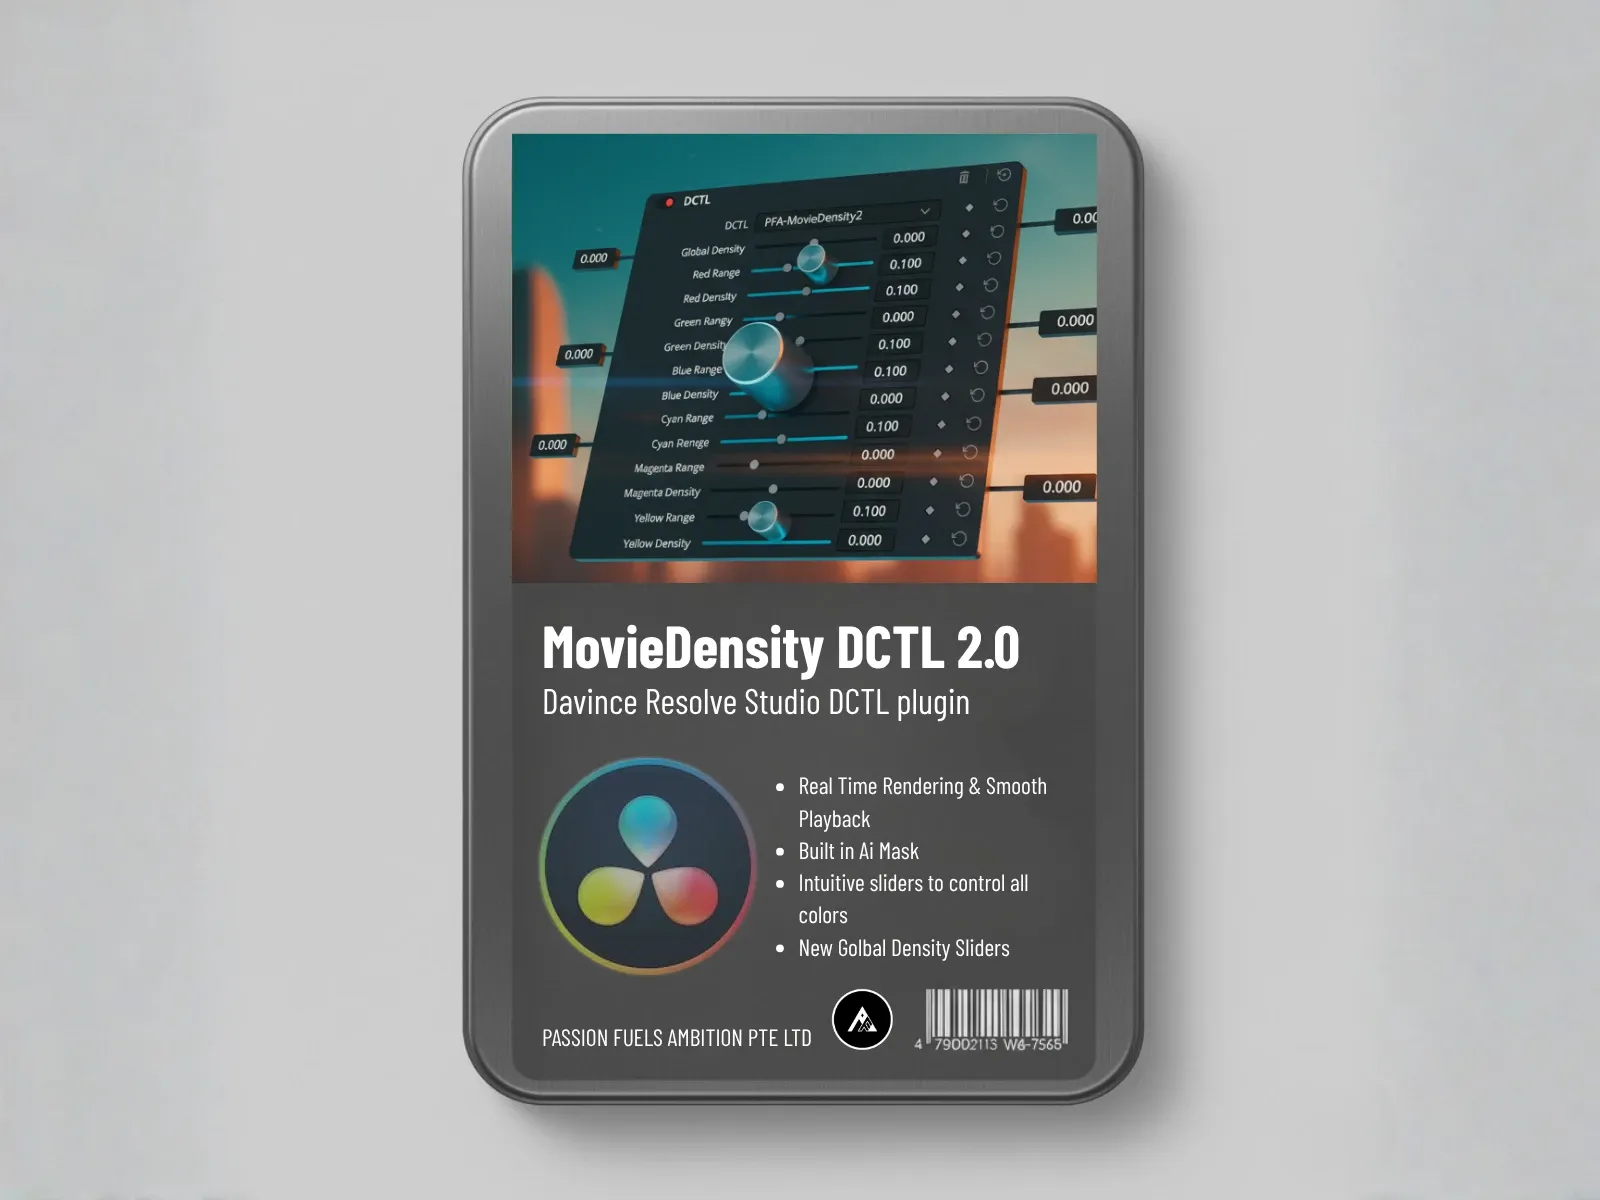
Color Density applies subtractive color science. When you add more saturation, luminance drops. This is exactly how film stock behaves. More pigment means less light passes through. The result is rich, dense colors that look like they came off a film negative, not a digital sensor. Push saturation on the vector scope while watching your RGB curves drop in luminance. That is the film look.
Step 7: Film Mixer for Fine-Tuning
Film Mixer is your final control point. Push teal-orange to the maximum for that classic Hollywood look. Add more cyan to the scene for customised depth. The mixer lets you preserve detail that a simple saturation slider would destroy. Compare the result to your original 15-node tree and you will see the difference in contrast preservation and color depth.
Why AI Color Grading Beats Manual Node Trees in 2026
AI grading is not about replacing the creative process. It is about removing the mechanical work so you can focus on creative decisions. When CinePulse AI generates a look, it applies the same principles a skilled editor would use: LOG conversion, contrast, color separation, and density. The difference is speed. What takes 15 nodes and three hours happens in four clicks and thirty seconds.
For editors who grade their own content, this changes the economics. You can grade an entire sequence in the time it used to take to set up one shot’s node setup. For colourists, it means you can present clients with multiple look options in a session instead of one grade to revise. The AI handles the foundation. You handle the creative direction.
Mixing Light’s color grading education platform has documented how top colourists are adopting AI-assisted workflows. The pattern is consistent: AI generates the starting point, the colourist refines it. The result is faster turnaround with equal or better quality.
Internal Comparison: Native Resolve Tools vs PFA Color Suite
Here is the breakdown. Native Resolve tools require you to build each node manually. You need to understand color space transformation, tonal curve behaviour, and additive versus subtractive color science. PFA Color Suite 11.3 bundles all of these engines into one plugin. The plugin applies them in the correct order with mathematically optimal values.
The node reduction is real. Fifteen nodes become one plugin instance. The conversion from LOG to Rec.709 happens inside the plugin. The result is generated by AI. The adjustment controls are all in one interface. You do not need to duplicate nodes between clips or rebuild the entire setup for every new project.
Who Should Use This Workflow
This pipeline works for any colourist who grades regularly. Wedding videographers processing hundreds of clips benefit most from the speed. Documentary editors mixing camera sources need the color management foundation. Indie filmmakers with limited post-production time can result their own projects at a professional level. Even experienced colourists use AI look generation as a starting point and refine from there.
If you are still building node trees from scratch for every project, you are leaving time on the table. The color grading tools that replace complex node trees are not experimental anymore. They are production-ready in 2026.
Frequently Asked Questions
Can one plugin really replace 15 nodes in Resolve?
Yes. PFA Color Suite 11.3 combines LOG correction, exposure, white balance, film tonal curve, spectral contrast, split toning, colour swap, color density, and film mixer into a single plugin. Each engine handles what would normally require separate nodes. Your color result becomes one plugin instance instead of a 15-node setup per clip.
Does AI colour grading work with any camera LOG profile?
PFA Color Suite supports LOG profiles from all major camera manufacturers including Sony S-Log3, Canon C-Log, Blackmagic Film, ARRI LogC, and Panasonic V-Log. The LOG correction engine converts each profile to Rec.709 automatically. You control the strength of the conversion to match your creative intent.
What is subtractive saturation and why does it matter?
Subtractive saturation mimics how film stock behaves. When you add more color pigment, less light passes through the emulsion. This reduces luminance as saturation increases, creating dense, rich colours. Digital saturation sliders work additively, which can cause clipping and artefacts. Subtractive saturation preserves the natural relationship between color intensity and brightness.
Is this process suitable for professional color work?
Yes. The plugin operates in 32-bit floating point with full dynamic range preservation. It is designed as an OpenFX plugin for DaVinci Resolve, the same software used in Hollywood post-production. Professional colourists use it to generate starting looks and then fine-tune with the built-in controls.
How does PFA Color Suite compare to Dehancer or FilmConvert?
Dehancer and FilmConvert focus on film emulation. PFA Color Suite includes film emulation plus AI look generation, colour management, contrast engines, mixer controls, and texture tools in one plugin. It is a complete grading toolkit, not just a film stock simulator. Our detailed comparison breaks down each plugin’s strengths.
Ready to replace your node setup? Get PFA Color Suite with a lifetime subscription and start grading in four clicks. Not ready to commit? Try it free with unlimited access first.
Want to experiment with color grading before diving in? Grab our free universal Log to Rec.709 LUT pack for all cameras. If you are just starting out, check our complete guide to color grading basics or read about 5 plugins that cut 80 percent of grading work.