How to Color Grade 8-Bit LOG Footage in DaVinci Resolve
You shot LOG on your camera, the client re-exported it as a compressed 8-bit edit, and now the clip looks flat, washed out, and falls apart the moment you push any slider. If you are wondering how to color grade 8-bit footage without turning it into a noisy, banded mess, you are not alone. This is one of the most common problems colourists face, and it gets worse every day as more creators shoot LOG on phones, mirrorless cameras, and drones that deliver heavily compressed files.
In this DaVinci Resolve tutorial, I will walk you through a complete workflow to fix compressed 8-bit LOG files using channel math. The approach covers LOG to Rec.709 conversion, white balance correction, spectral contrast recovery, colour density restoration, and creative grading with film mixer tools. No noise. No banding. Just clean results.
Why 8 Bit LOG Footage Falls Apart When You Grade It
Before you start grading, you need to understand why 8 bit files behave so differently from 10-bit RAW or ProRes files. The difference comes down to how much colour information is actually stored in each frame.
An 8bit file stores 256 values per colour channel (red, green, blue). A 10bit file stores 1,024 values per channel. That is a four-fold difference in data. When you shoot in a LOG profile, the camera applies a flat gamma curve to preserve as much dynamic range as possible. But in 8 bit, that dynamic range gets squeezed into far fewer values than it needs. The result is that adjacent pixels often share identical or near-identical values, creating what colour grading experts call “stepping” or banding.
Now imagine someone takes that already-compressed file, edits it in an NLE, and re-exports it at a low bitrate. You are dealing with generational loss on top of the original compression. This is exactly the scenario a PFA user sent me: an 89 MB original file compressed to 9 MB after re-export, completely flat with zero usable colour information. Here is how to fix it.
Step 1: Convert LOG to Rec.709 with Delogify
The first step in any LOG grading workflow is to convert the clip from its flat gamma curve to a standard Rec.709 colour space with a LOG to Rec.709 conversion tool. This gives you a usable starting point, as recommended by Blackmagic Design where contrast and saturation are in a normal range.
Using the Correction LOG tool (also known as Delogify), increase the Delogify amount to clear the LOG curve from the image. Then decrease the exposure slightly to pull back any overexposed highlights. The goal is to restore the image’s natural contrast definition without crushing the shadows or clipping the highlights.
Watch your scopes during this step. The waveform should stretch across the full range from 0 to 100 IRE without gaps or clipping. The vectorscope should show colour information starting to populate where there was previously nothing but a tiny cluster near the centre.
Step 2: Fix White Balance with Correction White Balance
Once the LOG curve is removed, the next step is white balance. Compressed 8 bit footage often has a colour cast from the camera’s auto white balance or from the LOG profile itself. A single click with the Correction White Balance tool analyses the image and applies the correct temperature and tint offsets.
This step is critical because every adjustment you make after this point builds on a neutral starting image. If your white balance is off, your saturation and contrast adjustments will push the wrong colours in the wrong directions.
Step 3: Restore Saturation with Film Spectral Contrast
Here is where most colour grading tutorials stop too early. They convert LOG to Rec.709, adjust white balance, and call it done. But there is a problem: the LOG conversion strips away the camera manufacturer’s default saturation processing. In this case, DJI’s built-in colour science is gone, leaving the image looking thin and lifeless.
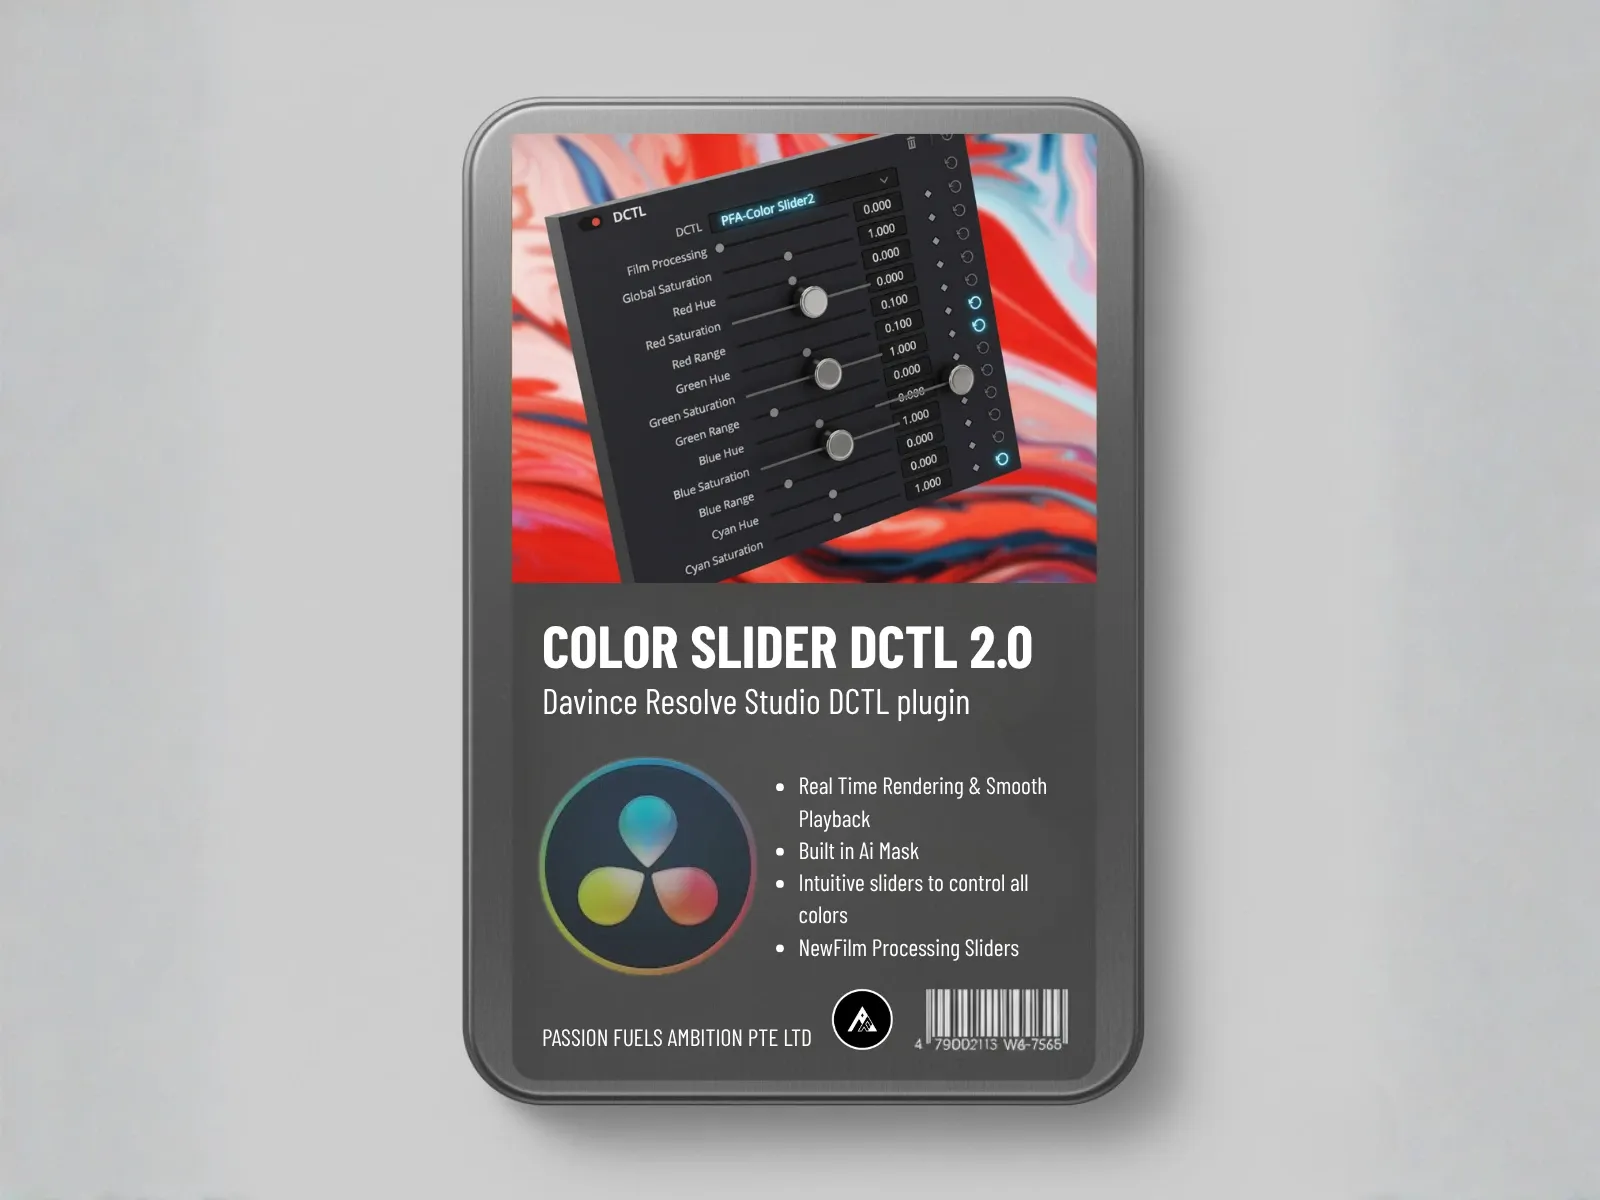
Film Spectral Contrast brings that saturation back without the artifacts that a simple saturation slider would introduce. Unlike a standard saturation control that uniformly boosts all channels, spectral contrast works at the channel level using RGB math. This means it selectively amplifies colour information where it exists while leaving neutral areas alone.
Increase the red contrast slightly and watch how it brings back subtle colour detail in the shot. Refine with the blue contrast to balance the overall palette. The vectorscope will show colour targets spreading outward without the oversaturation and clipping that destroys 8bit files.
Step 4: Deepen Colours with Colour Density
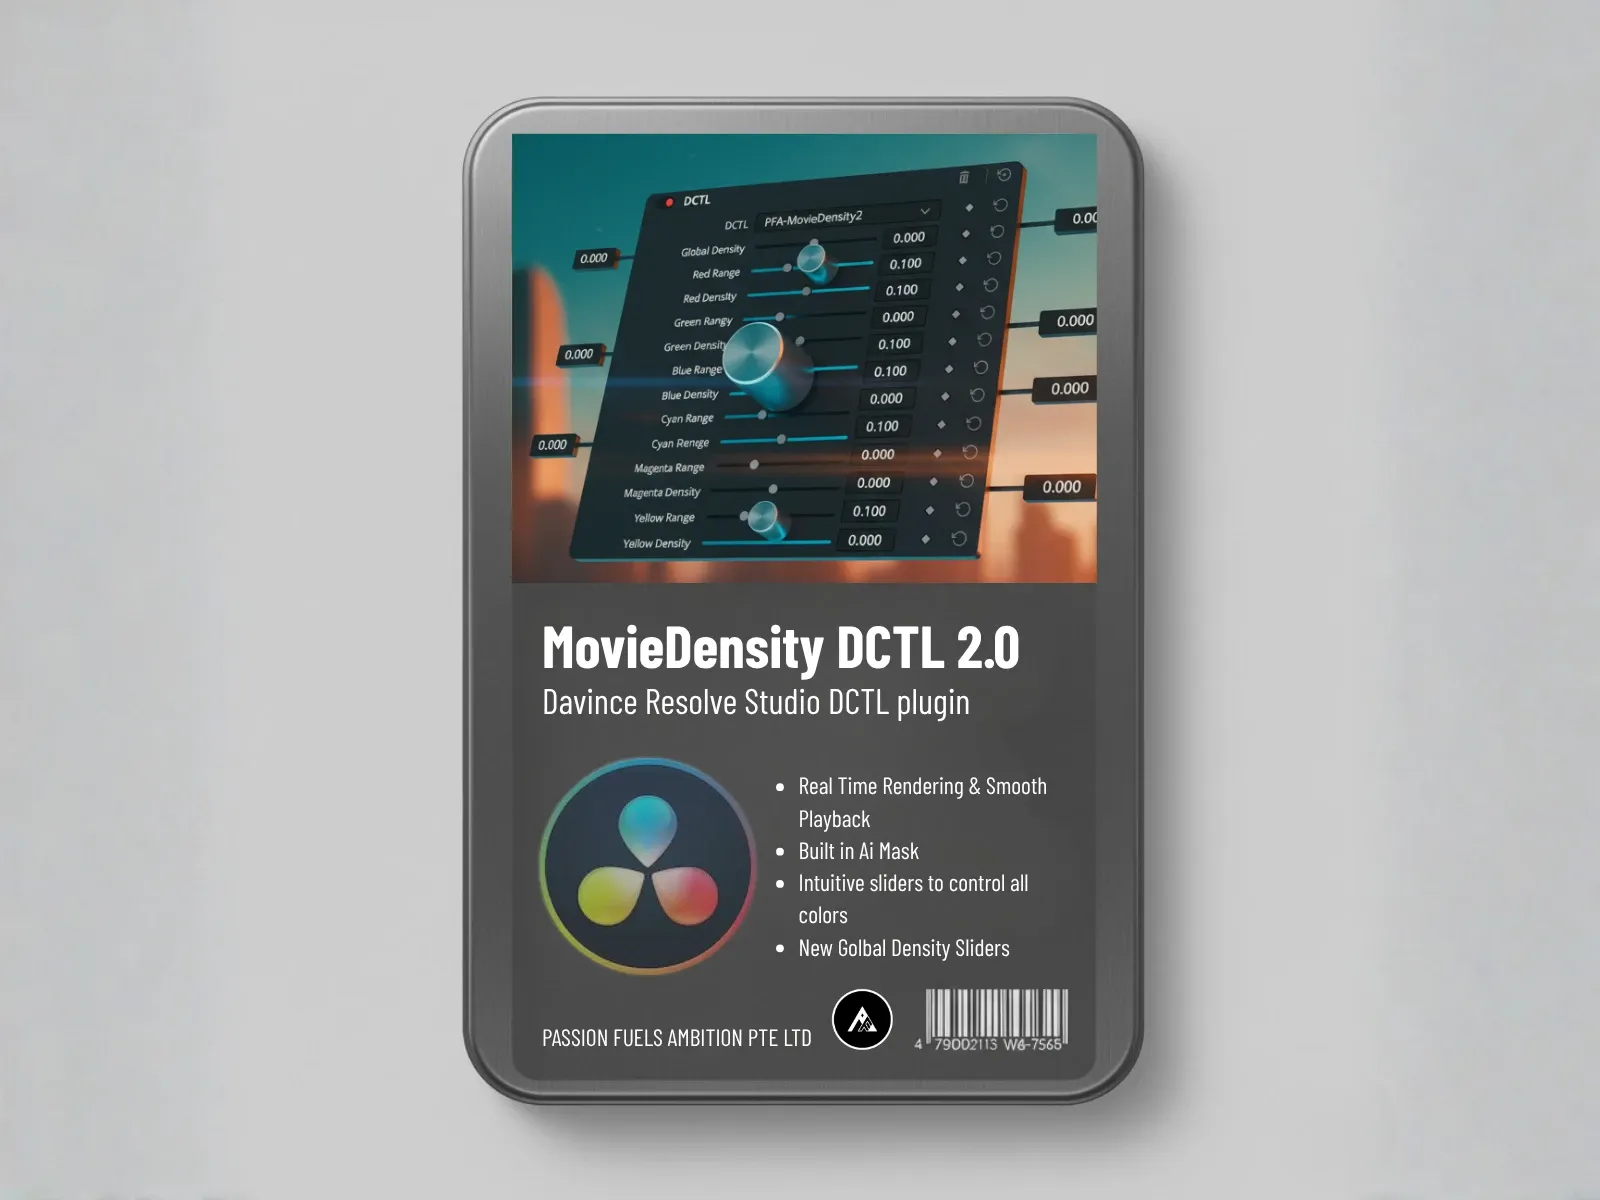
Colour Density is one of the most underrated tools for working with compressed files. It works differently from saturation. While saturation increases the distance of colours from neutral grey, colour density increases the perceived richness of colours by darkening the pixel values as it saturates them.
Use the Global Density slider only. Increase it slowly and watch what happens. As the image saturates, the pixels darken simultaneously. This dual action gives you richer colour without the banding that a traditional saturation push would create on compressed files. You will start seeing colours reappear in areas that looked completely flat: water reflections, sky gradients, skin tone subtleties.
The key advantage here is that colour density operates on channel math. It is doing RGB-level calculations rather than pixel selection, which means it handles compressed data far more gracefully than tools that try to isolate and adjust individual pixel clusters.
Step 5: Creative Grading with Film Mixer
Now that the clip is technically corrected, it is time for the creative grade. Film Mixer is built entirely on channel math, which makes it ideal for 8 bit files where traditional HSL adjustments would introduce visible artifacts.
Instead of selecting pixels by hue or luminance range, Film Mixer works at the channel level. It remixes the RGB channel information to create entirely new colour relationships. For this shot, the teal and pink preset creates a distinct palette with warmth in the highlights and cool tones in the shadows. If you prefer the classic teal and orange look, Film Mixer can push the trees into the orange spectrum by remapping the red output channel.
You can further refine the time-of-day feel using Film Printer Lights. Increase green and yellow to shift the image toward an afternoon warmth. Decrease them for a cooler morning feel. Every adjustment stays within the channel math engine, which means zero noise generation even when you push the sliders hard.
Step 6: Add Filmic Contrast with Film Tonal Curve
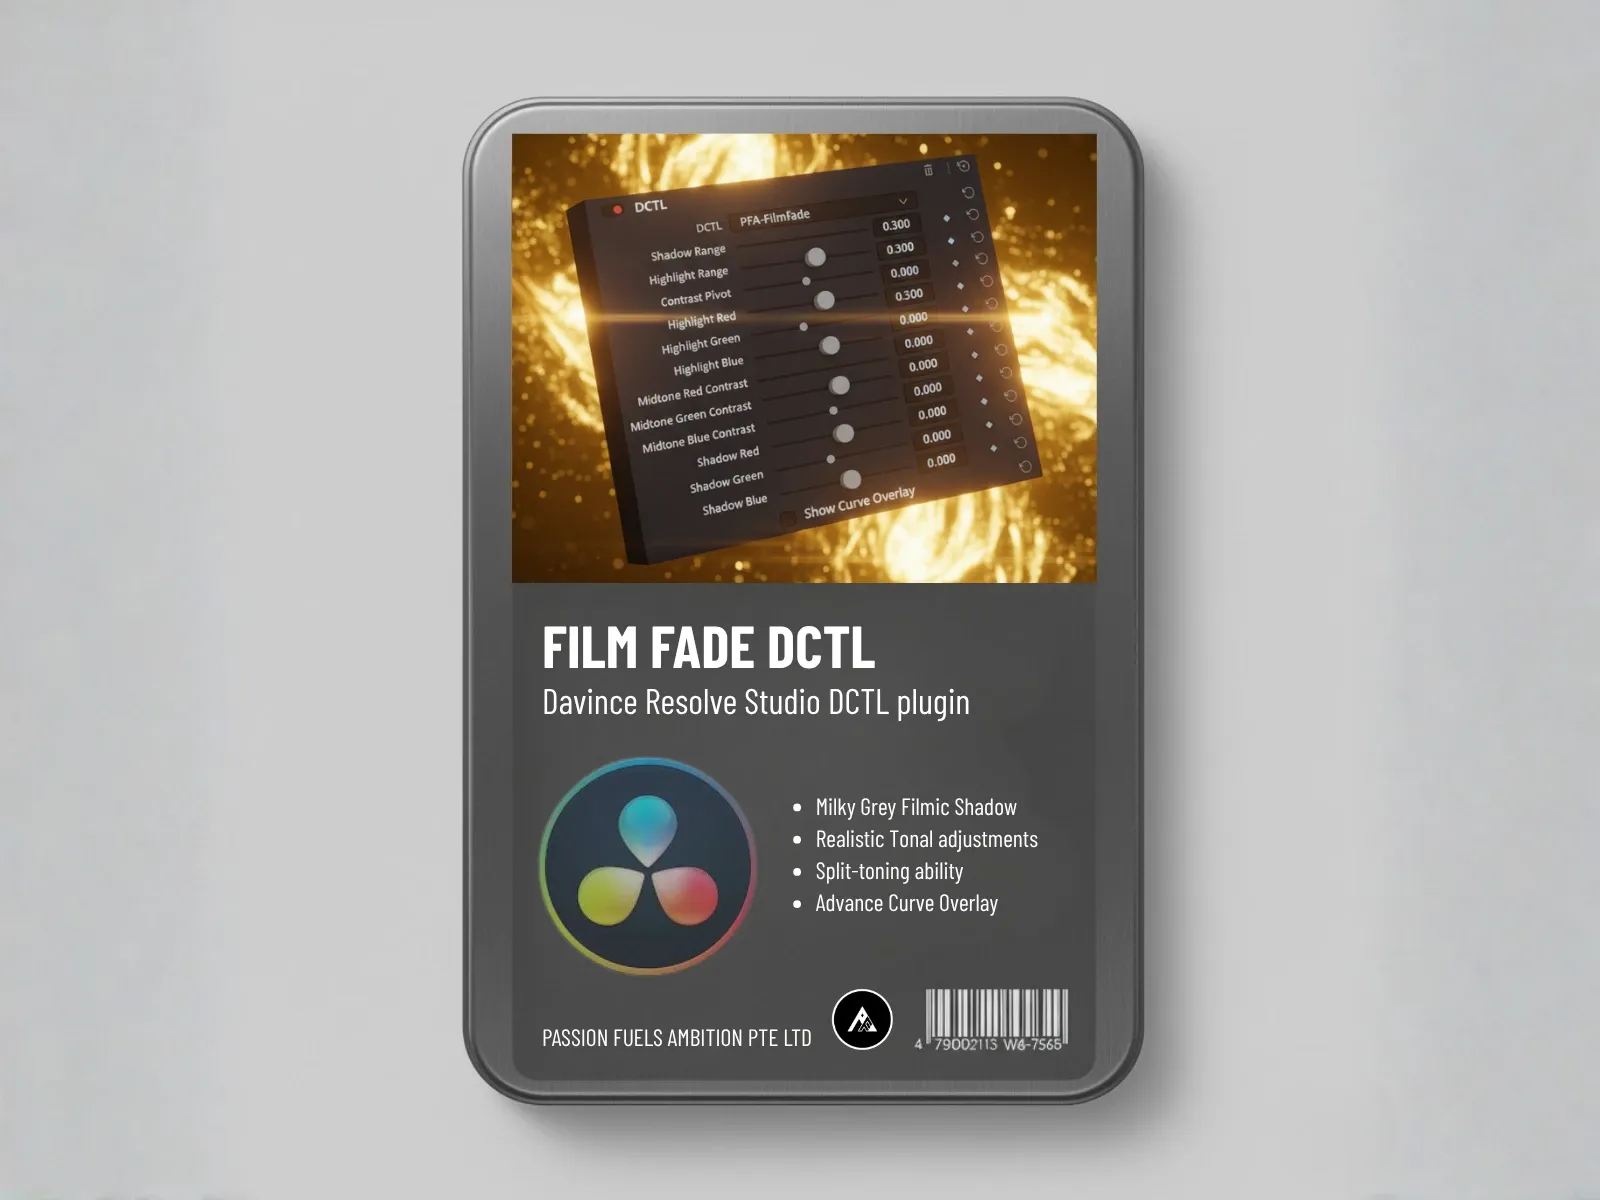
The final touch is Film Tonal Curve. This is where you add the filmic quality that separates a professional grade from a basic correction. Apply the Milky Grade preset to the shadows to introduce a subtle S-curve. Raise the black point slightly and increase the shadow softness.
This one adjustment transforms a purely digital-looking video into something with the organic contrast roll-off of film stock. And because Film Tonal Curve uses the same channel math engine, you get that filmic quality without introducing any noise into your already-delicate 8 bit clip.
Why Channel Math Matters for 8-Bit Grading
Every tool in this workflow shares a common foundation: channel math. This is the key to grading compressed files successfully. Traditional colour grading tools work by selecting pixels based on their hue, saturation, or luminance values. On 10-bit files with smooth gradients, this works perfectly. On 8 bit compressed files, pixel selection creates visible stepping and artifacts because the data simply is not there to support fine selections.
Channel math operates differently. Instead of selecting individual pixels, it performs calculations on the red, green, and blue channels as entire data sets. This approach is far more forgiving with compressed footage because it does not depend on having smooth per-pixel gradients. As long as there is colour information present in the channels, channel math can work with it cleanly.
Common Mistakes When Grading 8-Bit Footage
Using Qualifiers on 8-Bit LOG
Qualifiers (the HSL keyer in DaVinci Resolve) are almost useless on 8 bit LOG files. The colour information is too compressed to support clean keying. You will get edge artifacts, colour spill, and visible banding around every keyed area. Stick to global channel-based adjustments instead.
Pushing Saturation Before Fixing Contrast
Saturation on flat LOG clips does nothing useful. You need to convert the gamma curve and restore contrast first. Only then will saturation controls have meaningful colour data to work with.
Ignoring the Vectorscope
On compressed files, your eyes will lie to you. The monitor compression, your room lighting, and display calibration all affect how you perceive colour. Trust the vectorscope. If the colour targets are spreading evenly without clipping, your grade is clean.
Is 8-Bit or 10-Bit Better for Colour Grading?
10-bit is objectively better for colour grading because it stores four times more colour information per channel than 8 bit. This extra data gives you more headroom for adjustments, cleaner gradients, and fewer artifacts when pushing saturation or contrast. However, not every project gives you 10-bit files. When you receive 8 bit files from clients or shoot on cameras that only offer 8 bit LOG, a channel math workflow lets you extract the best possible grade without making the problems worse.
How to Prevent Banding in 8-Bit Colour Grading
To prevent banding when colour grading 8 bit footage, avoid pixel-based tools like qualifiers and HSL adjustments. Use channel math tools that operate on RGB data sets rather than individual pixel selections. Apply adjustments gradually and monitor the waveform for gaps or stepping. If banding appears, follow these color grading basics: reduce the adjustment intensity or add a subtle film grain to mask the stepping. Tools like Colour Density and Film Spectral Contrast are specifically designed to work with compressed data without introducing artifacts.
How to Improve 8-Bit Footage Before Grading
Before you start grading 8 bit footage, transcode it to a high-quality intermediate codec like ProRes 422 or DNxHR. This does not add data that was not there, but it prevents further generational loss during the grading process. Set your timeline to 32-bit floating point processing in DaVinci Resolve to give yourself maximum precision during adjustments. Then follow the LOG to Rec.709 workflow: convert the gamma curve, fix white balance, restore saturation with spectral contrast, deepen colours with density, and finish with creative grading.
What Colorists on YouTube Say About 8-Bit Grading
The colour grading central community on YouTube consistently recommends one core principle: work gently with compressed files. As we covered in our AI color grading pipeline guide, colour grading creators note, the world on YouTube is full of tutorials that tell you to “just add saturation” on 8 bit LOG. But that approach exposes the underlying data limitations. The channel math workflow described here aligns with what experienced colourists recommend: work with the data that exists, not against it.
Frequently Asked Questions
Can DaVinci Resolve Fix Bad 8-Bit Footage?
DaVinci Resolve can improve 8 bit footage significantly if you use the right tools. Channel math-based adjustments work far better than pixel selection on compressed files. Tools like spectral contrast, colour density, and film mixer can restore colour and contrast without introducing the banding and noise that traditional saturation and HSL tools create on 8 bit data.
Why Does My 8-Bit LOG Footage Look Grey?
LOG files look grey by design. They use a flat gamma curve to preserve maximum dynamic range during capture. You need to convert them to Rec.709 using a LOG conversion tool (Delogify) before the image will look normal. Without this conversion, the clip will always appear flat and desaturated.
Should I Use LUTs on 8-Bit Footage?
LUTs can work on 8 bit files, but they are less forgiving than channel math tools. A LUT applies a fixed mathematical transformation to every pixel, which can exaggerate banding on compressed files. If you use a free LOG to Rec.709 LUT, apply it after your initial conversion and keep the intensity moderate. Channel math tools give you more control and cleaner results on 8 bit data.
What Is the Best Codec for Grading 8-Bit Footage?
Transcode your 8 bit files to an intra-frame codec like Apple ProRes 422, Avid DNxHR HQ, or Blackmagic RAW before grading. These codecs do not add data, but they prevent the generational quality loss that occurs when working with highly compressed delivery codecs like H.264 or H.265. Always grade in a 32-bit floating point timeline for maximum precision.
How Do I Add Film Grain to Hide 8-Bit Banding?
If banding is visible after your grade, add a subtle film grain overlay. The grain breaks up the visible stepping between colour values and makes the image appear more organic. Use the Film Texture tool or add a grain layer in the Fusion page. Keep the grain subtle: you want it to mask the banding, not become a visible effect itself. Want to try these tools yourself? Download the free PFA Color Suite trial and test every feature with unlimited access.