One Click Color Grading in DaVinci Resolve: The Complete 2026 Workflow
Colorists spend hours building node trees, adjusting parameters one by one, and still end up with grades that do not match across shots. What if you could generate a professional cinematic grade in one click and then train the AI on your personal style so every future shot matches your creative vision?
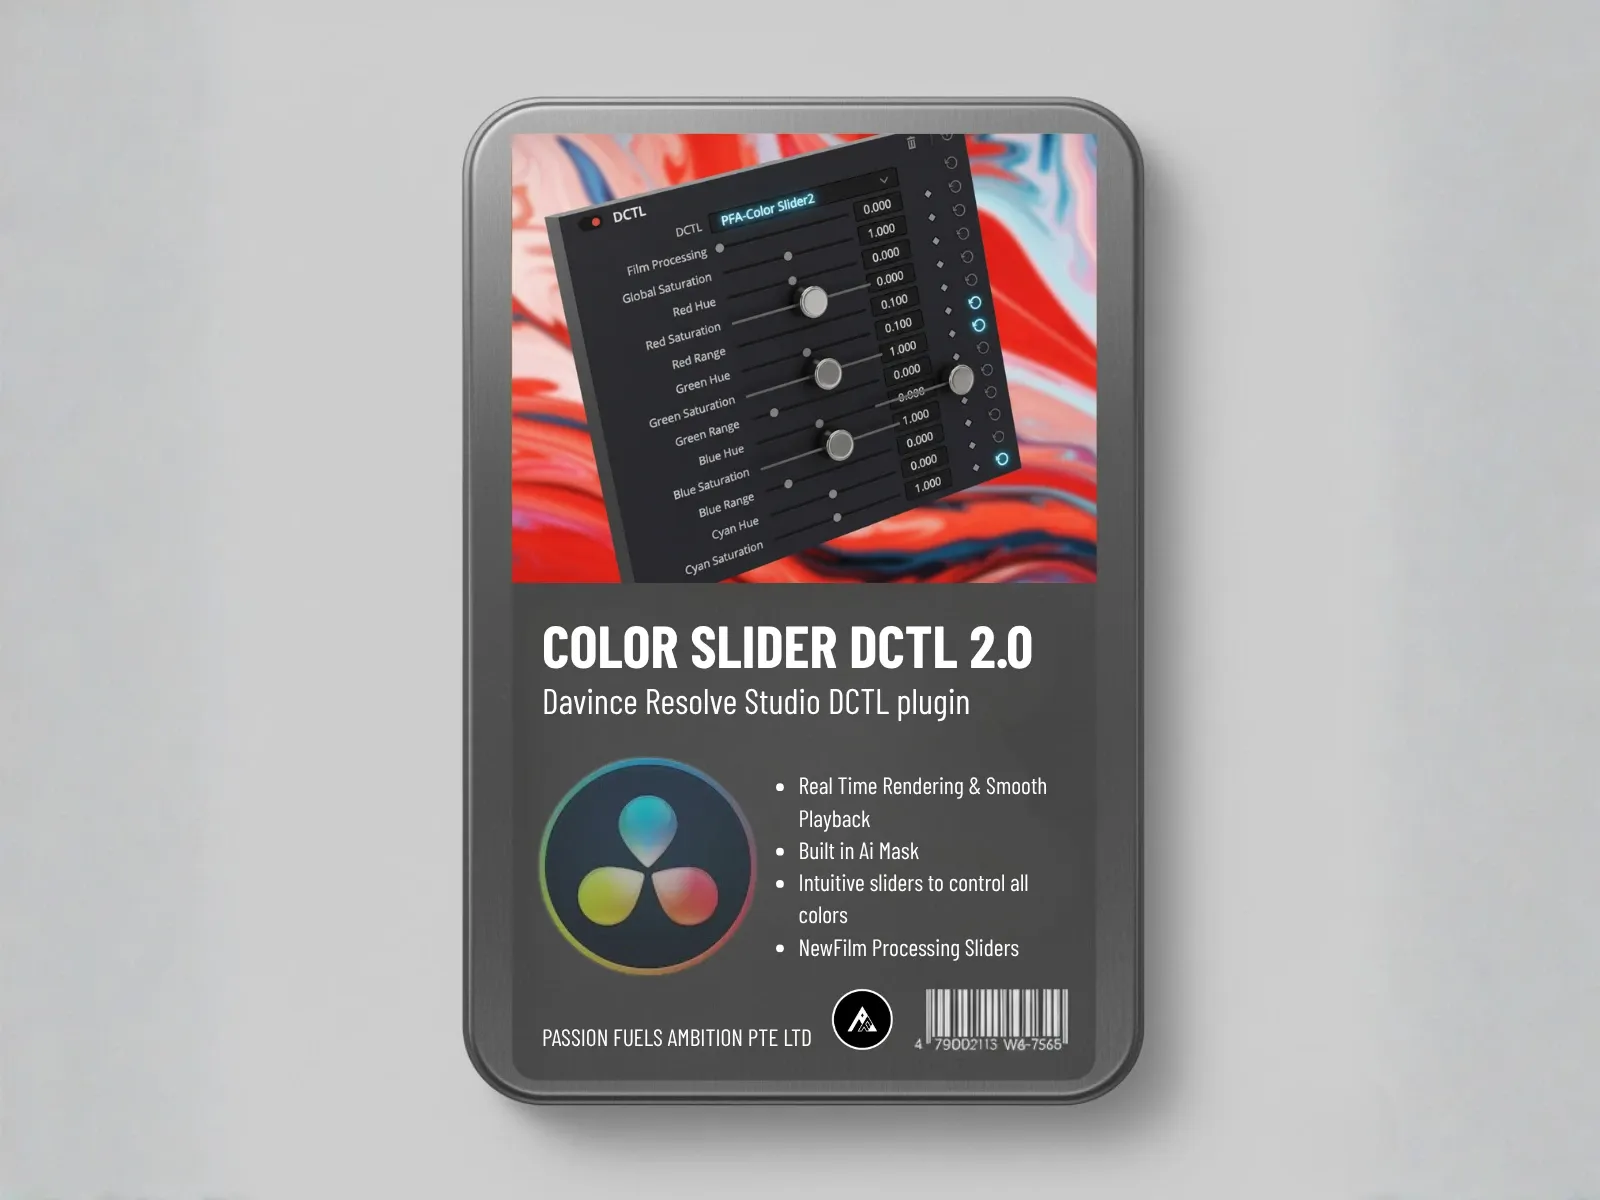
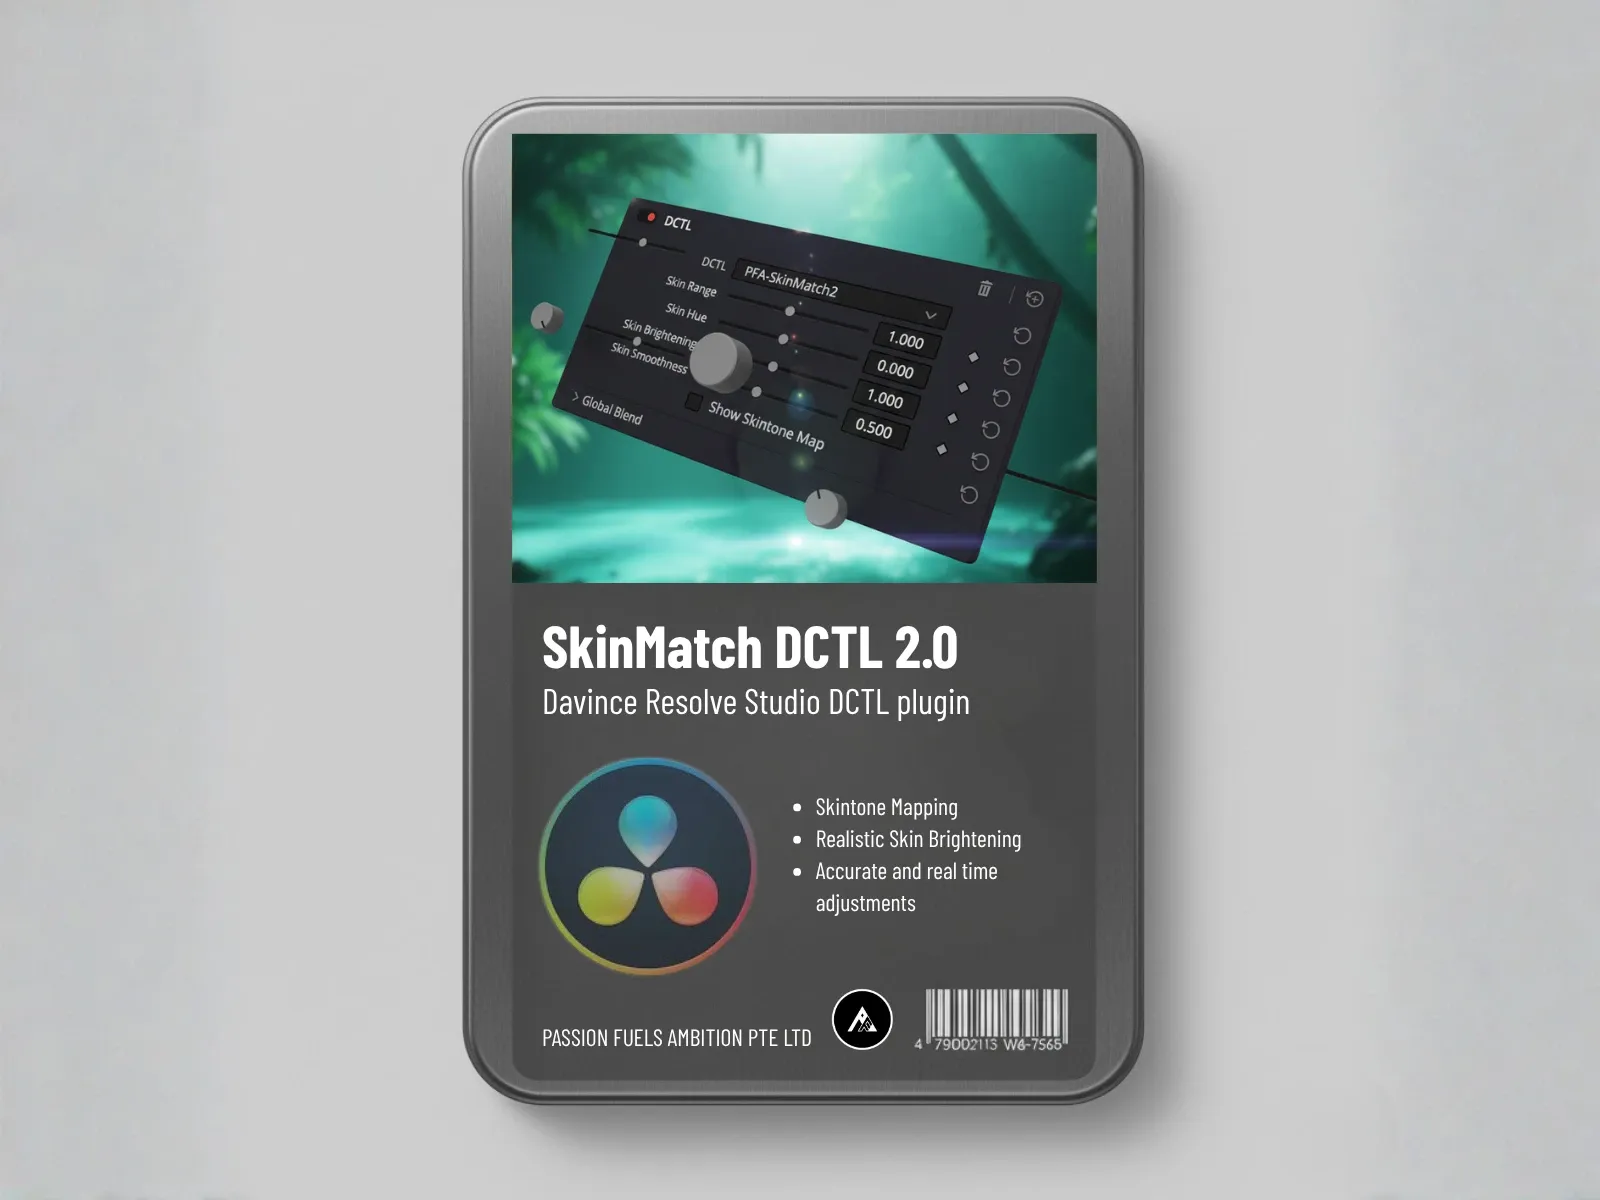
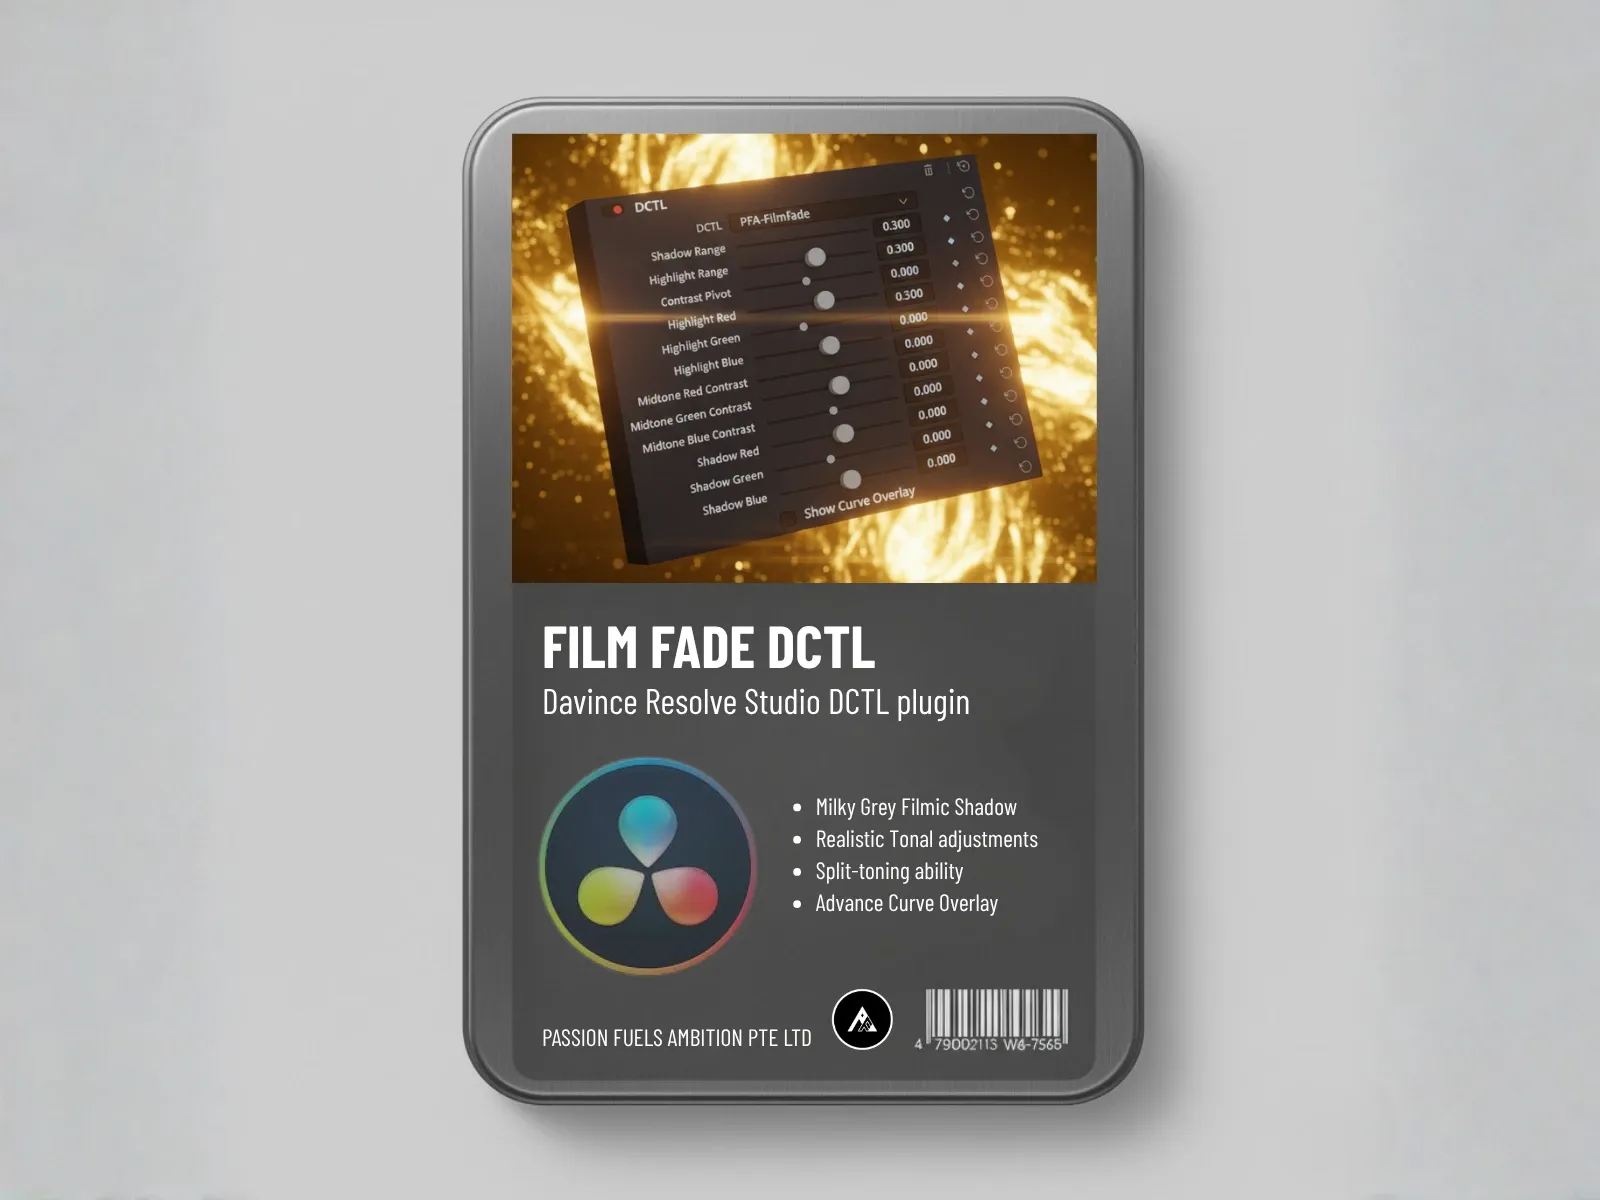
One click color grading in DaVinci Resolve is now a reality with PFA Color Suite 13.3. Every single tool now has a Grade with AI button that analyzes your footage and generates the perfect grade instantly. From LOG conversion with De-Logify to film grain with Film Texture, the entire workflow is now one click away. Here is the complete step-by-step walkthrough.
What Is One Click Color Grading?
One click color grading is a workflow where artificial intelligence analyzes your footage and automatically generates a professional grade using 135 parameters across 13 color grading toolkits. Instead of manually adjusting lift, gamma, gain, contrast curves, and saturation for every shot, you click a single button and the AI does the heavy lifting.
This is not a LUT. A LUT applies the same mathematical transformation to every clip regardless of content. One click color grading with CinePulse AI analyzes the actual pixel data in your footage, evaluates exposure, color balance, skin tones, and dynamic range, then generates a grade specific to that shot.
The real breakthrough in version 13.3 is AI training. Once you nail a grade you love, you can train the AI on that look. The system learns your creative style and can then generate consistent grades across your entire timeline with one click. No more manual shot matching. No more guessing.
How One Click Color Grading Works in PFA Color Suite 13.3
The workflow is straightforward. Add the PFA Color Suite OpenFX plugin to your node tree in DaVinci Resolve. Every tool group now has a Grade with AI button. Click it. The AI analyzes your footage and generates a grade. If you like it, you are done. If you want to adjust it, every parameter remains fully editable.
Here is the complete walkthrough shot by shot, exactly as demonstrated in the video.
Step 1: Convert LOG to Rec.709 with De-Logify
The first step in any color grading workflow is converting your LOG footage to a usable color space. Traditionally, this means adding a Color Space Transform node, mapping the input and output color spaces, adjusting the gamma, and tweaking exposure to get a clean starting point.
With PFA Color Suite 13.3, you click Grade with AI on the De-Logify tool. The AI detects your LOG format automatically, converts it to Rec.709, and optimizes exposure and white balance in one click. You do not need to manually map color spaces anymore.
If the result is too bright or too dark, you can fine tune the LOG exposure slider. But for most footage, the AI gets it right on the first try. From there, click Generate Look and CinePulse AI cycles through options until you find the one that works.
Step 2: Bring Color Back with Film Spectral Contrast
LOG conversion strips away manufactured saturation. Your image looks flat and lifeless at this stage. This is where Film Spectral Contrast comes in.
Film Spectral Contrast brings organic color information back to your shot. You can adjust red contrast, green contrast, and blue contrast independently. The result is subtle but impactful. The before and after shows a noticeable difference in color depth and separation.
Grade with AI on Film Spectral Contrast analyzes the footage and sets the optimal contrast values for each color channel. You can then fine tune if you want more punch in a specific channel.
Step 3: Add Richness with Color Density
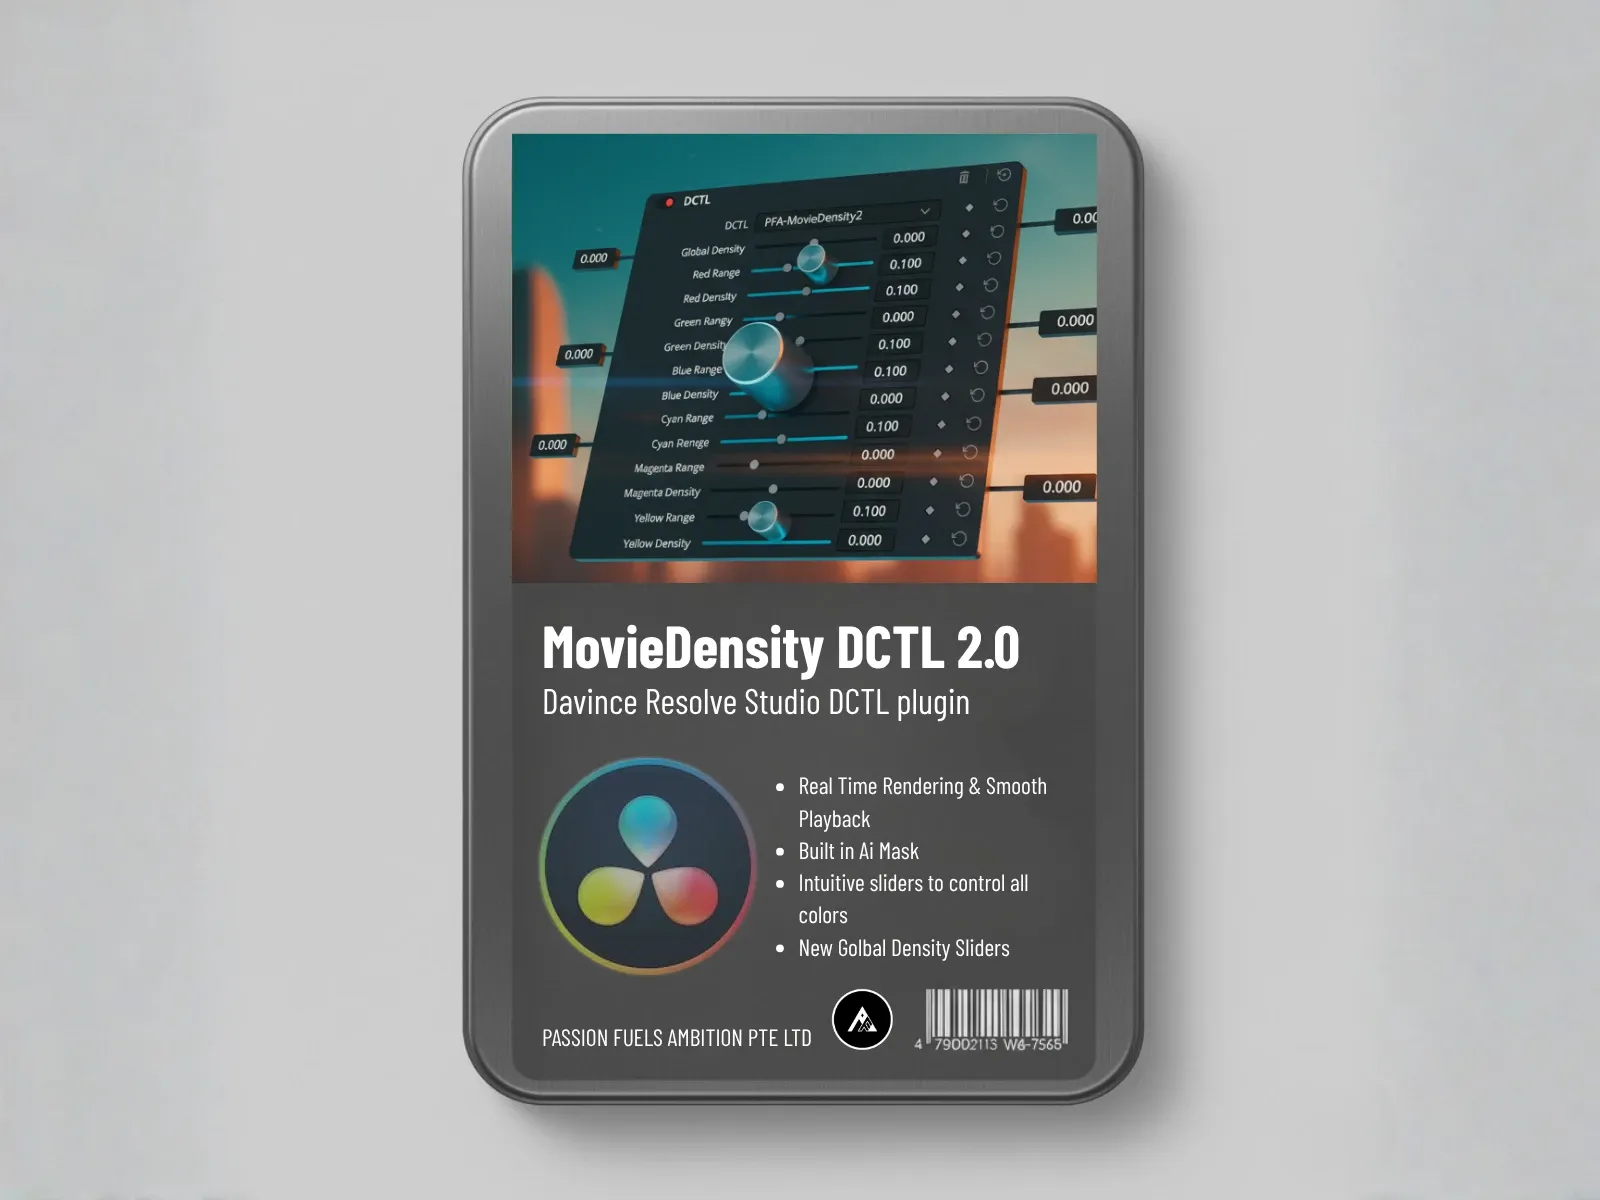
Next is Color Density. This tool uses subtractive color science based on the Beer-Lambert law. Here is what that means in practice: as you increase density, colors get richer and deeper without getting brighter. More dye blocks more light, which is exactly how real film stock behaves.
This is different from traditional saturation, which makes everything brighter and can push colors into clipping. With Color Density, you get dense, film-like color that stays within your dynamic range. The AI sets the optimal density level automatically when you click Grade with AI.
You can also use masks and range control to target specific areas. For example, isolate the blue channel to narrow down where the blue pixels are, then use blue density to adjust only those areas. This gives you precise control over which colors stand out in your grade.
Step 4: Build Your Palette with Film Mixer
Film Mixer is where you build the actual color palette. You can push the image toward teal and orange, shift magenta and green, or dial in any color combination you want.
The key advantage over other tools is the built-in Skin Protection. When you adjust the global color balance, skin tones stay natural. You do not need to create a separate qualifier or power window to protect faces. This saves significant time and prevents the common mistake of pushing skin tones into unnatural territory.
Grade with AI on Film Mixer analyzes the shot and sets a balanced starting point. From there, you can push the teal, increase the orange, or adjust any channel to taste. The AI gives you a professional baseline that you can then customize.
Step 5: Add Vintage Character with Printer Lights
Film Printer Lights lets you inject vintage color tones into your grade. Think of it like the traditional printer lights process used in film labs, where technicians adjusted red, green, and blue exposure during the printing process.
You can simulate golden hour by increasing blue and cyan. You can create a warm afternoon look by pushing green and yellow. The Shadow Protection feature works like a depth map, ensuring your adjustments only affect the areas you want.
The best part is real-time 4K playback. Even with all these tools active, you can play back your timeline at full speed. There is no lag, no rendering delay. This is the advantage of GPU-optimized DCTL architecture over traditional OFX plugins.
Step 6: Add Film Grain with Film Texture
The final step is Film Texture. This is not a simple grain overlay. The grain system has different responses for shadows, mid-tones, and highlights, just like real 35mm film stock.
Real film grain reacts chemically to different tonal ranges. Shadows show more grain, highlights show a different texture, and mid-tones fall somewhere in between. Film Texture replicates this behavior. You can reduce grain in the mid-tones while keeping it in the highlights and shadows, giving you a clean image with organic texture where it matters most.
Grade with AI on Film Texture sets the optimal grain response for your footage. You can then adjust the shadow, mid-tone, and highlight grain independently to dial in the exact look you want.
The AI Training Breakthrough: Your Style, Automated
Here is where version 13.3 changes everything. After you nail a grade on one shot, you can train the AI on your style. The system saves your parameter settings as a training profile. When you move to the next shot, you click Grade with AI, and the AI generates a grade based on your trained style.
This means consistent grades across your entire timeline without manual shot matching. The AI understands your creative intent because it learned from your actual grades, not from a generic database of looks.
In the demo, Nash trained the AI on three previous work samples. Then, on a new shot, he clicked Generate Look and the AI cycled through options based on his trained style. One of them was perfect. No manual adjustments needed. He moved to the next shot, clicked Grade with AI again, and got another great result.
This is the workflow that replaces hours of manual node building. Grade one shot the way you want it. Train the AI. Click Generate Look on every other shot. Fine tune outliers. Done.
How Does This Compare to DaVinci Resolve Built-in Tools?
DaVinci Resolve has an Auto Color button and a Color Match feature. Here is the difference:
- Auto Color balances contrast and removes color casts. It is a technical correction, not a creative grade.
- Color Match compares your footage to a reference still and tries to match it. It works but is limited to a single reference.
- CinePulse AI with training learns from multiple grades you have created, understands your style, and generates grades that match your creative vision across any footage.
The built-in tools are good for basic corrections. But they do not replace the creative decisions that make a grade feel cinematic. PFA Color Suite 13.3 bridges that gap by combining AI analysis with 135 manual parameters you can adjust after generation.
Is One Click Color Grading Right for You?
If you are a professional colorist who enjoys the craft of building grades from scratch, this tool does not replace your process. It accelerates it. You can use the AI grade as a starting point and then refine it with the full manual toolkit.
If you are an editor or content creator who needs consistent grades across multiple videos without spending hours in the color page, this is exactly what you have been looking for. The AI handles the technical work so you can focus on storytelling.
If you are a beginner learning color grading, the AI grades show you what professional adjustments look like. You can study the parameter settings and learn from them. It is like having an experienced colorist looking over your shoulder.
Frequently Asked Questions
Does one click color grading work with free DaVinci Resolve?
Yes. PFA Color Suite works with both DaVinci Resolve Free and Studio versions, from v18 through v20. The OpenFX plugin runs on Mac and Windows. Some advanced DCTL features require Resolve Studio, but the core AI grading engine works in the free version.
Can I edit the AI-generated grade after clicking Generate Look?
Absolutely. Every single parameter remains fully adjustable after AI generation. The AI provides a starting point, not a locked result. You have 135 parameters across 13 toolkits to fine tune the grade to your exact preferences.
What LOG formats are supported?
De-Logify auto-detects and converts virtually any LOG format including S-Log3, C-Log, V-Log, BRAW Log, ProRes RAW, and DJI D-Log. The AI handles the conversion and exposure optimization automatically.
How does AI training work?
After you create a grade you are happy with, you can register it as a training profile. The AI maps all 135 parameter relationships and learns your creative intent. When you click Generate Look on new footage, the AI applies patterns from your trained profiles. You can register multiple profiles for different looks and switch between them.
Does it slow down playback?
No. PFA Color Suite is built on GPU-optimized DCTL architecture. You get real-time 4K playback even with all tools active. There is no rendering delay or timeline lag.
Get Started with PFA Color Suite 13.3
PFA Color Suite 13.3 launches on June 30, 2026. The price will increase after launch, so now is the best time to get in at the current rate.
You can start with a free trial with unlimited access to all 135 parameters and the full AI engine. If you are ready to commit, use promo code thankyou2026 for 45% off any license including the lifetime subscription.
Join the PFA Telegram community for daily grading tips, exclusive discounts, and free utility LUTs. Passion Fuels Ambition. I will see you in the next grade.