Automated Color Grading in DaVinci Resolve: PFA Color Suite v14.1 Changes Everything
The way you approach color grading in DaVinci Resolve is about to change. PFA Color Suite v14.1 introduces a fully integrated color grading pipeline that learns your style, adapts to any shot, and delivers consistent film-quality results across your entire timeline. No more rebuilding node trees from scratch. No more guessing which corrections will work. Just intelligent, mathematically precise color grading that respects your creative intent.
If you have been grading footage clip by clip, node by node, spending hours matching shots that should look identical, this update eliminates that problem entirely. The new CinePalette AI engine trains on your grading decisions and generates matching looks for every subsequent shot automatically.
In this walkthrough, you will see exactly how v14.1 works, why the 32-bit float mathematical approach produces better results than lookup tables, and how user feedback shaped every feature in this release.
What Makes AI Color Grading in DaVinci Resolve Different in 2026
automated color grading is not new. Tools like Colourlab AI and Imagen Video have been integrating machine learning into video editing and post-production workflows for months. But most competing grading tools work outside DaVinci Resolve, requiring you to switch between applications or export conform files.
PFA Color Suite v14.1 takes a different approach. Everything runs inside a single OpenFX plugin node within Resolve color page. The intelligent pipeline handles log conversion, exposure balancing, color balancing and white-balance correction, film emulation, and look generation without leaving the Color page. Your footage stays in the timeline. Your grades stay in the project. Nothing gets bounced between applications.
The result is a complete intelligent color grading process that replaces fifteen or more nodes with a single plugin instance. That is not marketing language. That is the actual node count from real project files.
Why User Feedback Drives Every Feature in v14.1
PFA Color Suite has grown to over 1,500 users worldwide across lifetime and subscription licenses. That growth did not come from advertising budgets. It came from listening to professional colorists and implementing their requests within weeks, not quarters.
Two specific user requests shaped v14.1:
Strode Vincent from the US recognized PFA as the best color grading tool on the market but pointed out a gap. The plugin lacked film stock profiles. Not lookup-table-based presets. Real film print emulation built on 32-bit float mathematical models that preserve every bit of raw sensor data. That request is now the Film Emulation section inside Correction LOG.
Fat Hippo, a subscriber, asked for global blend controls on every section of the plugin. He also requested larger swatches for highlights and shadows. Both requests are implemented in v14.1. Every parameter now has an independent strength slider, plus a master control that adjusts the entire plugin output at once.
This is how the team builds. They listen. They implement. They ship.
Log to Rec.709 Conversion Without lookup tables
The foundation of any color grading process starts with getting your log footage to a proper Rec.709 baseline for your color grade. Most plugins solve this by loading a 64-cubed LUT. That approach compresses billions of possible color values from your 10-bit camera file down to roughly 262,000 entries in the LUT cube. You lose data before you even start grading.
PFA Color Suite does it differently. The De-Logify conversion uses 32-bit float mathematical algorithms to transform log gamma to Rec.709 without any lookup table. The entire plugin installation is only a few megabytes because it contains mathematical formulas, not lookup tables.
The difference matters most in highlights and shadow recovery. LUT-based conversions clip and band in those regions. Mathematical conversion preserves the full tonal range your camera captured. If you want to understand why 32-bit math beats LUTs for color grading, the technical breakdown covers the specifics in detail.
AI Film Emulation That Actually Works Mathematically
After De-Logify conversion, the next step is film exposure grading. The engine fine-tunes exposure to nail middle gray, then sets white balance to establish a clean foundation. You get a perfect starting image before any creative color grade begins.
This is where v14.1 introduces something no other color grading software offers. The Film Emulation section provides pre-burned film stock profiles that convert your digital video into authentic film print looks using mathematical algorithms. You select a film stock, adjust print intensity, and the transformation happens in real time at 30 frames per second on 4K footage.
The film emulation process works on actual film print science, not approximations. Each profile models the spectral characteristics, density response, and color behavior of real film stocks. The subtractive density model mimics how film emulsion absorbs light, making colors richer without increasing brightness.
For context, Blackmagic Design recommends starting with proper log conversion before creative grading. PFA Color Suite follows that exact workflow, automated through a single node.
Film Tonal Curve and Spectral Contrast
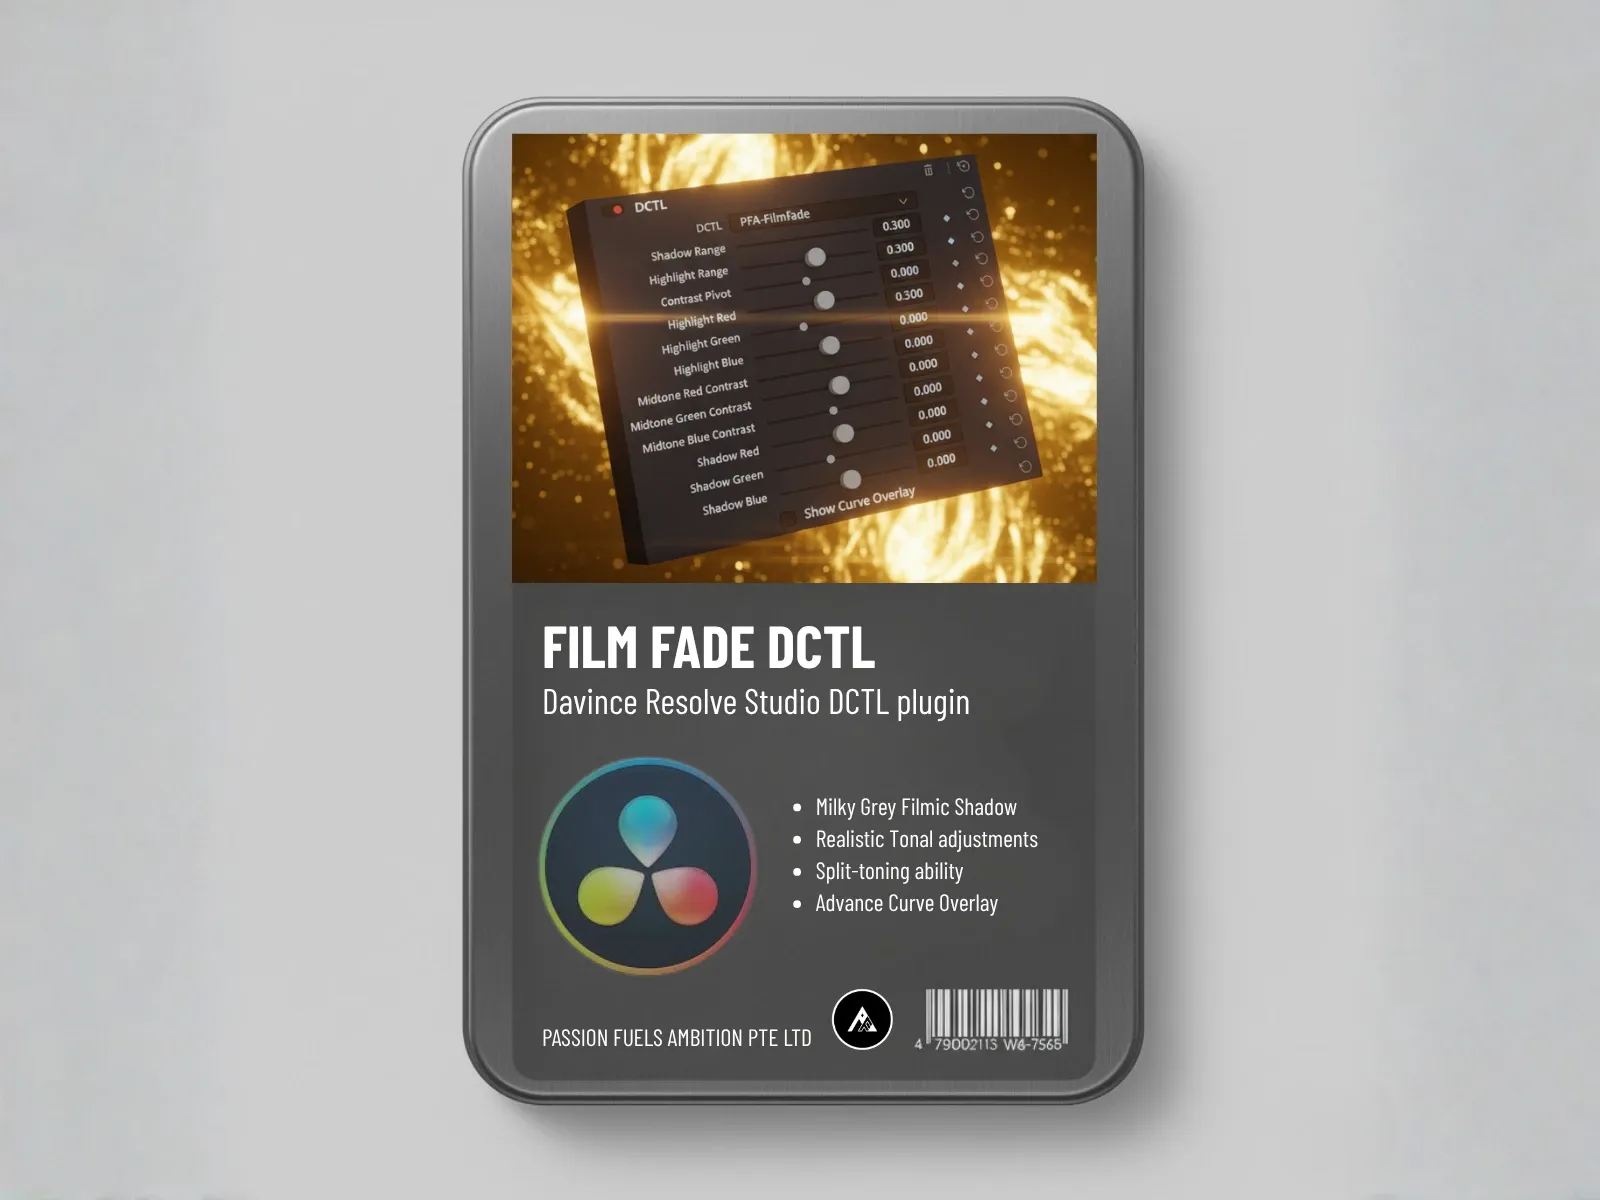
Once your film foundation is set, the Film Tonal Curve adds the finishing texture. Black point adjustment, shadow softness, and curve overlay controls give your image that analog film print character. One adjustment and the digital harshness disappears.
Spectral Contrast is where PFA Color Suite separates itself from every competitor. While the Correction LOG section strips away manufacturer-specific saturation artifacts, Spectral Contrast adds sensor-level RGB channel saturation back into the image like ink on paper. It is not global saturation. It is per-channel, per-tone saturation that mimics how film emulsion responds to different wavelengths of light.
The visual difference is immediate. Skin tones stay natural. Greens get richer without blowing out. Blues gain depth without noise. Zero noise introduced. In fact, the mathematical approach actually helps resolve noise that was previously hidden in shadow areas.
Secondary and Tertiary Color Grading with AI Assistance
Secondary color grading in PFA Color Suite revolves around color swapping. The Color Swap engine lets you target specific hue ranges, isolate them with the built-in mask, and shift them to any color you want. The engine can generate a starting point, and if the result does not match your vision, you reset and do it manually. Both workflows are fast.
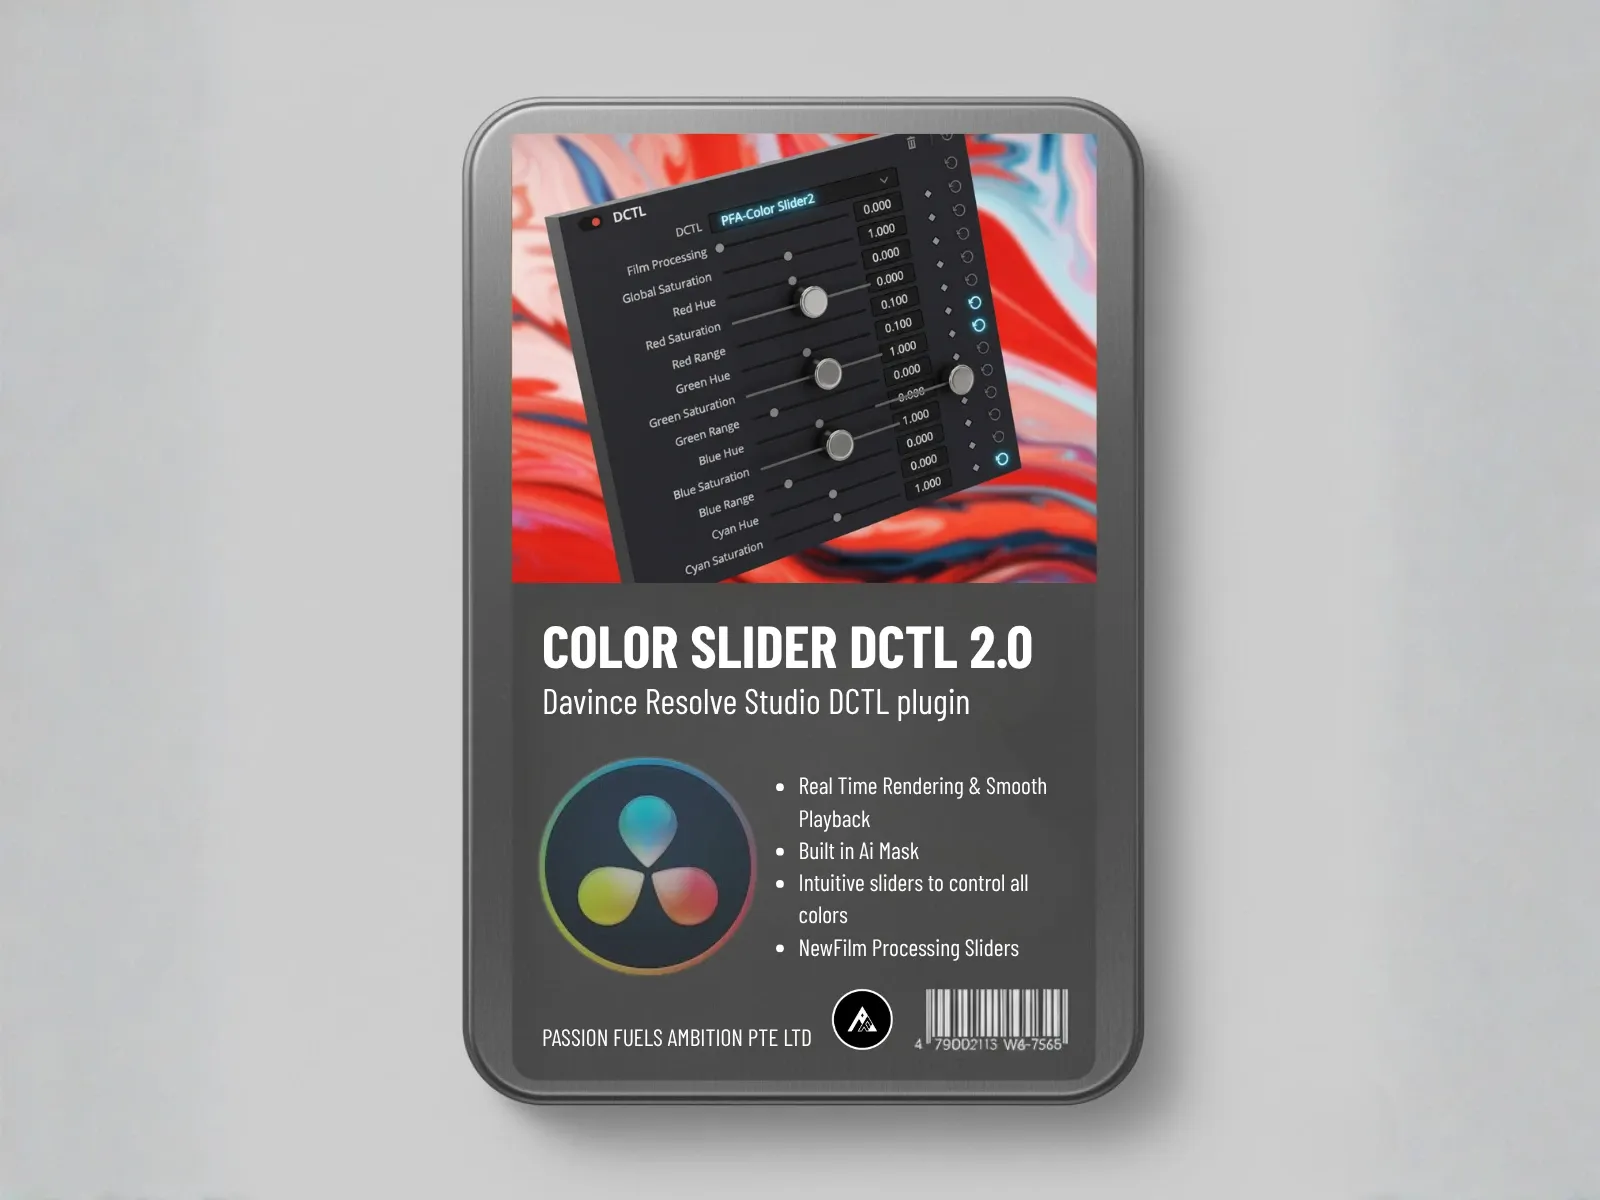
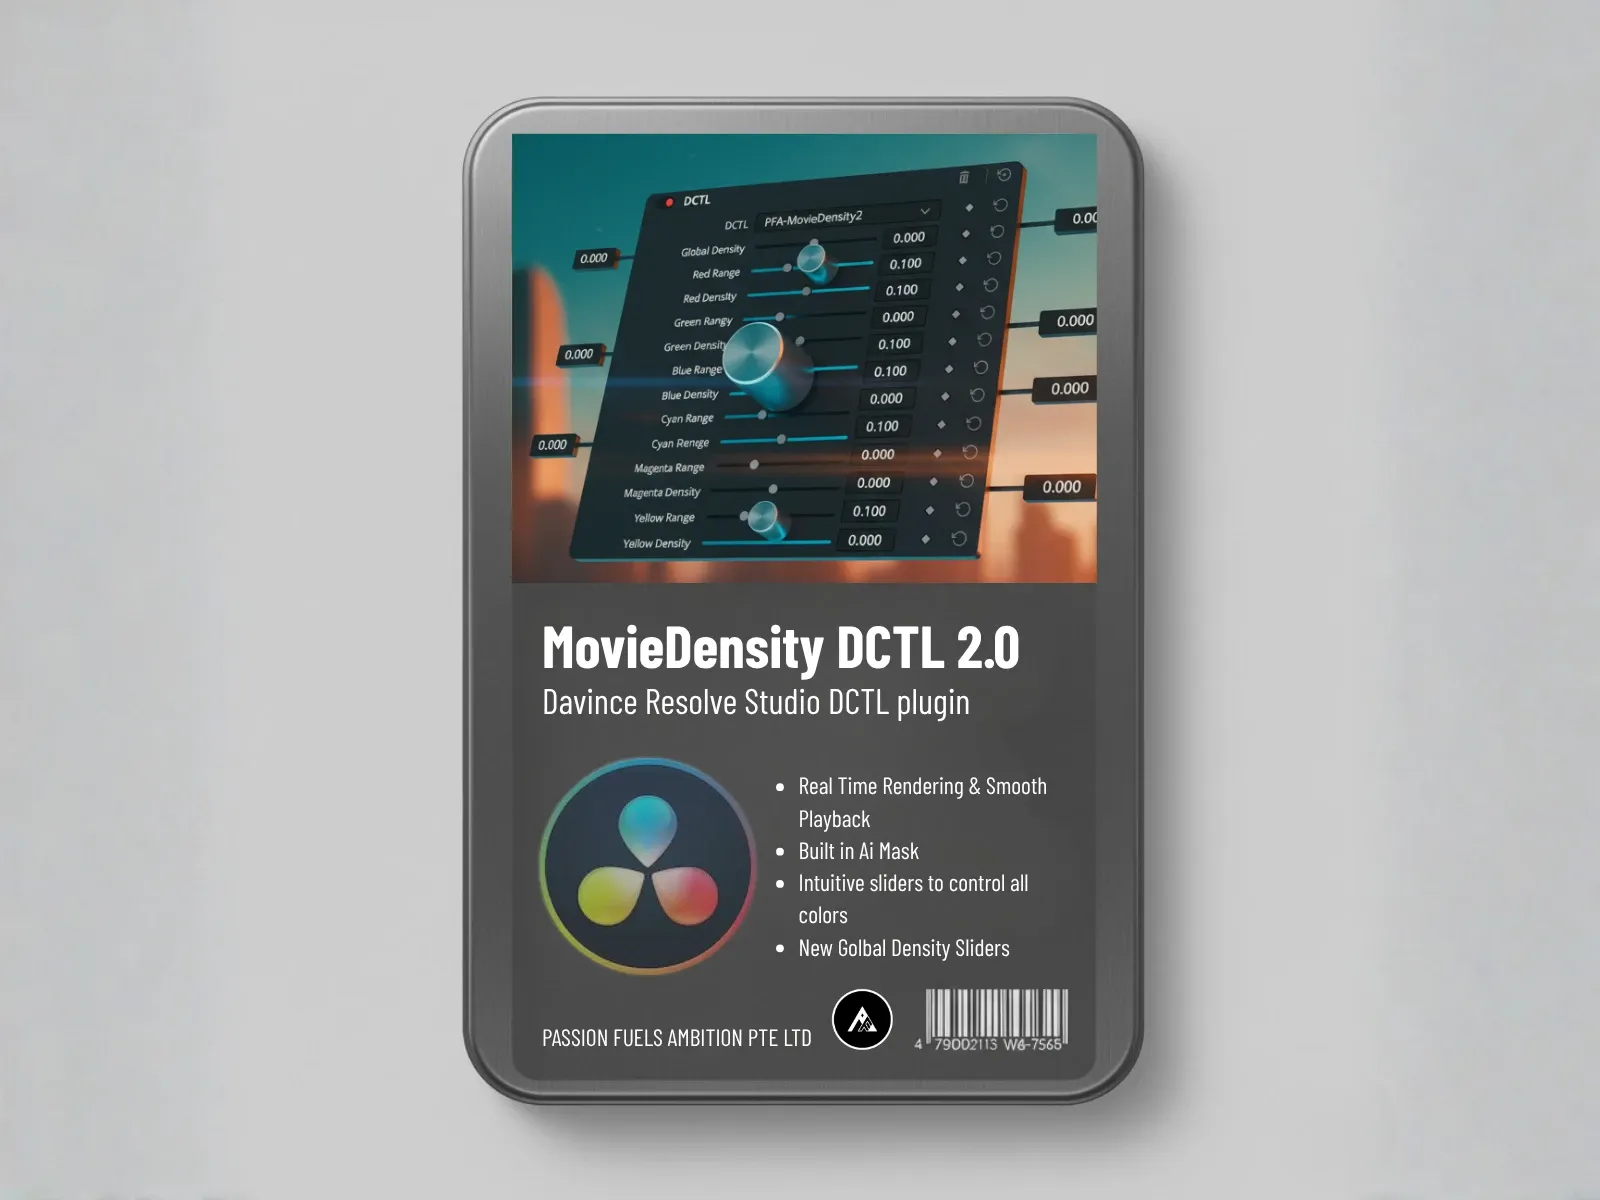
Color Density operates at the film level of saturation. As you increase density, colors become richer and more saturated without getting brighter. This is subtractive color behavior, the same principle that makes real film stock look denser when you push it. More color blocks more light. The image stays controlled.
Tertiary color grading is about look development. The palette system lets you push your entire vectorscope toward a specific color relationship. Teal and orange. Teal and pink. Magenta and green. Yellow and blue. When you increase the teal and orange slider, every color in your image shifts toward that palette. Colors outside the palette get removed as distractions. Your vectorscope narrows into a clean, intentional color relationship.
The teal and orange color grading technique is the most requested palette, and the plugin makes it achievable with a single slider instead of hours of node tree construction.
Skin Tone Protection Because Skin Makes or Breaks the Grade
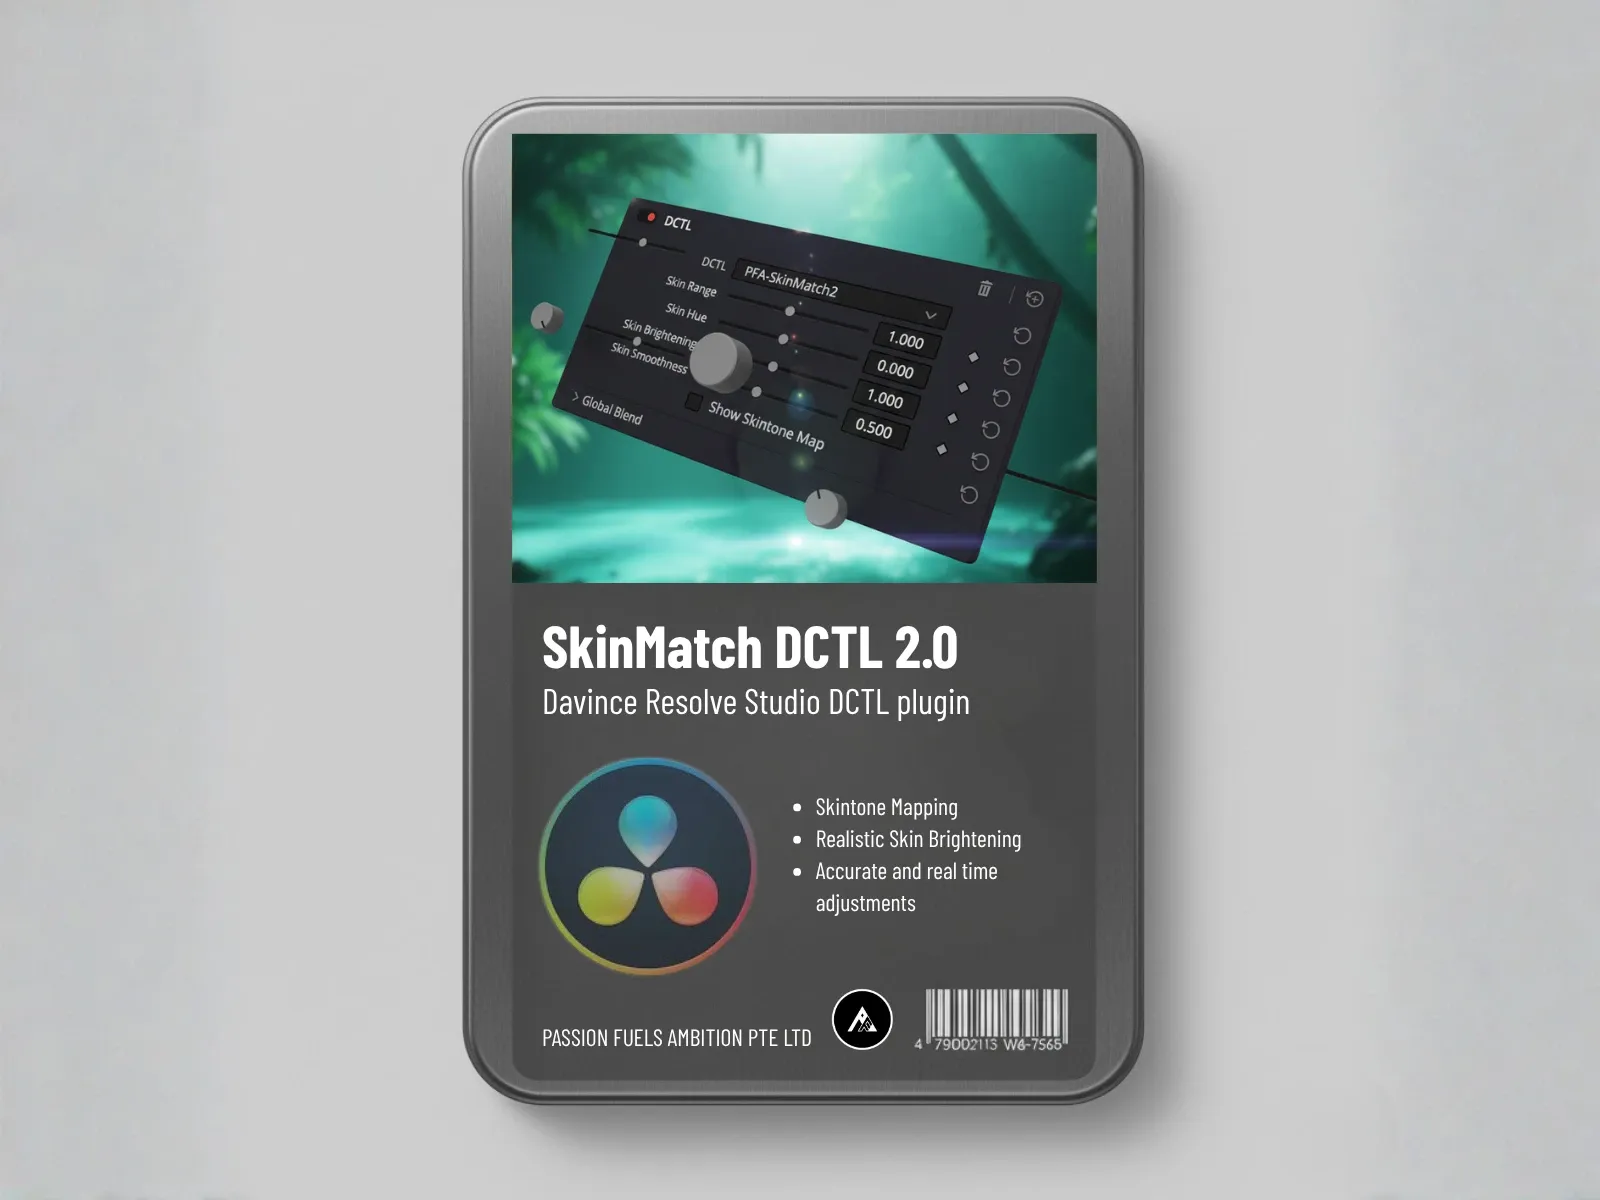
Skin tone protection deserves its own section because if skin fails, everything fails. The Skin Tone Map in PFA Color Suite automatically detects and isolates skin tones in your frame. You can adjust skin fairness and brightness independently without affecting the rest of your grade.
The Skin Protection feature in tertiary grading refines how closely the plugin protects skin from palette shifts. When you push a teal and orange look, skin tones stay on the correct side of the vectorscope. They do not get pushed into the teal zone. The plugin understands what skin looks like and protects it automatically.
For a deeper dive into skin tone techniques, the skin tone fixing guide covers manual approaches that complement the automated protection in v14.1.
CinePalette AI: Train Once, Grade Your Entire Project
Here is where v14.1 becomes genuinely transformative. CinePalette AI uses AI to let you grade one shot manually, save that grade as a training sample, and then generate matching looks for every other shot in your project automatically.
The workflow is simple. The engine will analyze your footage frame by frame to understand its color characteristics. Grade your first shot using Correction LOG, Correction Exposure, and white balance adjustment. Click Generate Look and the AI saves one training sample. Move to the next shot, set a basic foundation, and click Generate Look again. The system applies what it learned from your first grade to produce a matching result on the second shot. The grade translates almost perfectly, even on completely different scenes with different subjects and lighting conditions.
If the generated look is not quite right, you can filter through all your previous training samples and select a different one. It adapts to whichever sample you choose. Each new grade you create becomes another training sample. The system gets smarter as you work.
This is not shot matching in the traditional sense. Shot matching compares waveforms and vectorscope positions. CinePalette AI the system understands the creative intent behind your grade and applies that intent contextually to new footage. The difference is the same as comparing a color meter to a colorist. One measures values. The other understands vision.
Film Outputs and RGB Control
The Film Outputs section provides nine RGB film output channels, three per color. If you want more cyan in your scene, you reduce the red output channel. Since red and cyan are complementary colors, reducing red mixes all red color data into cyan. The result is organic, film-like color separation that no digital saturation slider can replicate.
This subtractive approach mirrors how film printers work. Film does not add light to create color. It absorbs specific wavelengths and reflects others. PFA Color Suite models that behavior mathematically, giving you film-grade color control in a digital environment.
Squirrely Bokeh and Texture Effects
The Texture Engine adds optical character to your image. The Squirrely Bokeh effect simulates the swirl and rotation of real anamorphic lens artifacts. You control the amount, the area, and the rotational character. The result looks like it was captured in camera, not applied in post.
The bokeh processing is GPU-intensive, but the visual quality justifies the rendering cost. A subtle amount adds organic lens character that makes digital footage feel like it came from expensive glass.
Cross-Platform Presets: DaVinci Resolve, Premiere Pro, After Effects
One of the biggest advantages of PFA Color Suite is that all training data and profiles work across DaVinci Resolve, Adobe Premiere Pro, and Adobe After Effects. You are not locked into one editing software application. Grade a project in Resolve, save your training samples, and apply them to the same footage in Premiere without rebuilding anything. This ensures consistency across your entire post-production pipeline, regardless of which NLE you are working in.
This matters for editors who work across multiple applications. Your color grading decisions travel with you. The plugin is the first in the world to offer this level of cross-platform automated color grading pipeline consistency.
One Node Replaces Your Entire Color Pipeline
Here is the summary of what one instance of PFA Color Suite v14.1 replaces:
- Log to Rec.709 conversion node
- Exposure color correction node
- White balance correction node
- Film emulation node
- Film tonal curve node
- Spectral contrast node
- Primary color wheels node
- Split tone node
- Color swap node
- Color density node
- Skin tone correction node
- Teal and orange palette node
- Film output / RGB node
- Bokeh / texture node
- Shot matching node
Fifteen nodes. One plugin. Real-time playback on 4K footage at 30 frames per second. These advanced tools replace your entire node tree. The entire process shrinks from hours to minutes. That is the math.
For more on how this compares to traditional approaches, the 15-node replacement breakdown shows the exact before-and-after node trees.
Frequently Asked Questions
Does PFA Color Suite use LUTs for film emulation?
No. PFA Color Suite uses 32-bit float mathematical algorithms for all color transformations, including film emulation. LUTs compress billions of color values to 262,000 entries in a 64-cubed cube, losing data. Mathematical models preserve the full tonal range of your source material from the original camera file. The entire plugin is only a few megabytes because it contains formulas, not lookup tables.
How does CinePalette AI learn my grading style?
CinePalette AI saves training samples each time you click Generate Look after creating a grade. Each sample captures the mathematical relationship between your input footage and your graded output. When you apply that training to a new shot, it adapts those relationships to the new footage’s color profile, exposure, and content. Even with manual grading experience, the more grades you create, the more training samples the system has to work with.
Can I use PFA Color Suite with the free version of DaVinci Resolve?
Some features work with the free version, but the full OpenFX plugin requires DaVinci Resolve Studio. The free trial of PFA Color Suite gives unlimited access to all features so you can test everything before purchasing. You can try PFA Color Suite free with no restrictions.
Does the AI color grading work across different cameras and codecs?
Yes. Because PFA Color Suite works with mathematical color management models rather than camera-specific LUTs, it handles any log format from any camera manufacturer. The Correction LOG section includes camera-specific profiles that adapt the mathematical conversion to your specific sensor characteristics. The training samples also adapt to whatever footage you feed them.
When will v14.1 be available?
PFA Color Suite v14.1 is scheduled for release at the end of July 2026. The current trial version runs v13.3, which you can download and test now. Licensed users get automatic updates to v14.1 when it ships. Use code thankyou2026 for 45 percent off any license.
Ready to Transform Your Color Grading Workflow?
PFA Color Suite v14.1 represents a fundamental shift in how color grading works. Instead of building complex node trees for every project, you train the AI once and let it apply your creative vision across your entire timeline. The mathematical approach preserves every bit of your camera’s raw data. The cross-platform support means your grades travel with you. And the user-driven development means every feature exists because a real colorist asked for it.
The best way to understand the difference is to try it yourself. Download the free trial, load your own footage, and see what fifteen nodes compressed into one can do for your workflow.
Try PFA Color Suite free with unlimited access to all features.
Ready to commit? Grab a lifetime license with code thankyou2026 for 45% off. Learn more about the technology in the technical white paper or start with the free trial product page.
Passion Fuels Ambition. I will see you in the next grade.